How to repair merino wool clothes?
Therefore this post will teach you how to repair Merino wool garments by mending the holes which will inevitably occur with even cautious usage. That way, you will be able to prolong the life span of your Merino garments for up to several years and thus save money. Your sewing might look shaky the first couple of times, but you will quickly improve your skills and soon be able to mend your garments neatly in no time!
Table of Contents:
Introducing the patient
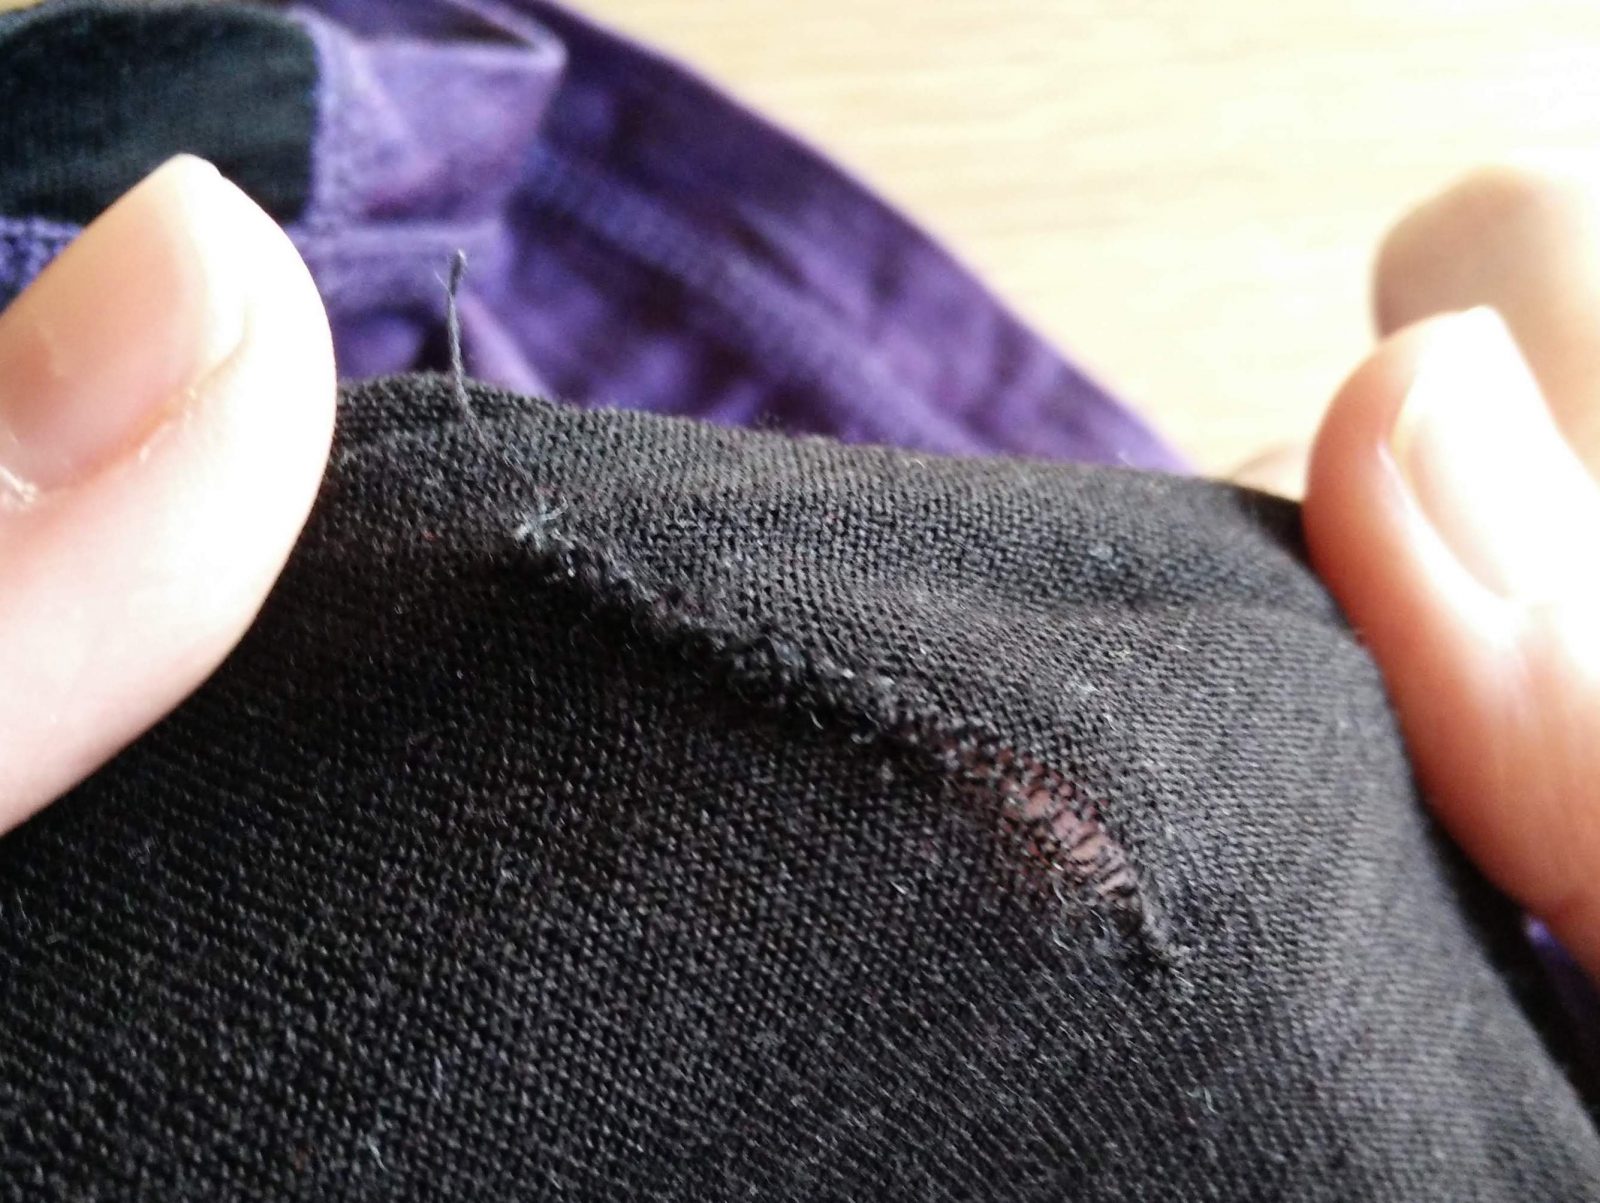
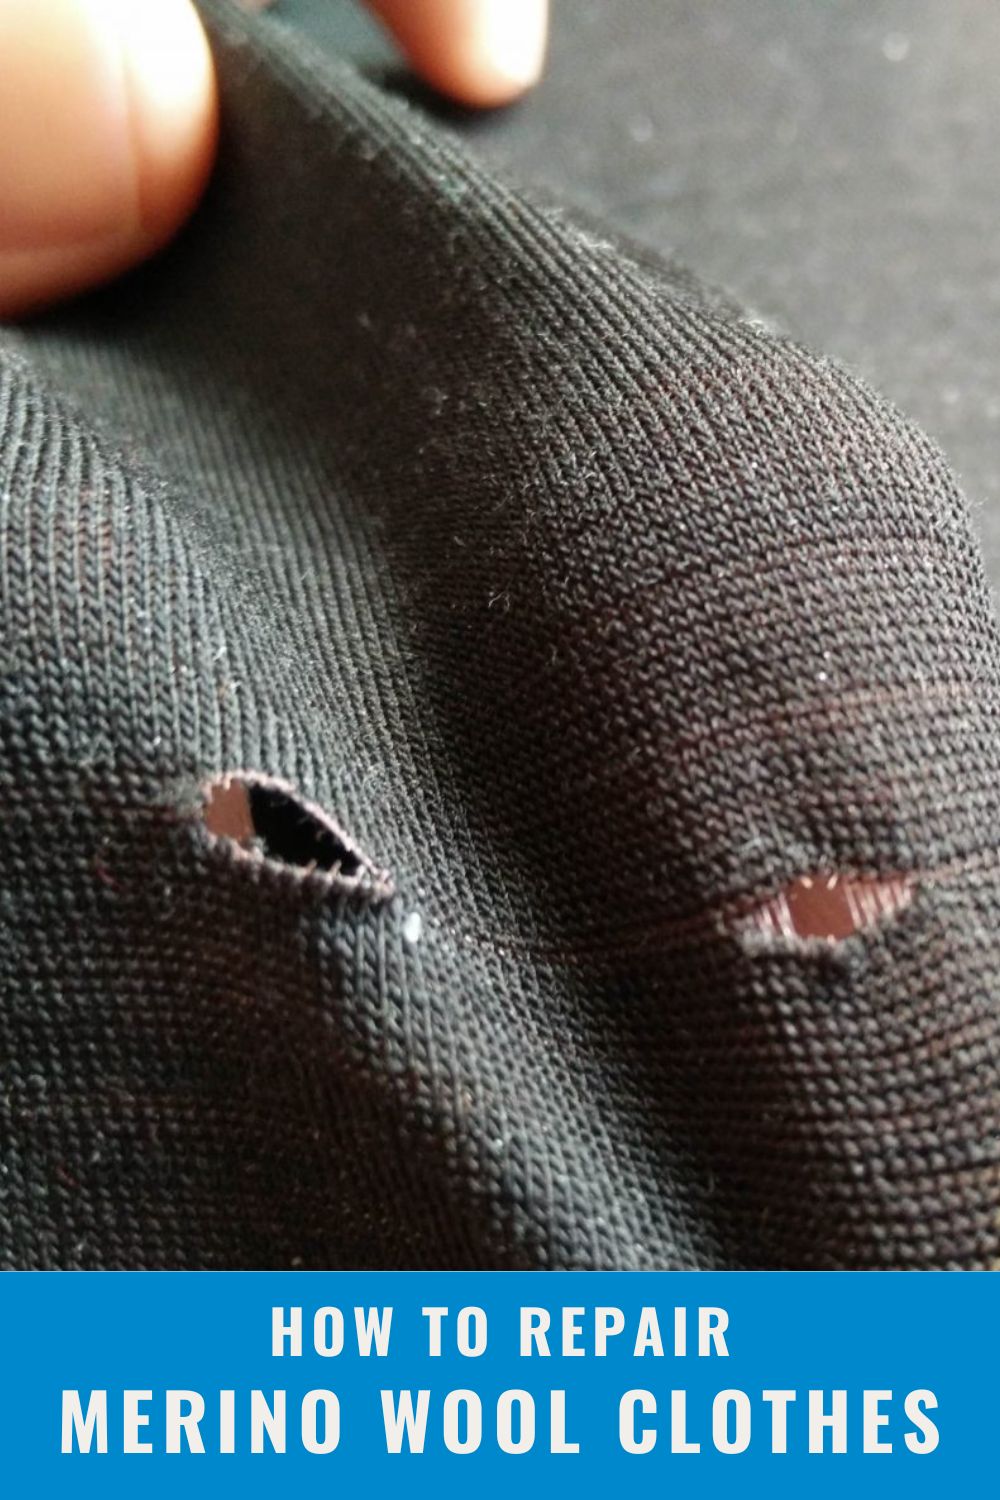
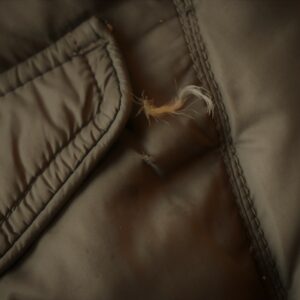
An old mended hole has quietly developed ahead into a new one.
The Merino garment I will be tending to is a nearly three-year old favorite of mine. I got it as a sample in spring 2016 from the Danish brand Norrskov (which now unfortunately only produces Merino wool socks and men’s t-shirts) and I have worn it on nearly every hike since as well as in everyday life together with jeans, when I’m going for a sporty casual look. It has simply become a wardrobe staple. With all that usage, wear and tear is inevitable, but I have been quite attentive when it needed mending and thus stopped small holes from expanding very much.
So far, I have sewn up four minor holes or ruptures; one on the shoulder blade, one near the wrist and two in the left side of the waist. You might think that it is a lot of mending, but consider that it is less than a hole per half a year of use – and that a hole only takes about five minutes of concentration to fix in a neat and nearly invisible manner. The focus for this post is a 2 cm long rupture line which has developed from a previous rupture that I mended several years ago. The old stitches still hold the previous rupture together but the damage in the fabric has eventually led to the rupture line to develop onwards, still going in a vertical line. Holes or ruptures in knitted fabrics, whether chunky or ultra-fine like this one, are always best mended by hand-sewing. The only exception are tears in or along machine-sewn seams, where re-stitching the seam with a sewing machine might be best solution.
Preparation
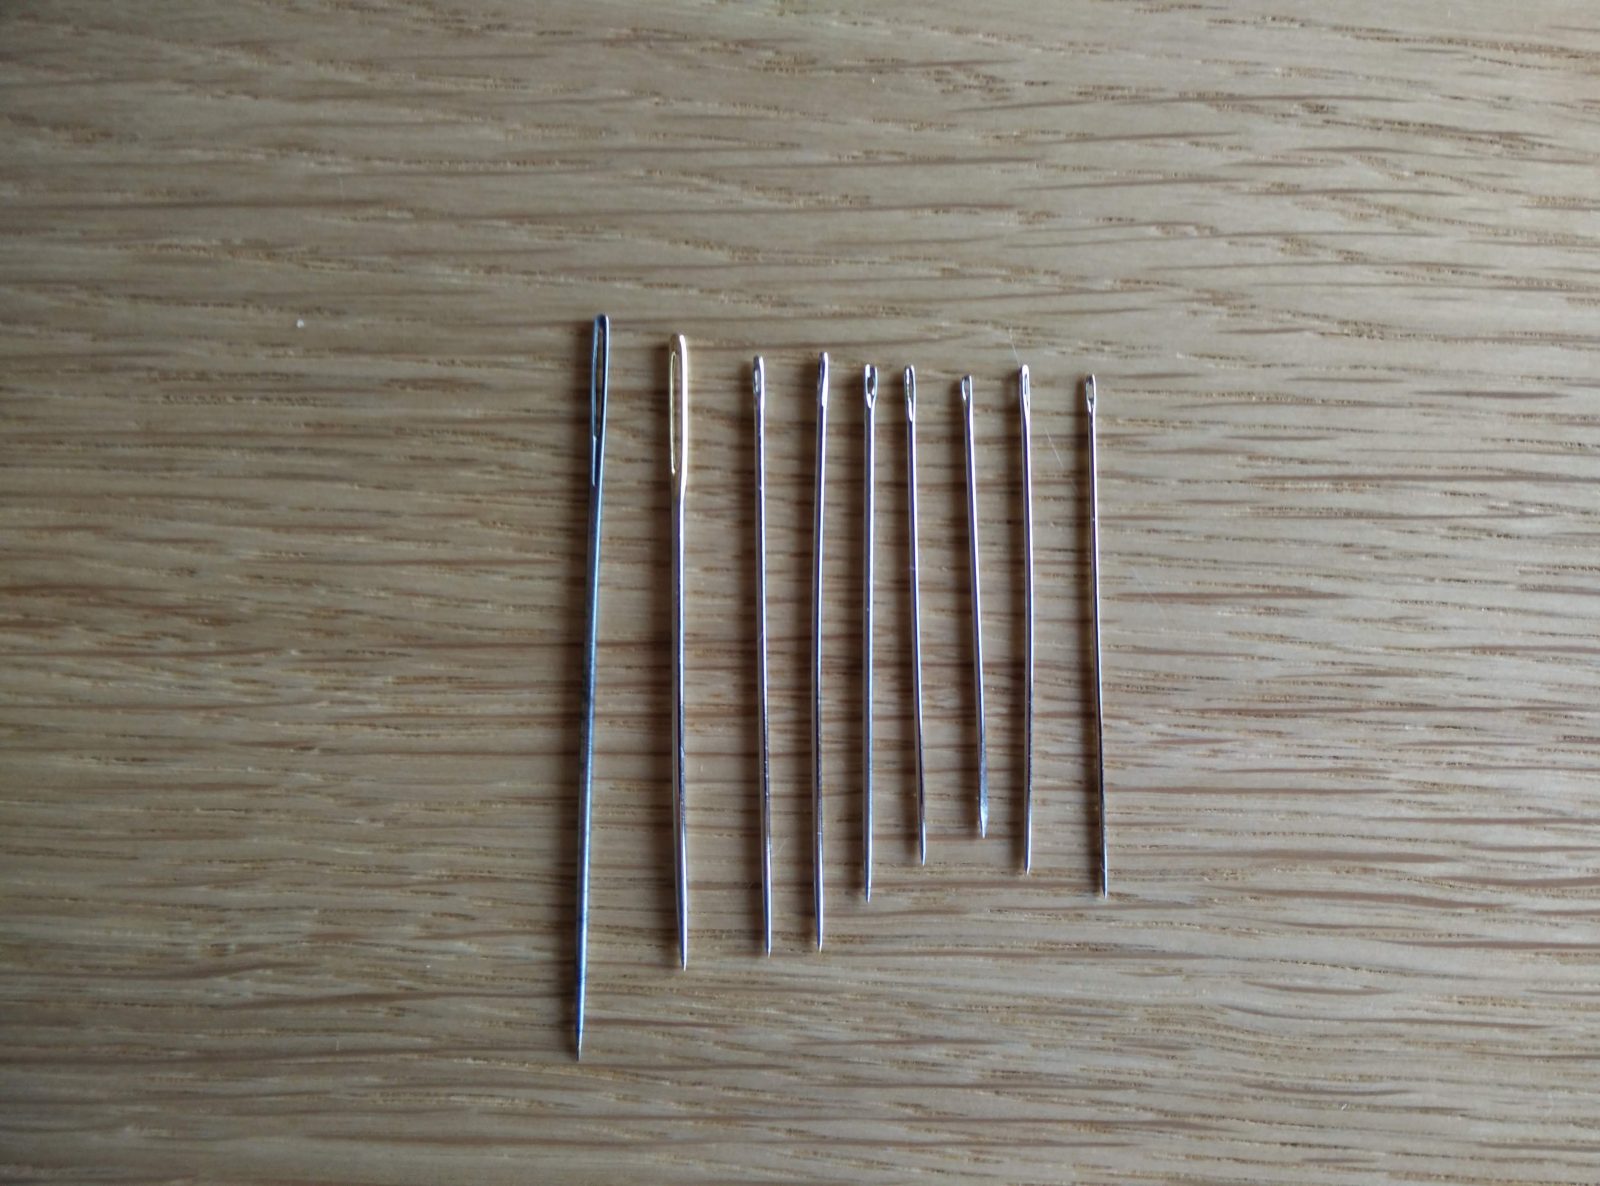
Always go for the finest needle when mending ultra-fine Merino knits.
1. For a fine-knit Merino garment like this, you want to get as fine a needle as possible. On the picture I have laid out a selection of needles, sorted by thickness. I chose the finest to the far right. It’s about 0.5 mm thick at the widest point.
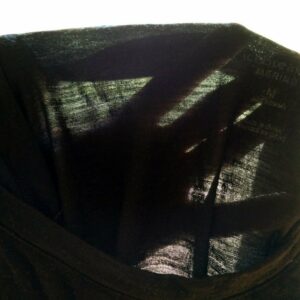
2. Choose a thread which is thin, but strong. The kind of thread you get in supermarket sewing kits should be adequate. Make sure the color of the thread matches the fabric of the hole you are mending. Most sewing kits will at least contain black and white thread, but if your garment is a more rare color – say burgundy red, it might pay off to visit a haberdashery shop to purchase a roll of thread which matches your garment perfectly. Mending a burgundy red fabric with black thread will be visible! In this case, black thread fits the black panel in the Merino shirt.
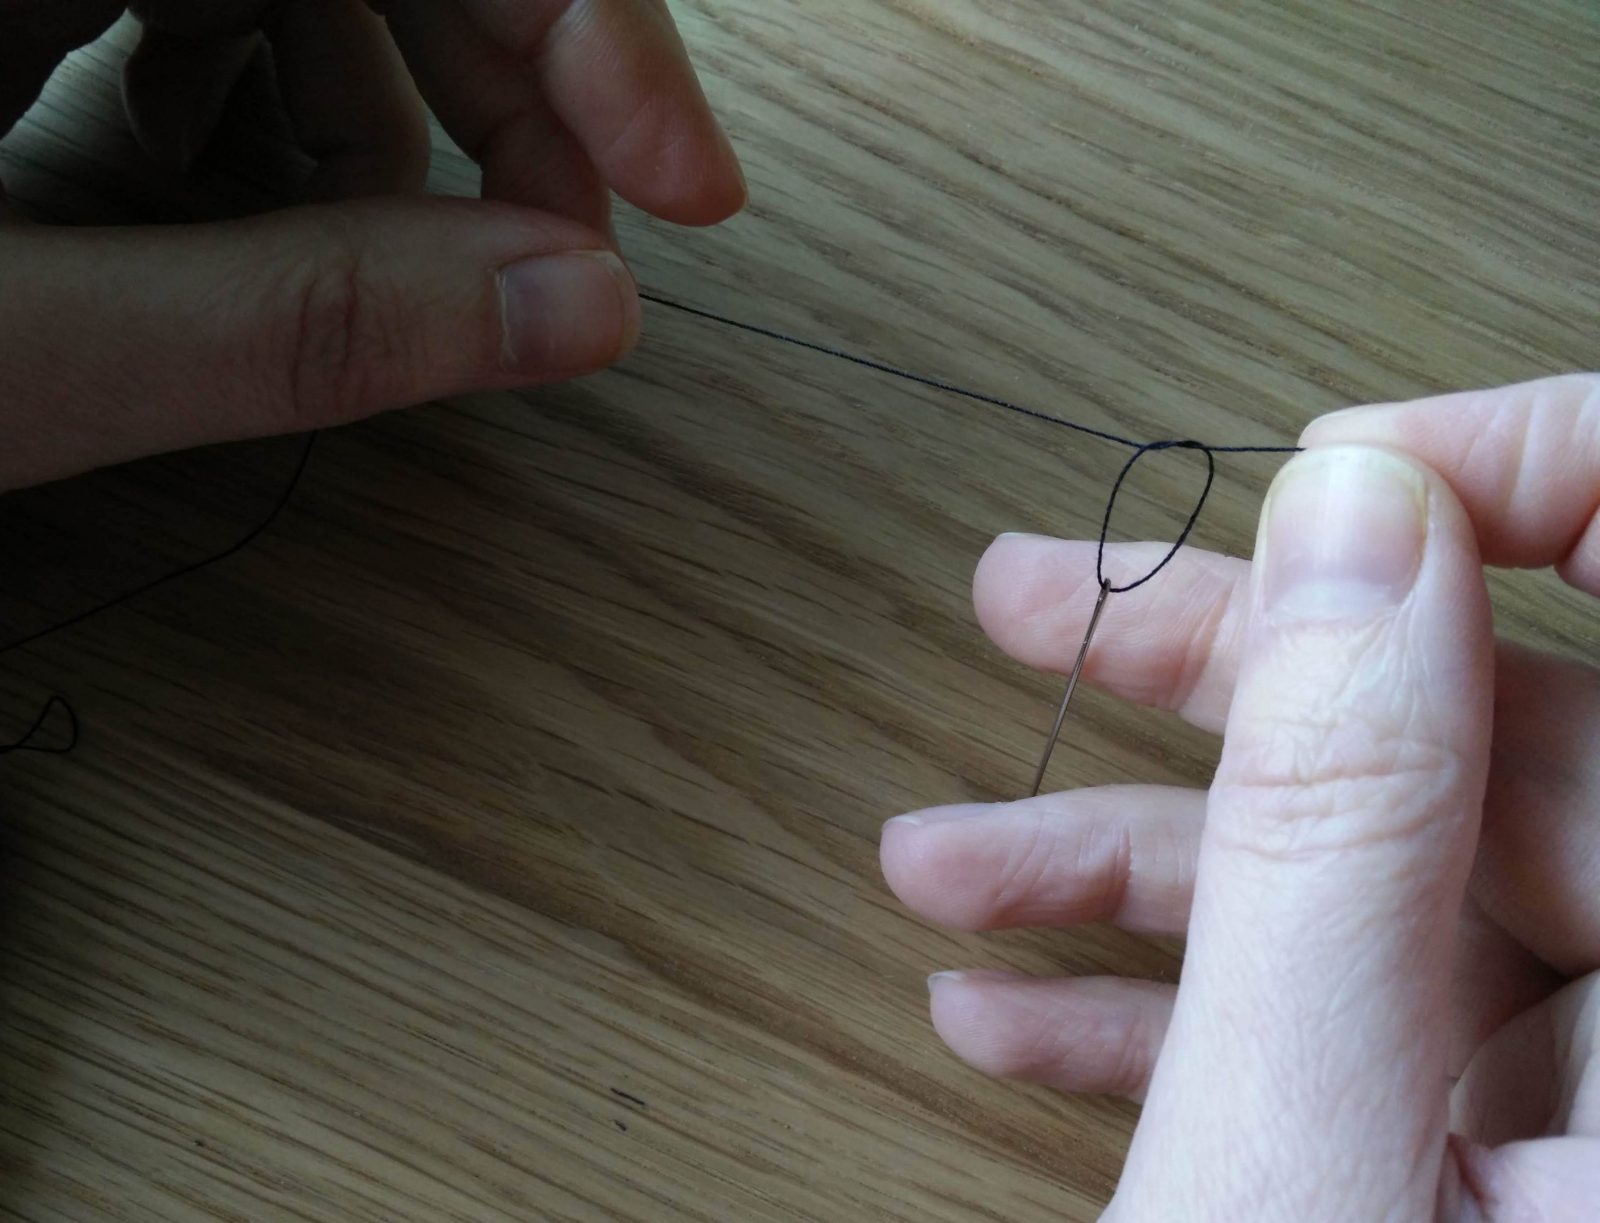
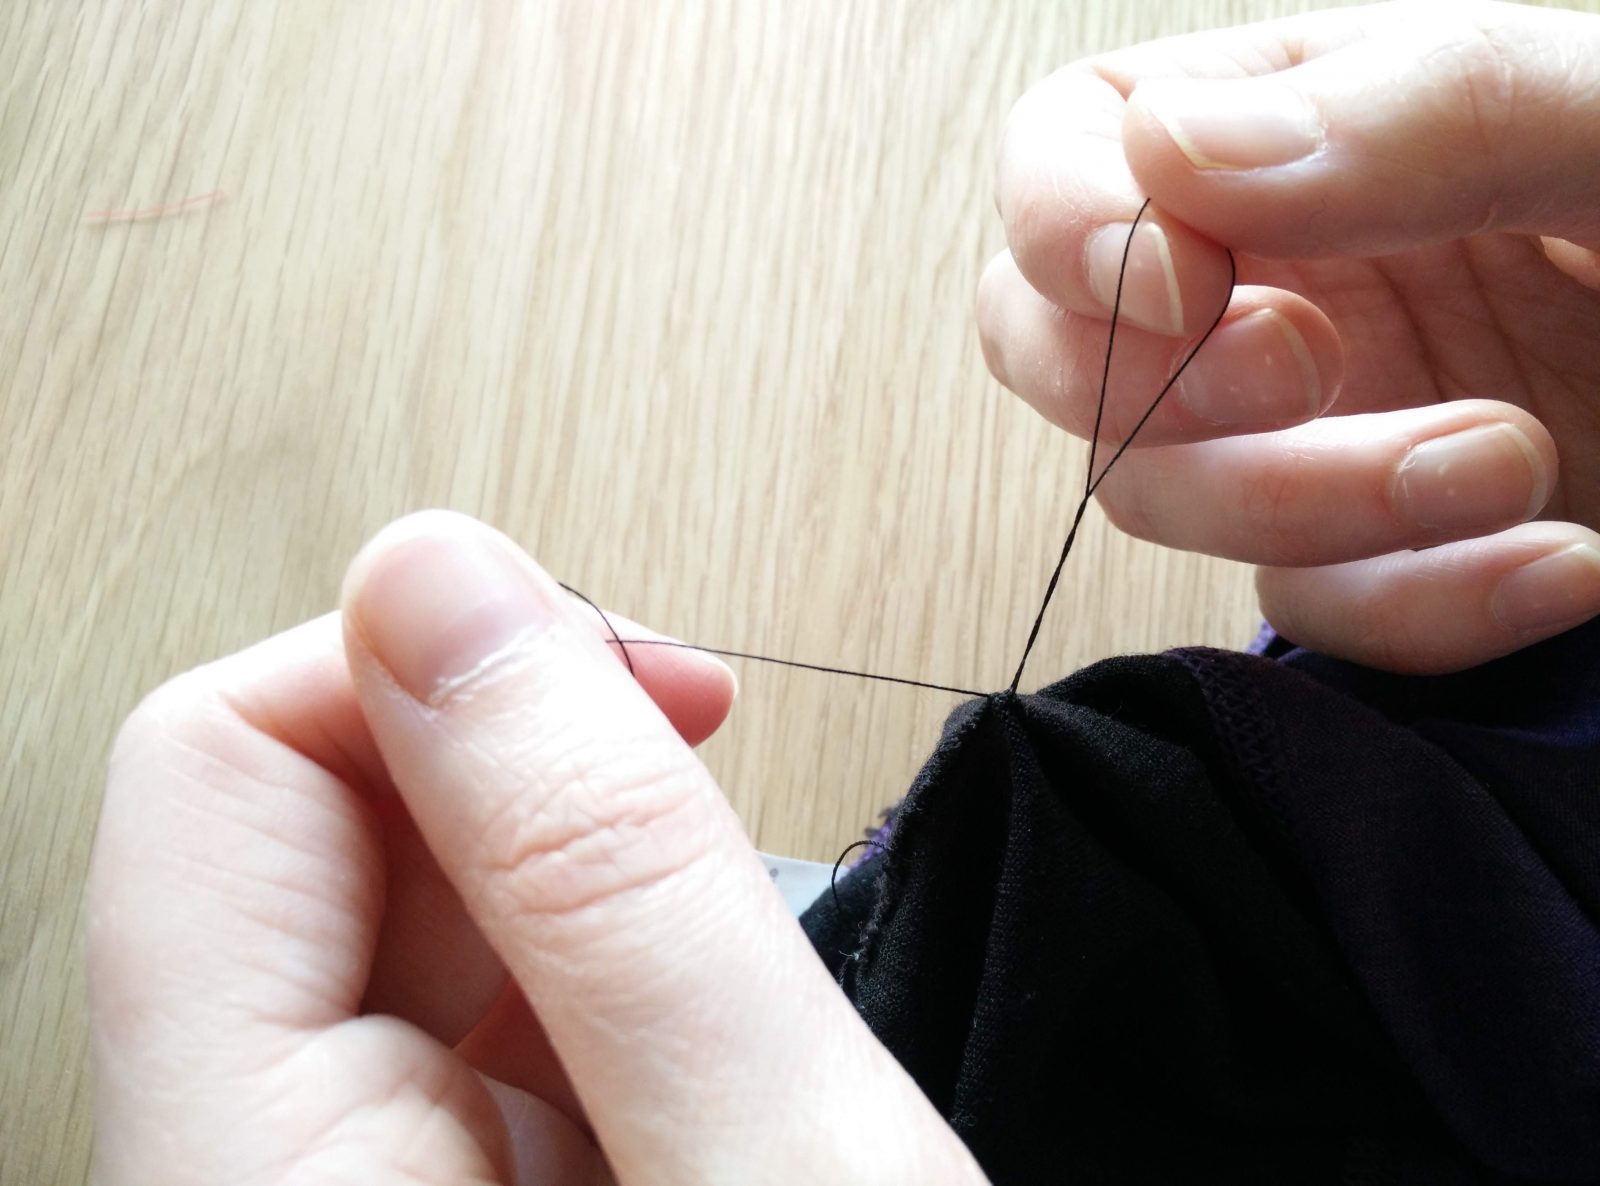
3. Thread the needle. You do this by sticking the end of the thread through the hole, pull the thread about 5 cm out on the other side and tying one or two knots. Then, you cut off the amount of thread you need for mending – 15-20 cm should be more than adequate. If you have problems getting the thread through the tiny needle hole, a good trick is to first trim the thread with a very sharp scissor and/or wet the end slightly with some saliva, in order to make the end of the thread “sharper” and smaller. Be prepared to re-thread the needle during the sewing process as it happens that the knot(s) tying the thread to the needle loosen and the thread slips out of the needle hole. If so, simply re-insert the end of the piece of thread you have been sewing with into the needle hole (possibly preceded by trimming and/or wetting the end once again), pull the thread about 5 cm out on the other side and tie one or two knots.
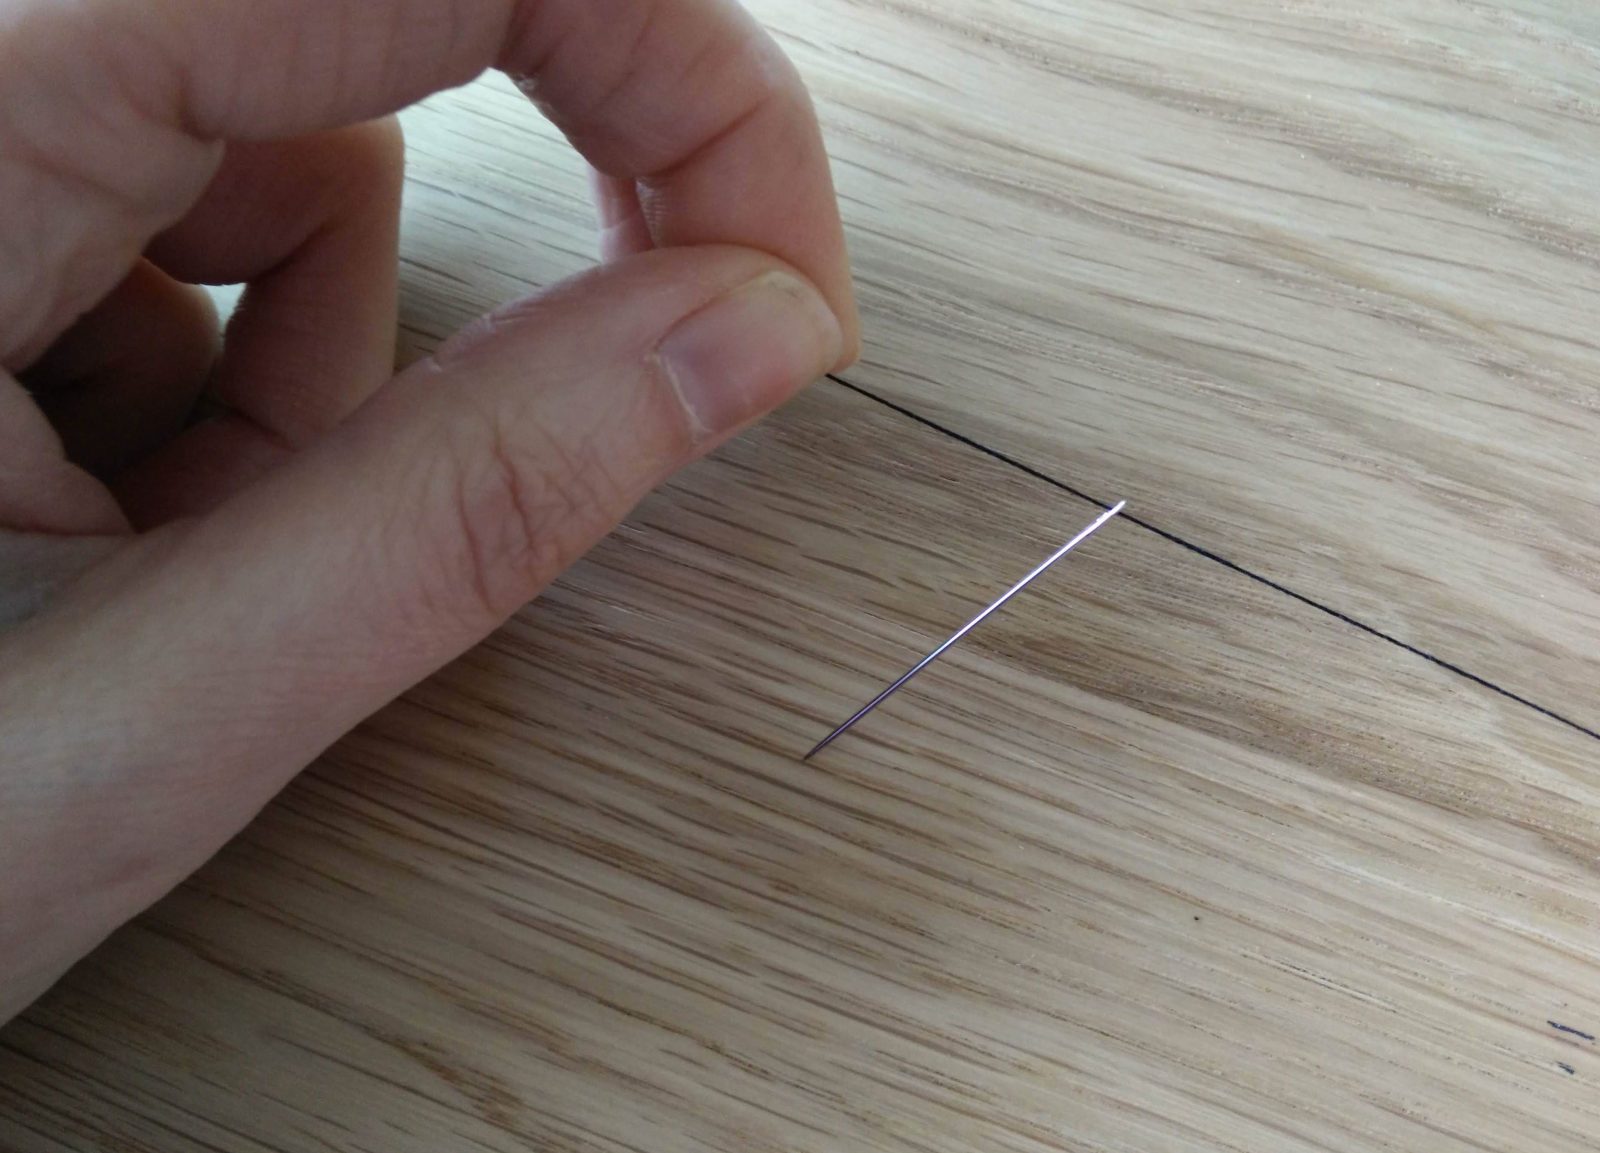
Threading the needle - part 1
Threading the needle - part 2

Threading the needle - part 3
Execution
With the garment inside out, insert the threaded needle and secure the thread to the fabric with a knot or two.
1. The first thing you do is to turn the garment inside out. While the majority of the sewing process happens on the outside of the garment, you will start and finish the sewing on the inside of the garment to hide the knots which will ensure that your stitches remain intact. As I am right-handed I use my right hand to sew with, while my left hand stays on the reverse side of the fabric to keep it neat for sewing and to avoid accidentally sewing this side of the garment onto another side of it.
2. Locate the rupture and insert the needle 5-10 mm from where it starts. Mending a rupture is about connecting the “healthy”/intact material around the hole in the most invisible way possible. In my case, I start about 5 mm down from the current rupture which is where I already have sewn the previous rupture together with strong thread.
3. You pull the needle and thread through your entry point till you have about 5 cm of thread sticking out from the entry point. Then you tie 2-4 knots with this end, till you feel that the thread is securely fastened to the fabric. Stick the needle out through the fabric (so it ends up on the outside of the garment, which you can’t see at this point) about 1-2 mm from your entry point, in the direction you are planning to sew.
4. Now, you turn the garment so the outside gets to be out again. The threaded needle should be ready for sewing onwards if you followed the previous step to the end. What you then do is to insert the needle into the fabric horizontally so that you connect the two “healthy” edges around the rupture with one another. Typically, this will be about 1-2 mm from the rupture itself. The further from the rupture you sew, the more visibly the mending will be, so try to keep it narrow while still making sure you are sewing in healthy fabric.
5. Pull the needle and thread completely through (still keeping to the outside of the fabric), so you create the first stich. Be aware, however, that you don’t pull the thread so tightly that the stitch gets tightened to the point of bursting. It should be neat and firm, but not overly tight. If you created the first stitch sewing from right to left, your next stitch will be from left to right, and then from right to left, and so on. Try to sew your stitches with equal distance in between (1-2 mm depending on the fabric) as well as equal in length and tightness.
6. When you have sewn together the entire rupture, you continue for another 5-10 mm but now you should make the stitches gradually shorter and shorter. After this is done, you stick the needle through the fabric, so it ends up on the inside of the garment (which you can’t see at this point).
7. To conclude the mending, turn the garment inside out once again. Insert the needle into the fabric one last time, but only pull so much thread through the entry point that you on each side have enough thread to comfortably tie 3-4 knots, till you feel that the thread is securely fastened to the fabric and your stitches will remain safely in place. Then cut off the remaining thread a few millimeters from the knots you made. You can do the same with the superfluous thread at your starting point, so you don’t have these two dangling threads inside the garment. Done!
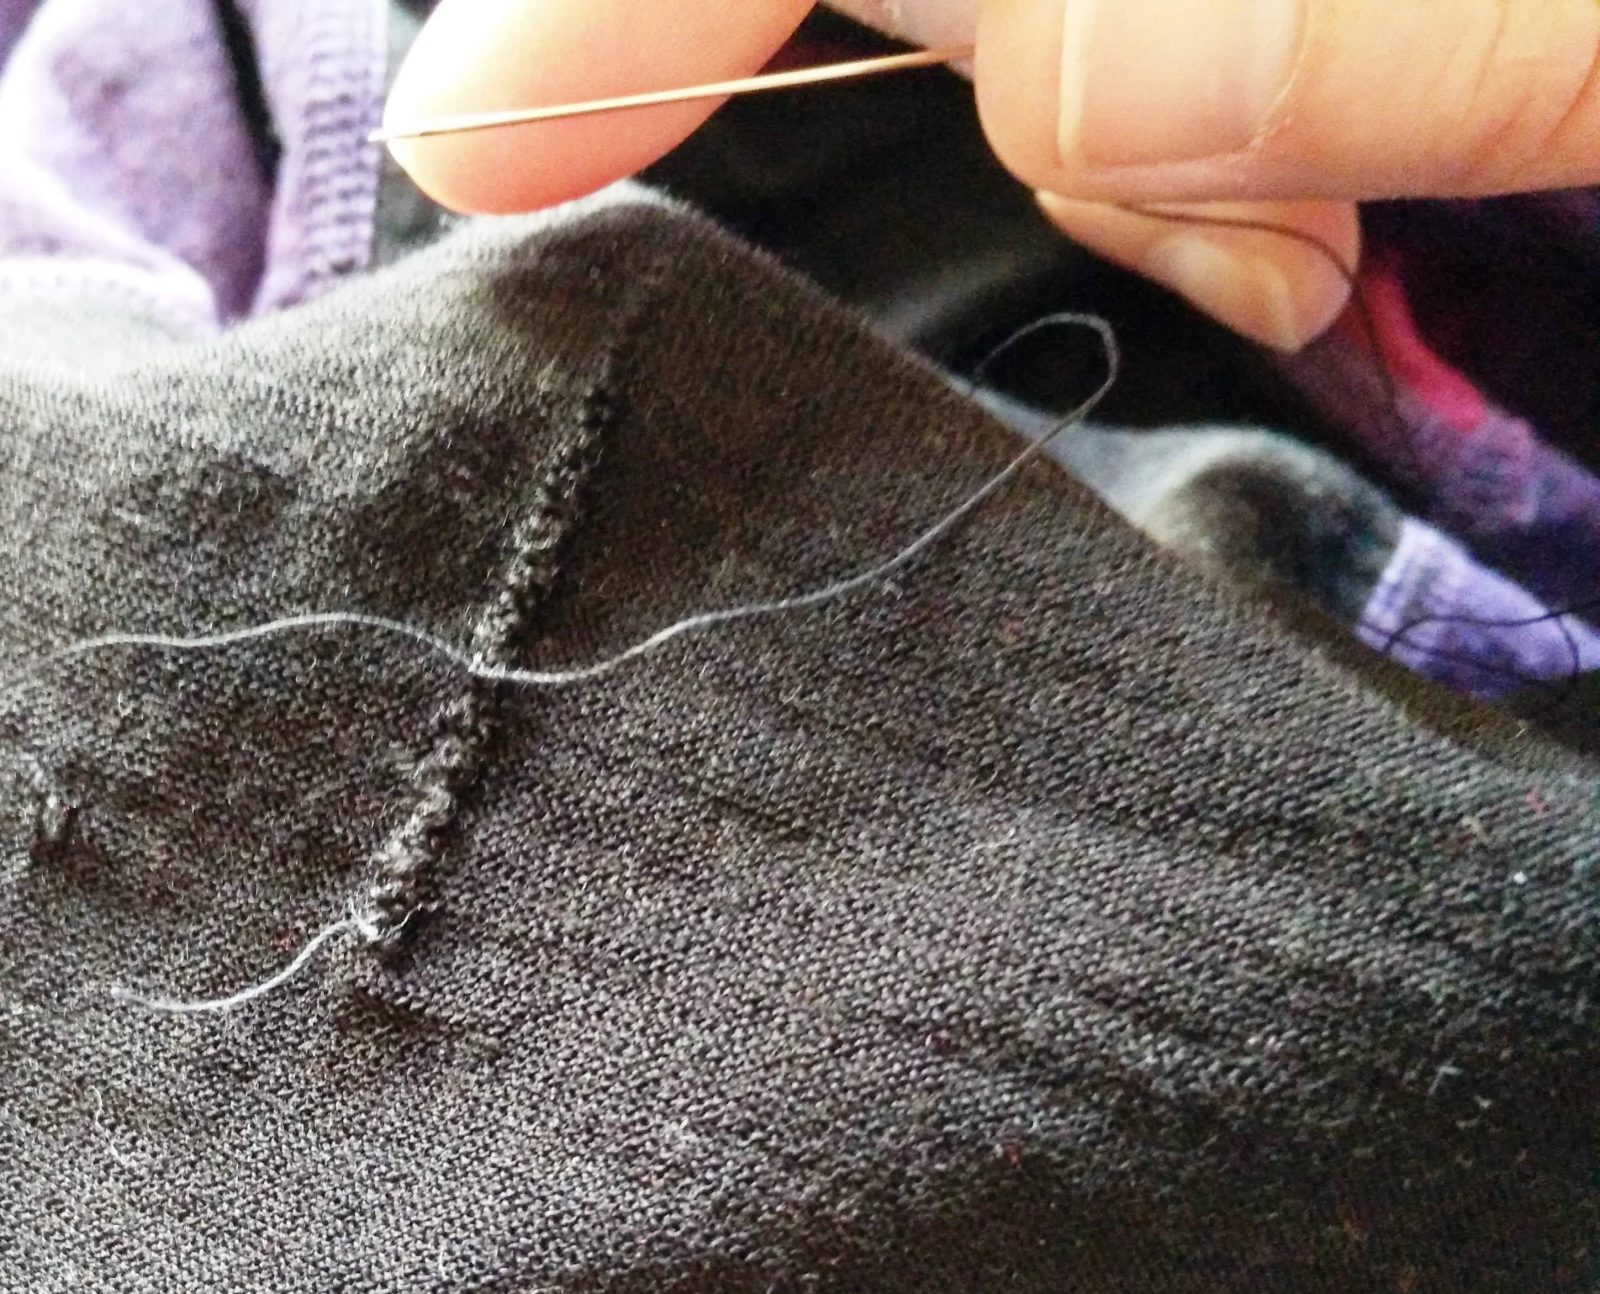
With the outside out, carefully connect the two healthy edges around the hole by sewing horizontally.
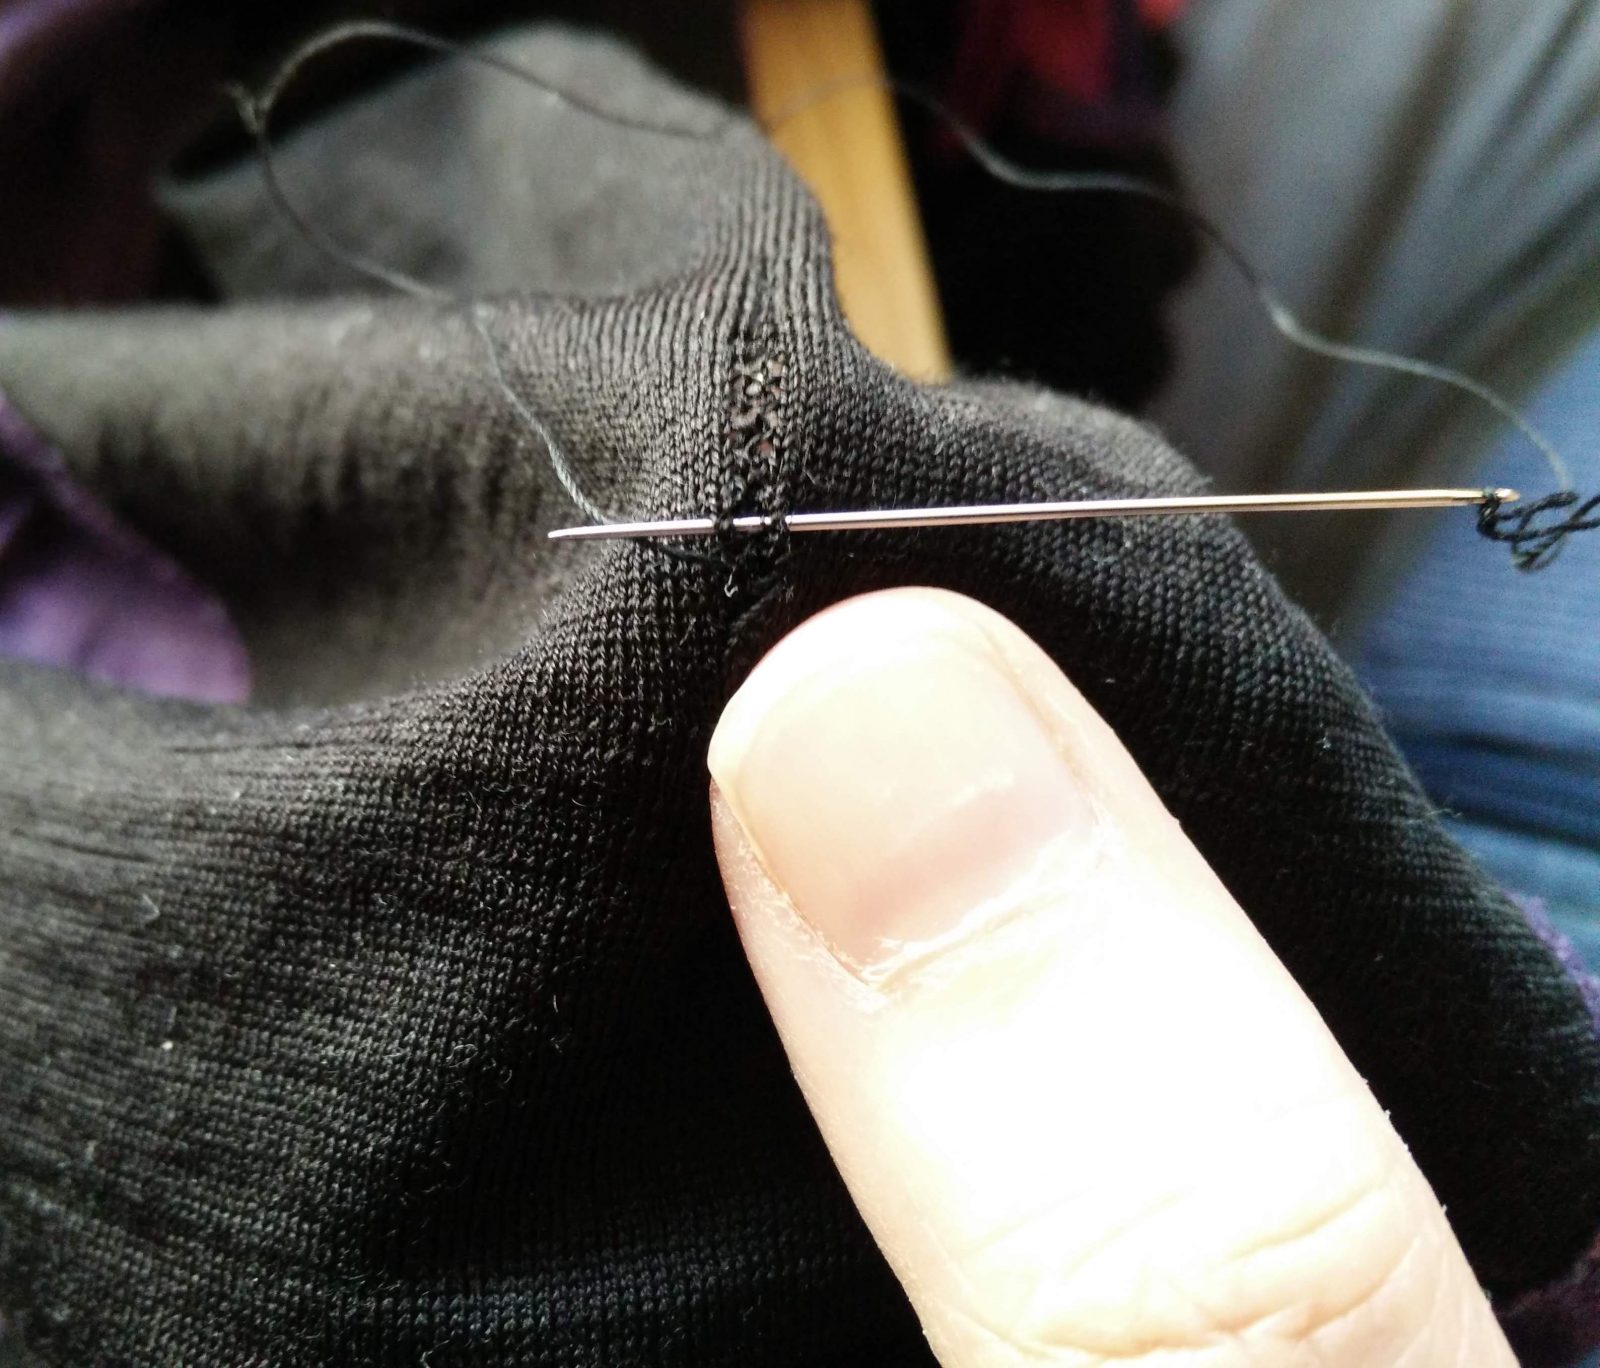
With the inside out once again, prepare to finish the process by securing the thread to the fabric.
After having the needle one last time, you only pull it so far that you have enough thread on each side to comfortably tie a knot.
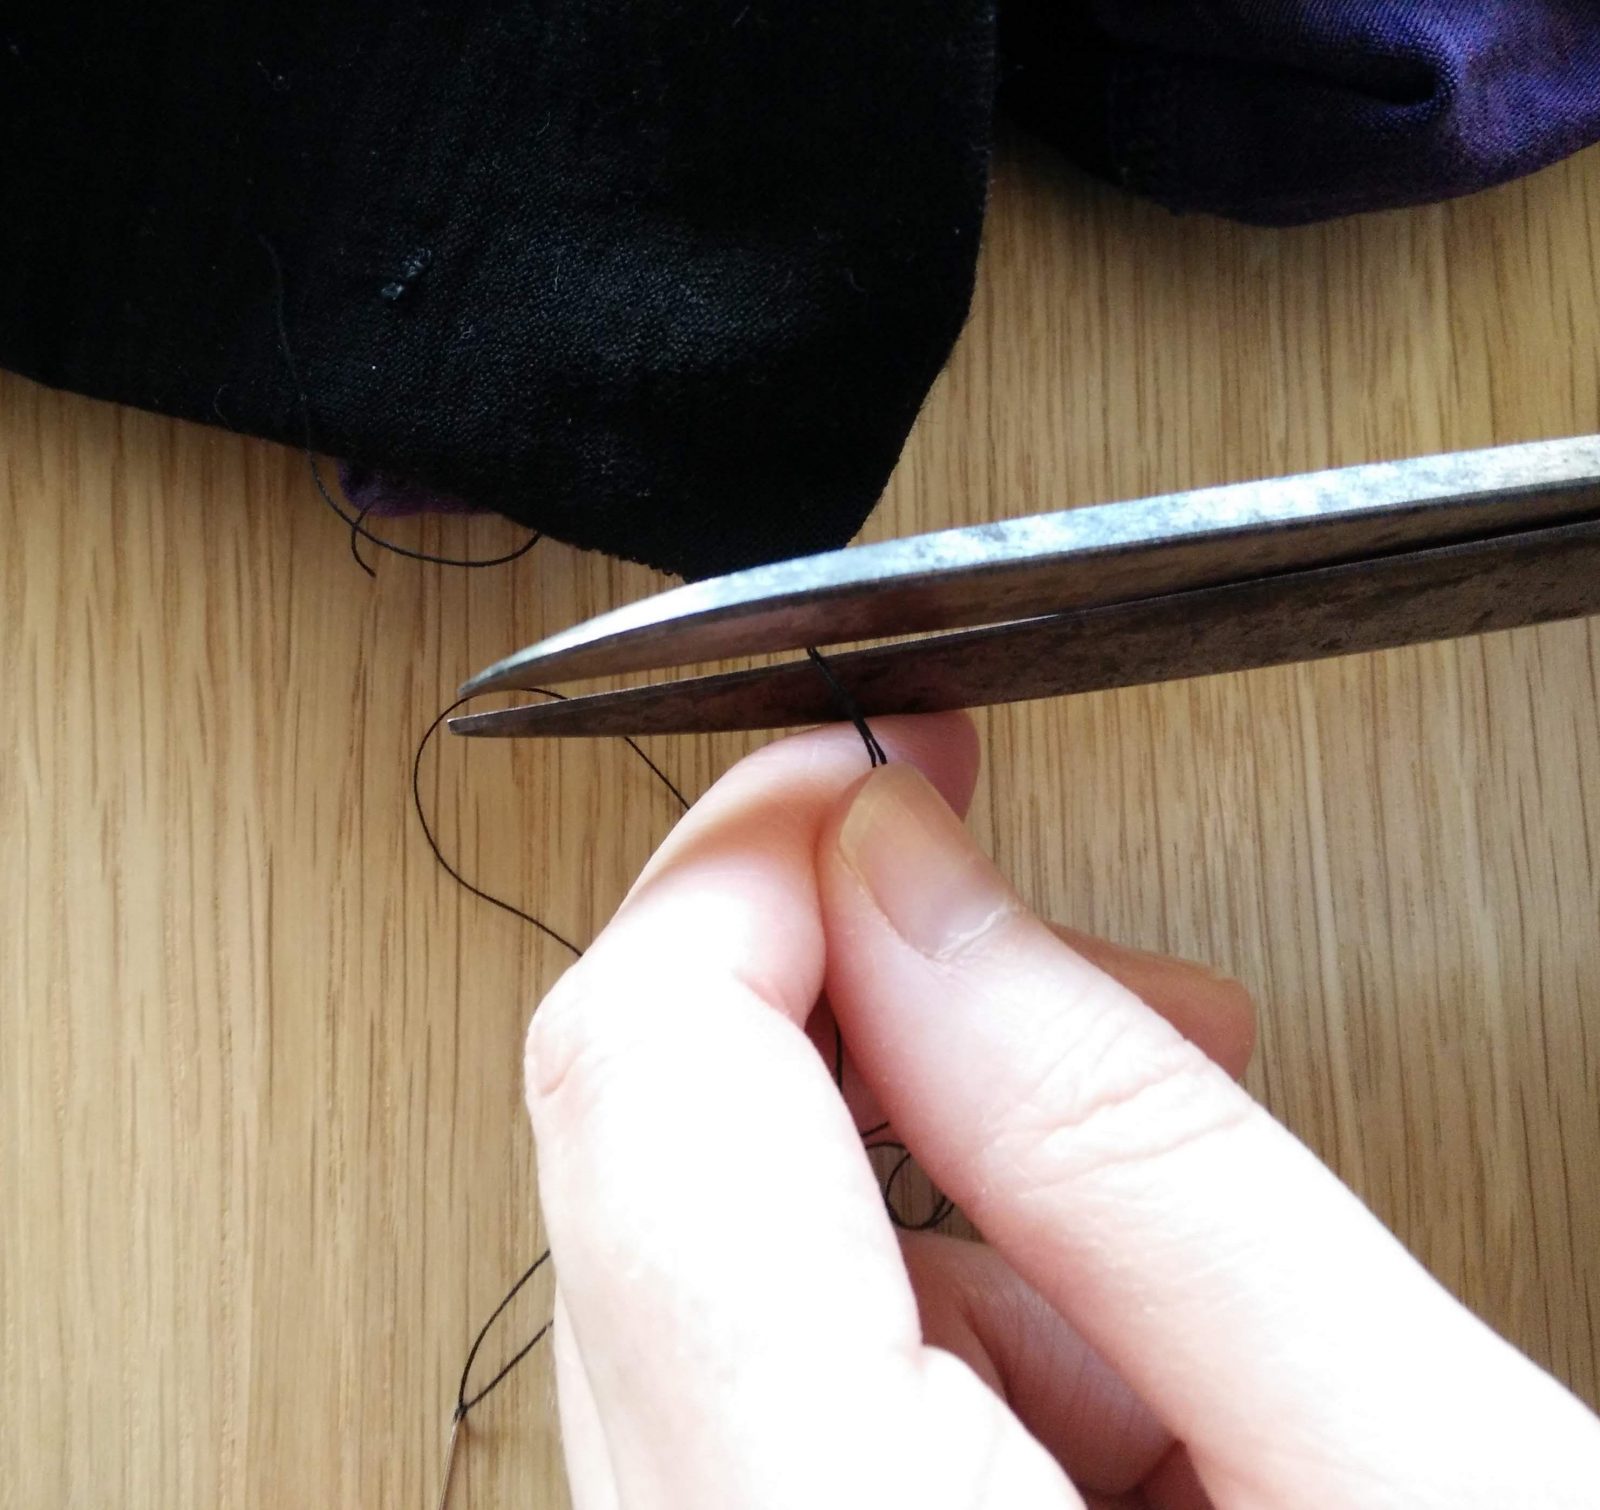
Having made a few knots, you cut off the remaining dangling thread.
The Result
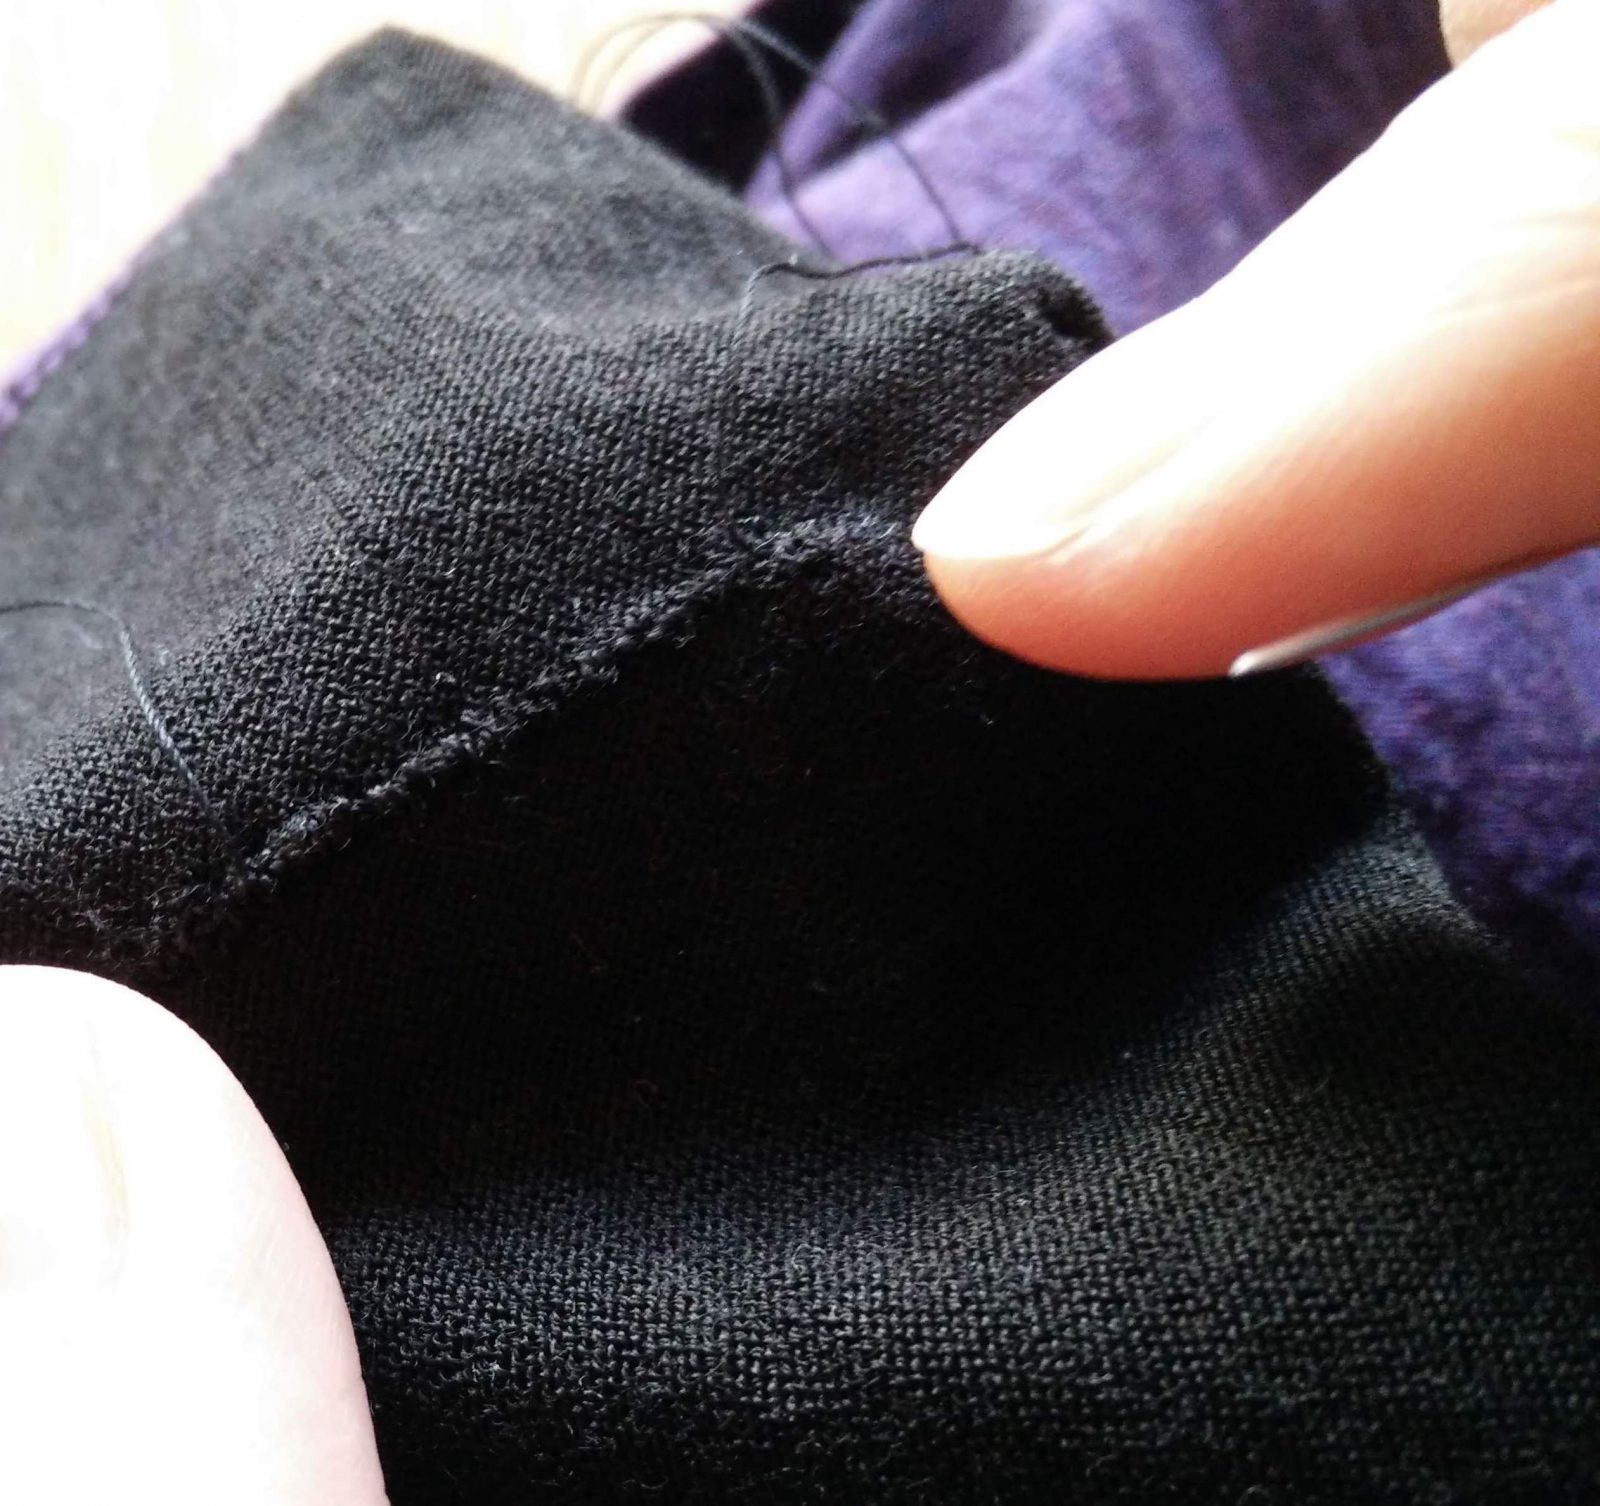
The mended rupture can only be seen if you are up-close and looking for it, but from a normal distance it is pretty invisible. The stitching can be felt if you purposely run your fingers over it, but otherwise it is not something I will feel or pay attention to when wearing it. Mission accomplished.
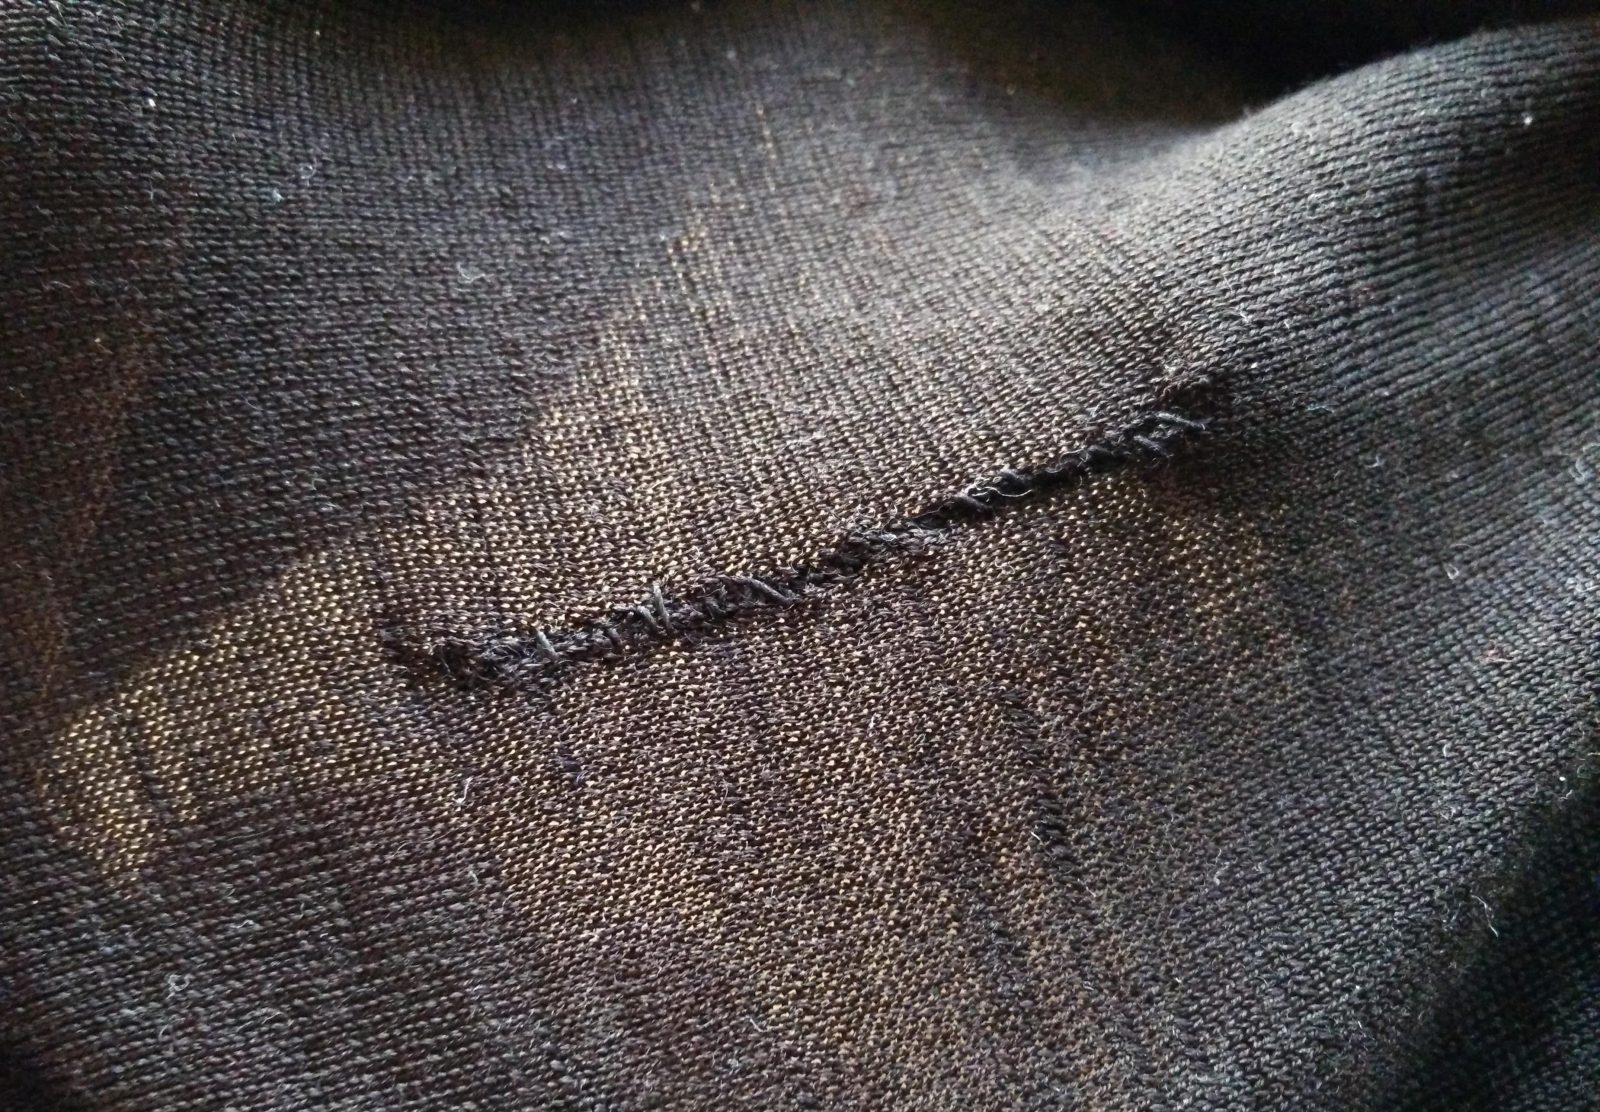
The finished stitching seen up-close from the inside.
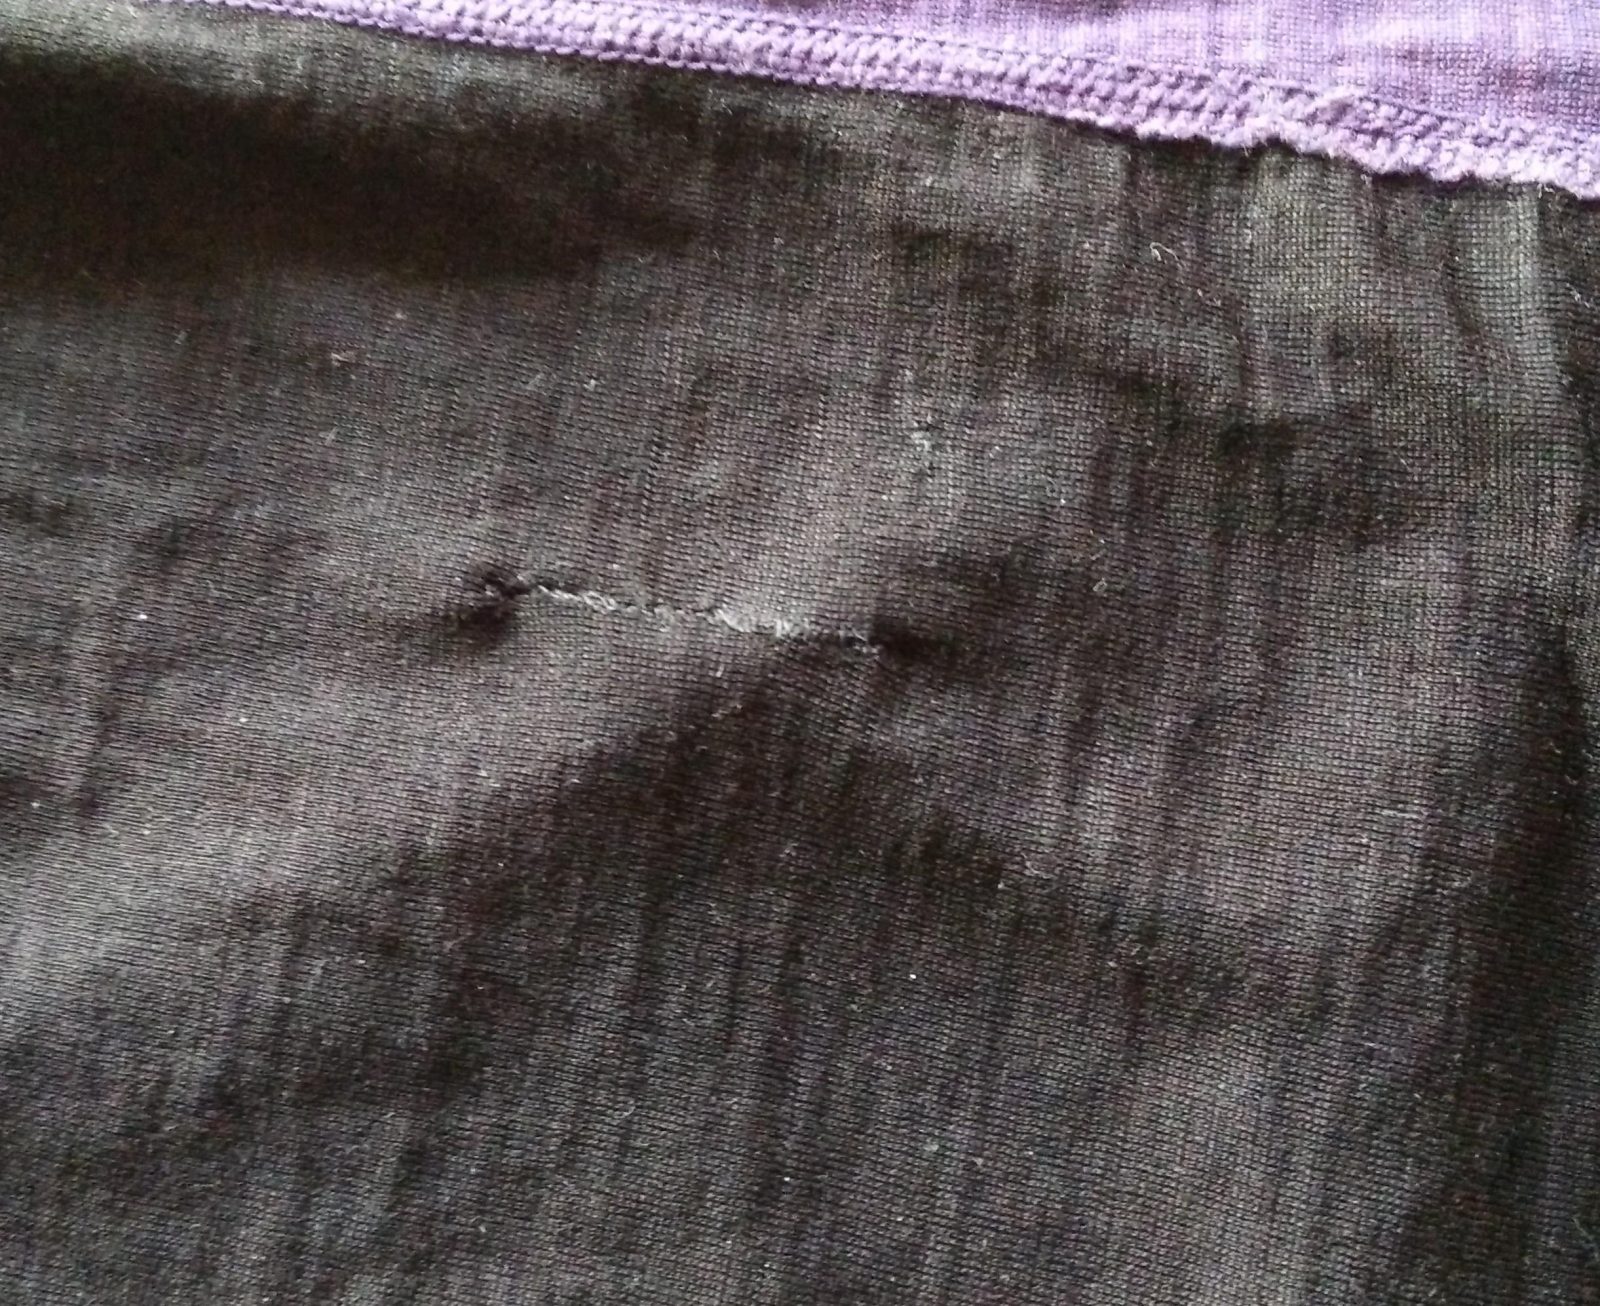
The finished stitching seen up-close from the outside.
Share your thoughts on fixing Merino wool clothes in the comments section below.


Hi thanks for this information. My grandson attends nature school daily and has a hole
1 1/2 in long and 1/2 in wide. Is there any kind of patch that people would suggest or should we just stich?
Thanks
Hi Renee! I think you should try to stitch it up by hand, and then maybe cover it with a patch (possibly by machine?) if you think it will look nicer. It depends a bit on the location of the hole. A ½ inch wide hole is quite wide, but I have managed to stitch up that wide tears quite nicely. Good thing about sewing by hand is that you can easily redo it without ruining the fabric, if you are not satisfied with your first attempt(s)! Good luck!
Thank you for this 🙂
I have just noticed two small holes in my favourite top, knew I had to save it and wasn’t quite sure the best method. This is super informative and I am off to buy some khaki thread so I can get started!
The sooner you notice, the better 😉 Best of luck!
I have a pair of very thin merino wool leggings – tights really. They have a large run/hole in the crotch area. Any tips or ideas for mending a hole like that?? It is definitely beyond hand sewing.
Thanks!
Hi Mary, it sounds like a tough case you’ve got on your hands! It’s difficult for me to come with the right solution without seeing the garment, but my guess is that it is not only a straight run, but an actual hole where fabric is missing, meaning that it is a no go to simply stitch it together. You probably need some sort of patch, which will cover the hole. It might not be worth to go through the hassle, but a battle plan could be: 1) Check if the hole/run needs a bit of mending (by hand) to keep it from spreading. 2) Prepare a patch of a thin elastic, but durable material of the same color as the garment. It would be best if the edges of the patch are sewn by machine, but you could do it by hand. The final patch should be the same shape and size + 1.5 cm (for overlap) as the hole. 3) Place the patch over the hole, so there is 1.5 cm overlap around the entire edge of the hole. Secure it with pins. 4) Sew the patch onto the garment. You can both do it by hand or by machine, if you are a competent user. Best of luck!
As mentioned, it might be too much hassle for a pair of tights, but it can be very satisfying to prolong the life of beloved garments in this manner! I might soon try to repair a pair of Blaz’s Merino boxers in the same way, and possibly do a small post about it or add more to this article.