Reykjafell Mountain
About Reykjafell Trail
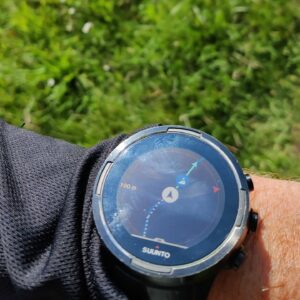
As you might already know I’ve been on my “Hiking Iceland” tour for the last seven months. From September onwards the conditions for hiking have become relatively difficult; short day length, low temperatures and regular snow showers. As these conditions require additional equipment, including crampons and an ice axe (which I didn’t bring to Iceland), I’ve had to plan less demanding, but still rewarding hikes. In November I decided to conduct an easy hike close to Reykjavik. As the weather forecast for the day of the hike wasn’t particularly good (light snow and temperatures below 0 C) I was especially looking for a hiking trip that could be done fast – in less than 2 hours. While checking a map I came across Reykjafell – an approximately 280 meters high mountain in the proximity of Reykjavik. I couldn’t find much information about this mountain on the internet and so I decided to plan the route in the Movescount app and import it to my Suunto Ambit watch – just in case that navigation would become tricky there. I also checked the bus routes on good old Straeto.is and figured out that the starting point of the hike can be easily reached by public transport from Reykjavik.
Reykjafell Trail Details
Physical Difficulty
Easy
Technical Difficulty
Easy
Duration
1 h 40 min
Distance
6.81 km
(4.23 mi.)
Ascent
250 m
(820 ft.)
Descent
250 m
(820 ft.)
Highest Point
285 m
(935 ft.)
Lowest Point
60 m
(197 ft.)
Date of the Hike Date when we did this hike ?
November 2015
Weather On the day when we did this hike ?
Light snow
Temperature On the day when we did this hike ?
-4° C
(25° F)
Wind On the day when we did this hike ?
23 km/h
Reykjafell GPS Route and Trail Description
*Click on the chart to see the location on the map
GPX route helps you with the navigation on a hike. It can be used with a smartphone, handheld GPS device or a GPS watch.About GPX Route
Reaching the starting point
You can come quite close to the mountain itself with public transport. First take bus number 6 (direction Haholt) from the Hlemmur main station in the centre to the bus stop called Artun. The bus drive will take you around 15 minutes. If you are not planning to leave from Hlemmur, check the Straeto’s website for other buses that drive to the Artun bus stop. Then take bus number 15 (direction Mosfellsbær) to the last stop on the route – it will take around 20 minutes. Both bus number 6 and bus number 15 drive regularly – at least every half of an hour. The last stop of bus 15 is called Reykjavegur and should be hard to miss as the bus stops there for a longer time. You are more in danger of going off too early (like I did) as the four stops before the end station all are called something with Reykjavegur. Therefore wait with getting out till the bus stays put at the end station while the driver takes a short break.
Trail
As the trail is relatively short and easy, it is appropriate for everybody, even for families with kids. The above attached GPS route starts 2 bus stops before(!) the last stop of bus number 15. However, I did just walk to the end station and continued the hike from there on. Therefore, you can still use the GPS route if you are planning to start the trail from the end station.
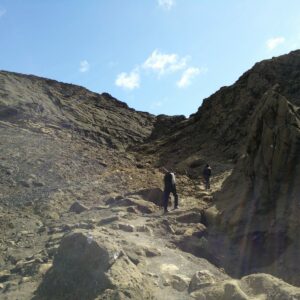
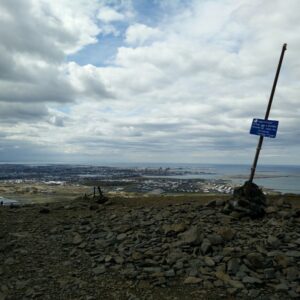
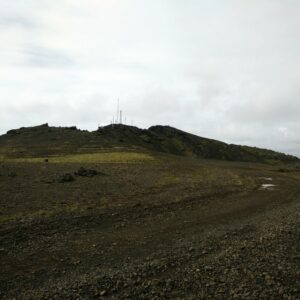
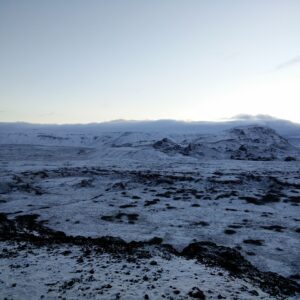
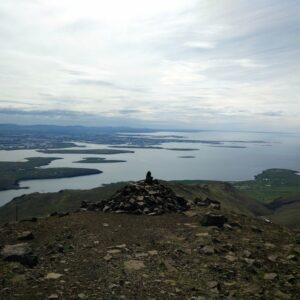
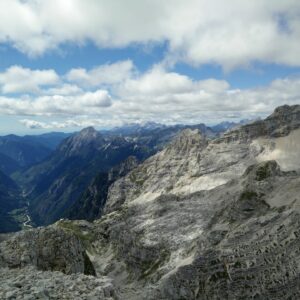
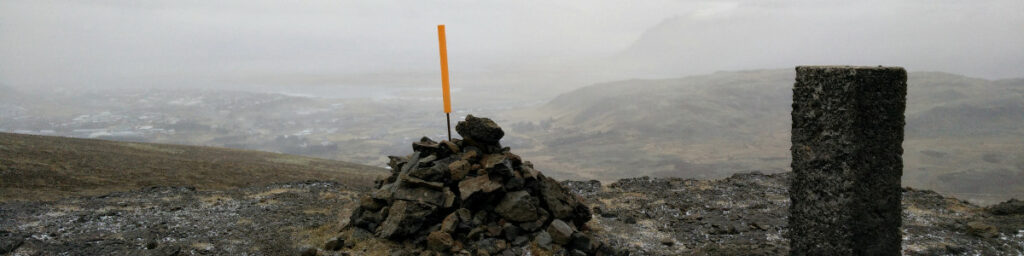
From the last bus stop continue on a wide dirt track towards north and after 300 meters you will reach a big farm. Turn right behind the farm on another wide dirt track which first runs towards east but soon turns towards northwest. After following it for approximately 700 meters you will arrive to a crossroad. Turn right but continue only for 50 meters or so. Then you will see a stepladder over a fence of barbed wire on your right. Climb over the stepladder and continue on the narrow path that leads to the top of the plateau. The path is not very worn and therefore it’s hard to follow it – especially with a light snow cover. However, it is marked with orange sticks at some places and as you can see the top of the plateau while ascending, navigation shouldn’t be a problem. The climb is quite steep and offers a great view on the Atlantic Ocean, Mount Esja and the Ulfarsfell Mountain. After ascending for approximately 1 kilometer you will reach the top of the plateau and on your left you will see the highest peak marked with a pyramid made of stones. The highest peak offers a great view.
Getting back to the starting point
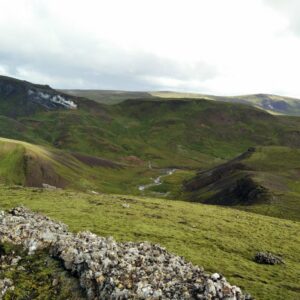
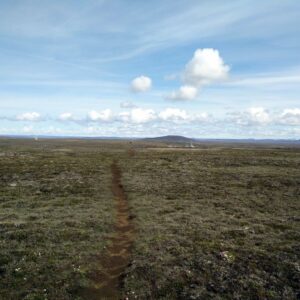
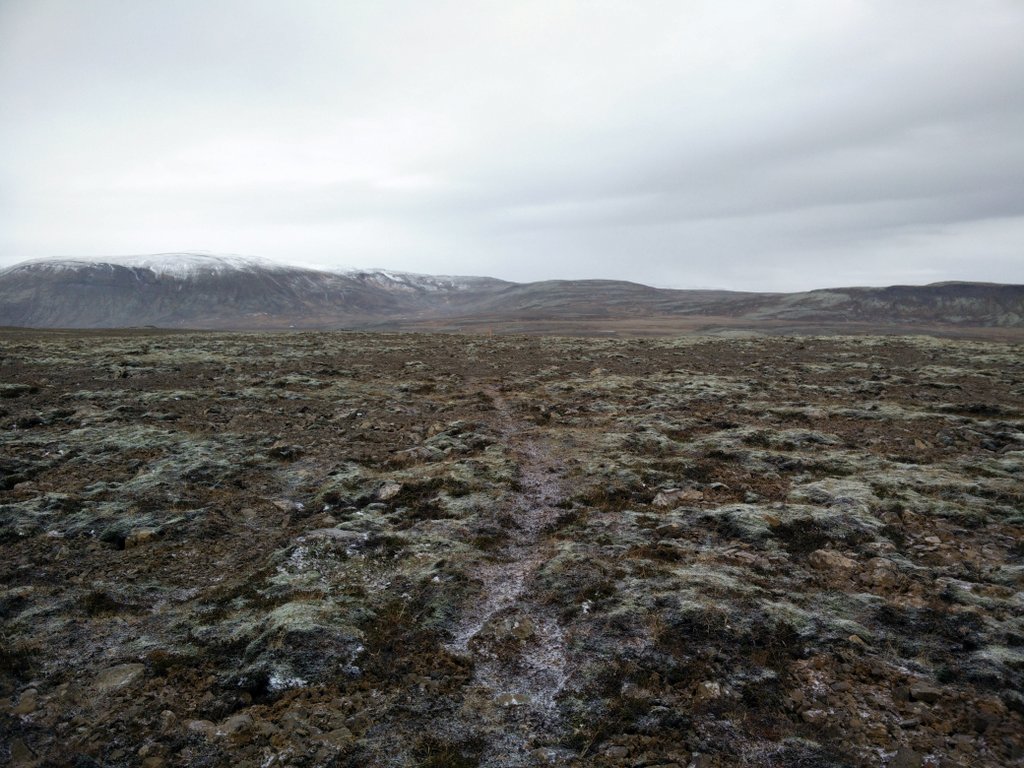
As I didn’t want to hike back to the starting point on the same trail as I used for the way up I decided to descend the plateau over its southeastern side. From the highest peak you thus follow a narrow path, marked with orange sticks, that runs towards east. After walking several hundred meters on this path a great view on Reykjavik will open. Soon you will arrive to a directions sign. Here you should continue on the path leading east until you reach a small river. However, I decided to make a “shortcut” and went off the path leading east and instead went southeast, only to arrive to the same river after several hundred meters. I would recommend you to stick to the path as the terrain where I was walking is very rocky and at some places also swampy. The swampy areas were not a problem in November as they were frozen, but in summer I believe it could be hard to walk on a terrain like this. In general I don’t think that I saved a lot of time with this shortcut as the demanding terrain slowed me down. When you reach the river (which you won’t cross) you will see a path that runs next to it. Turn right on the path and follow it for approximately 2 kilometers – it will eventually turn into a road. At some point you will reach some houses and a fence of barbed wire that runs across the road. The fence is for sheep and is high enough that you can go under it if you bend a bit. I did just that and then continued descending. Soon I arrived back to the big farm which I passed at the beginning of the hike. Then I continued back to the bus stop.
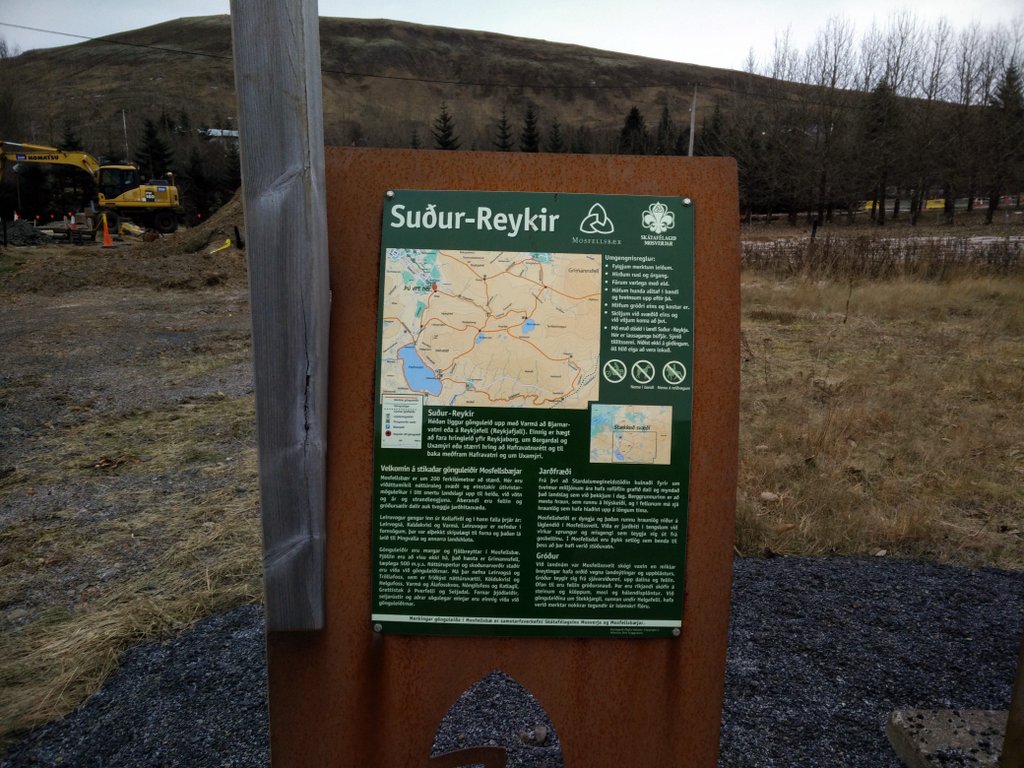
Reykjafell – Starting point
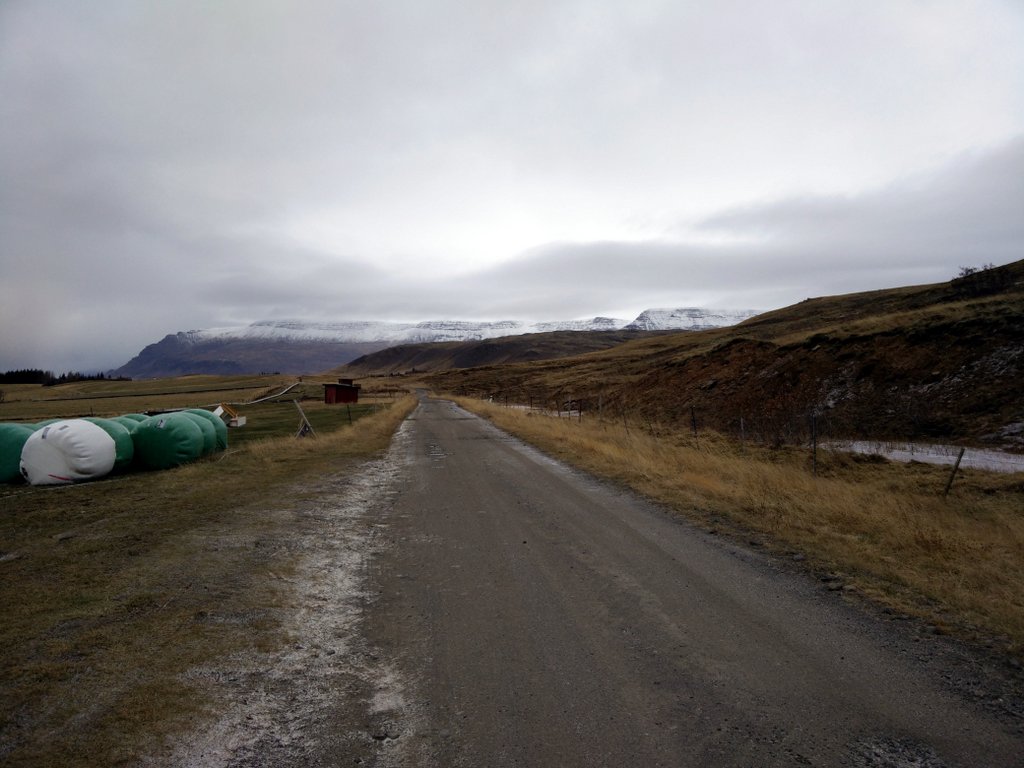
Reykjafell – Wide dirt track after the farm
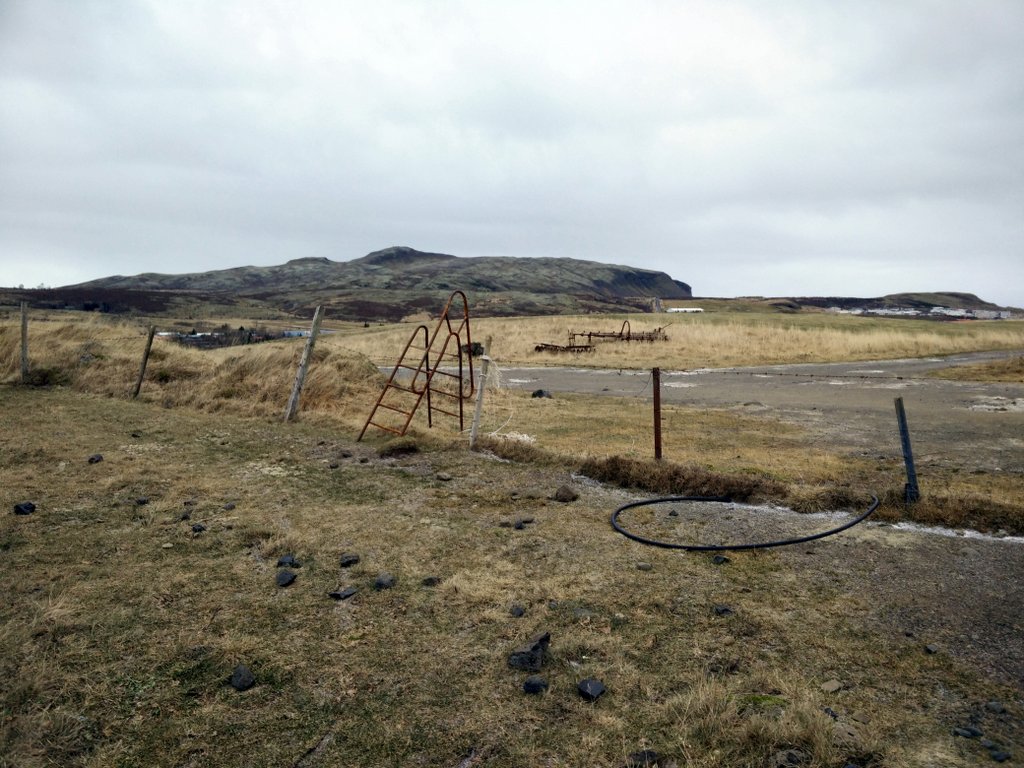
Reykjafell – Stairs over a barbed wire fence
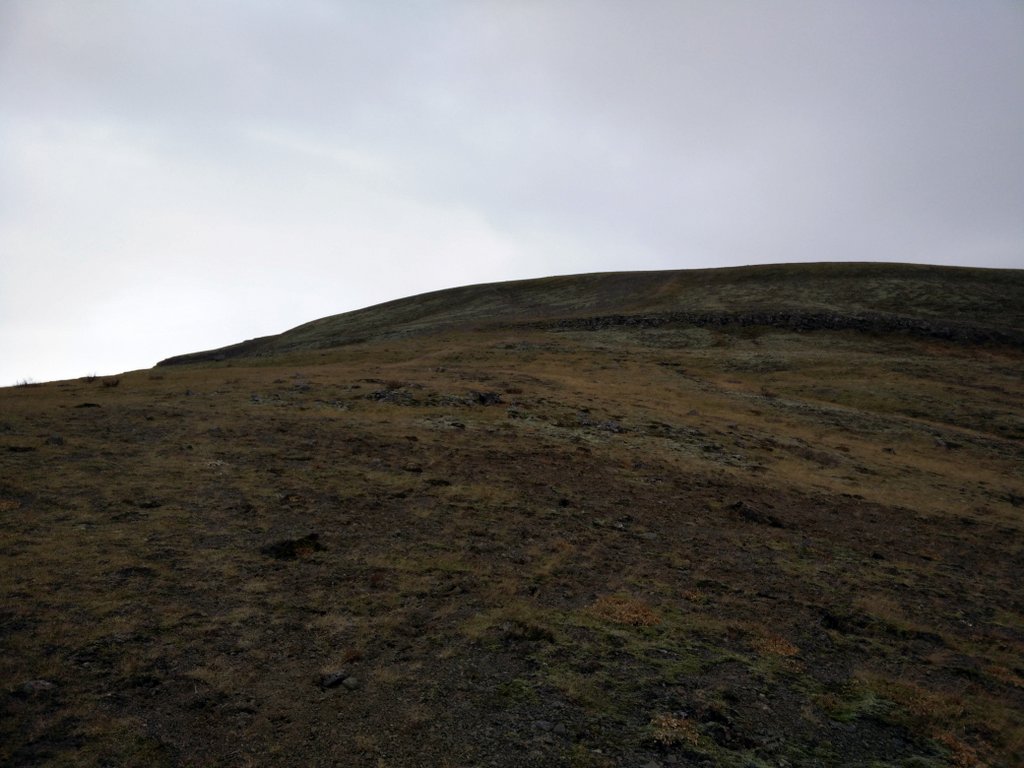
Reykjafell – Path to the top of the plateau

Reykjafell – View
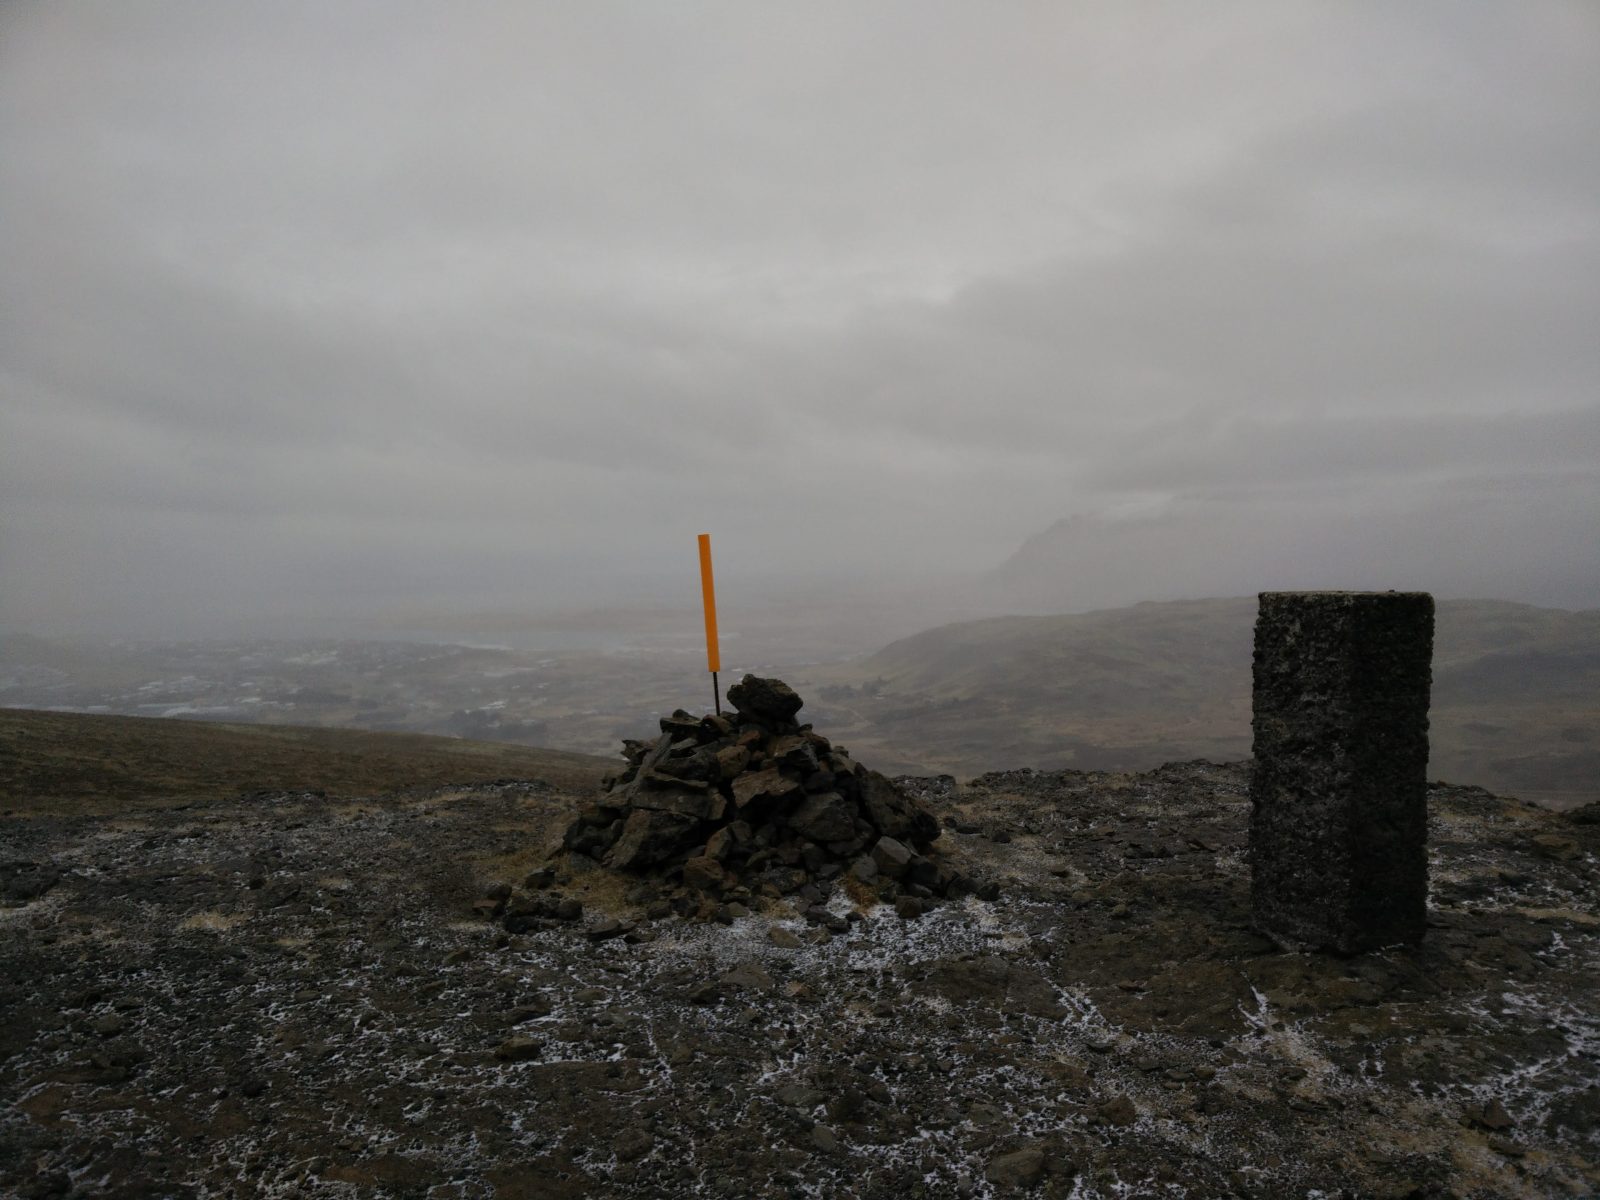
Reykjafell – On the top
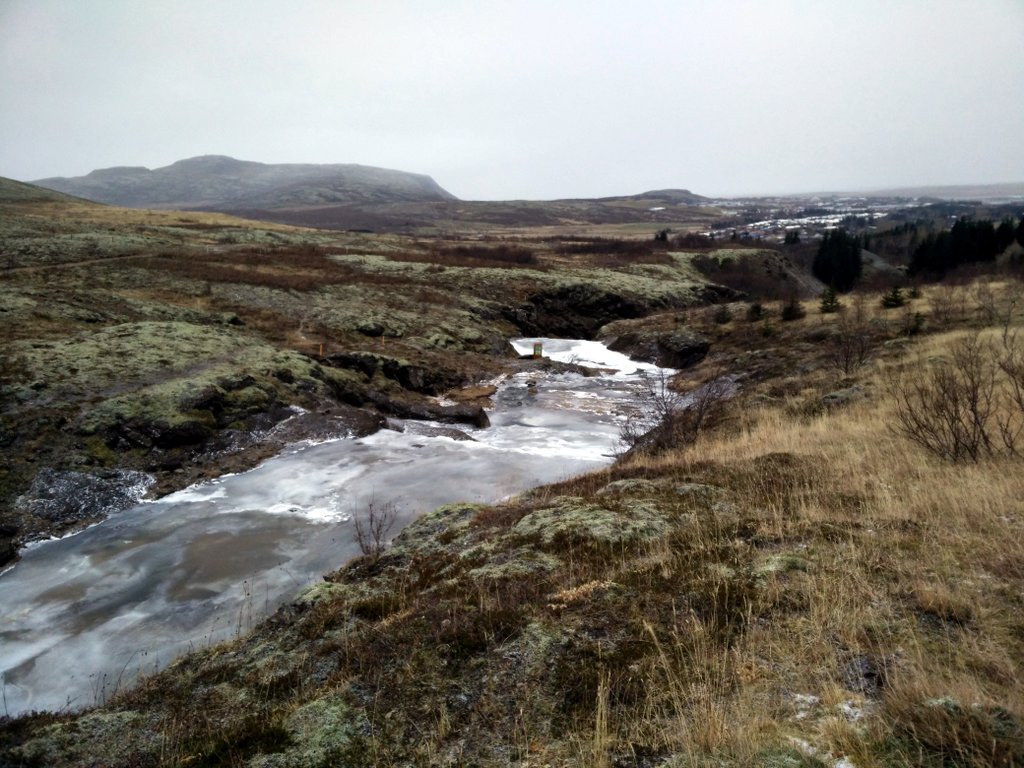
Reykjafell – Frozen river
Equipment
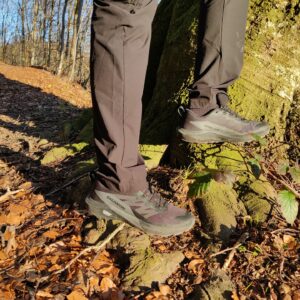
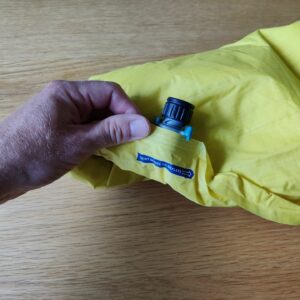
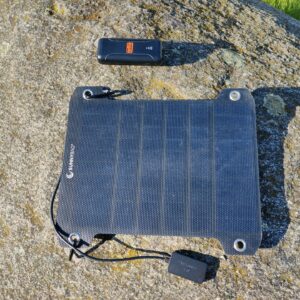
As the weather forecast showed extremely low temperatures (-4 C), light snow and strong wind I wanted to be well prepared for the hike. Therefore I used a 3-layer clothing system and wore thermal underwear made of Dryarn, Polartec fleece jacket, Carinthia HIG G-Loft jacket, windproof Schoeller AB400 pants, mid-length Salewa hiking boots, synthetic gloves and a Woolx Merino hat. In the Osprey backpack I was carrying additional thermal underwear, water, food, a headlamp and other accessories. In spite of my preparations, I was actually surprised how cold it was throughout the hike. The wind was incredibly strong and as my gloves unfortunately didn’t offer great wind protection, my fingers were quickly numb with cold. I believe that this hike can be really pleasant in nice weather but if you are planning to execute it in bad conditions I recommend you to wear warm, wind- and water-proof clothing.
Equipment under scrutiny
Woolx Merino Hat
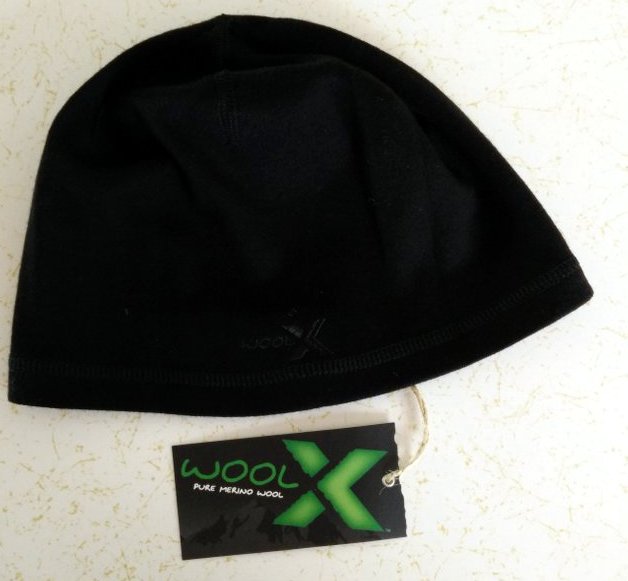
Woolx Merino Wool Hat – New
The Woolx Merino Hat is made of superfine 100 % 18.5 micron Merino wool. The material is extremely pleasant to the touch and the hat offers incredible comfort all over. I really like it and thus I regularly use it for my hiking trips, running training and even for everyday activities. However, in these harsh conditions the hat didn’t provide sufficient warmth as the strong wind effectively penetrated the fabric. Therefore, I put on the Carinthia jacket’s hood and suddenly I felt the difference: My head was warm and comfortable for the rest of the hike. The hood is otherwise relatively thin but as it is made of Gore-Tex Windstopper material, it offers great protection against wind and rain – and together with the comfort and warmth of the woolen Woolx hat I was ready to face the storm. You can read the full review here.

Conclusion and photo gallery
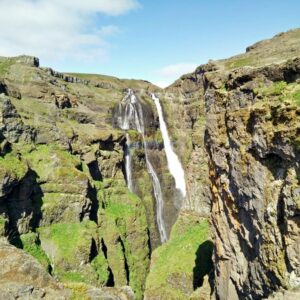
The Reykjafell trail is probably extremely pleasant in nice weather with its varying landscape and the little gushing river (which was completely frozen at the time of my hike). In such weather I believe that everybody can execute this hike without extra hiking gear, but I would recommend you to at least use a pair of decent trekking shoes as the climb to the top of the plateau is relatively steep. However, if you are doing this hike in bad conditions (like I was) I would advise you to use high-quality hiking clothing. The best thing about this trail is that it can be done in very short time – 3 hours including the transport from Reykjavik. Therefore, it’s best for those who want to get a sense of the Icelandic mountains but don’t have a lot of time or want to stay close to Reykjavik.
Reykjafell - Path from the highest peak towards east
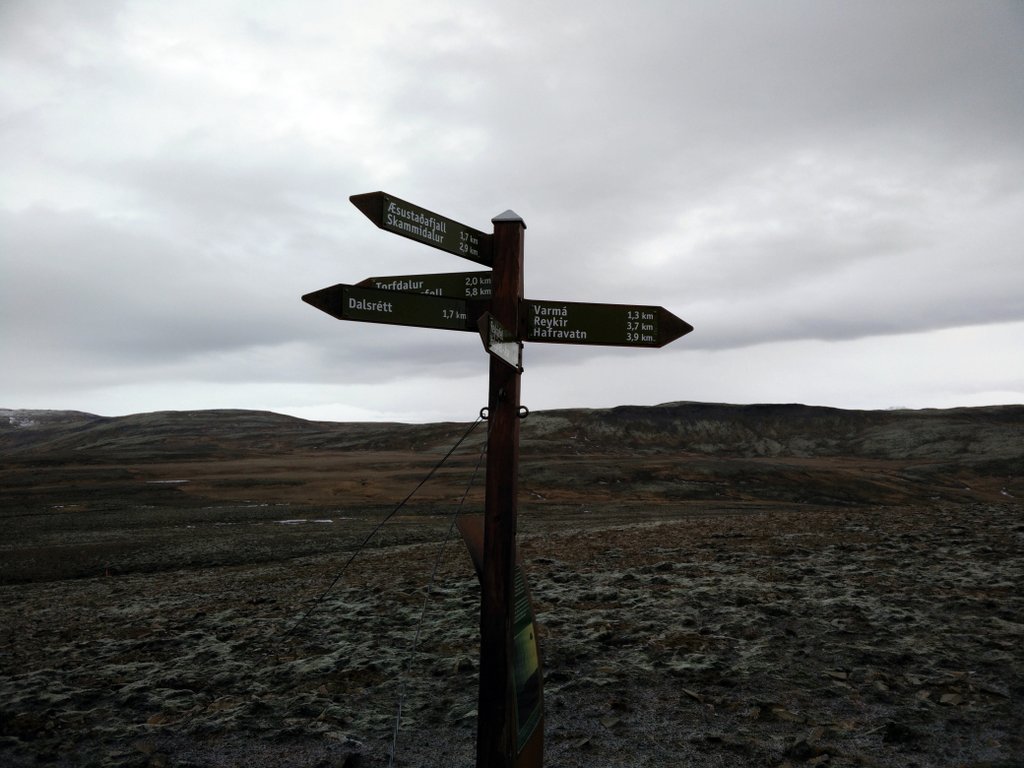
Reykjafell - The directions sign
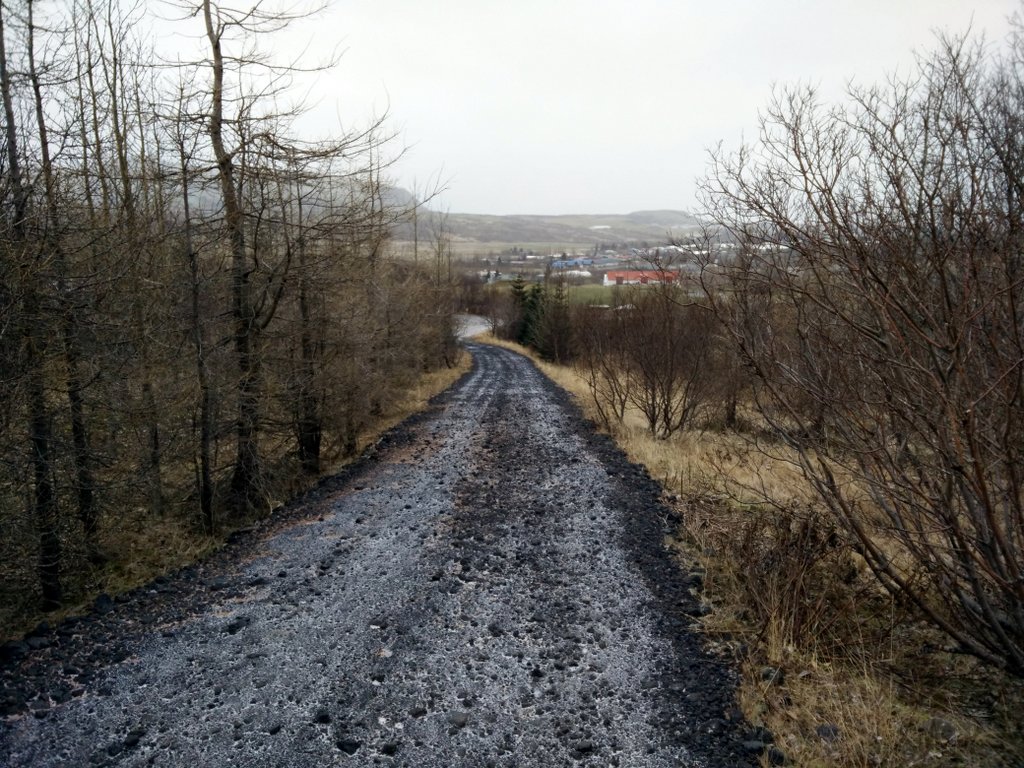
Reykjafell - Way back to the starting point
If you have any questions about this hike, please drop me a line in the comments below.