Otmarjeva Pot
About Otmarjeva Pot Via Ferrata Trail
Gradiska Tura is a very small mountain in Slovenia which has become popular due to a relatively demanding via ferrata trail called Furlanova Pot. During my holidays, I figured out that yet another via ferrata trail has been established there, named Otmarjeva Pot, which is supposedly one of the hardest in the country. Therefore, I couldn’t resist to try it. The good thing about the new via ferrata trail is that you can combine it with the old one; the old one starts lower and when you finish it, you just have to go towards south-west for several hundred meters to reach the starting point of the Otmarjeva Pot via ferrata trail.
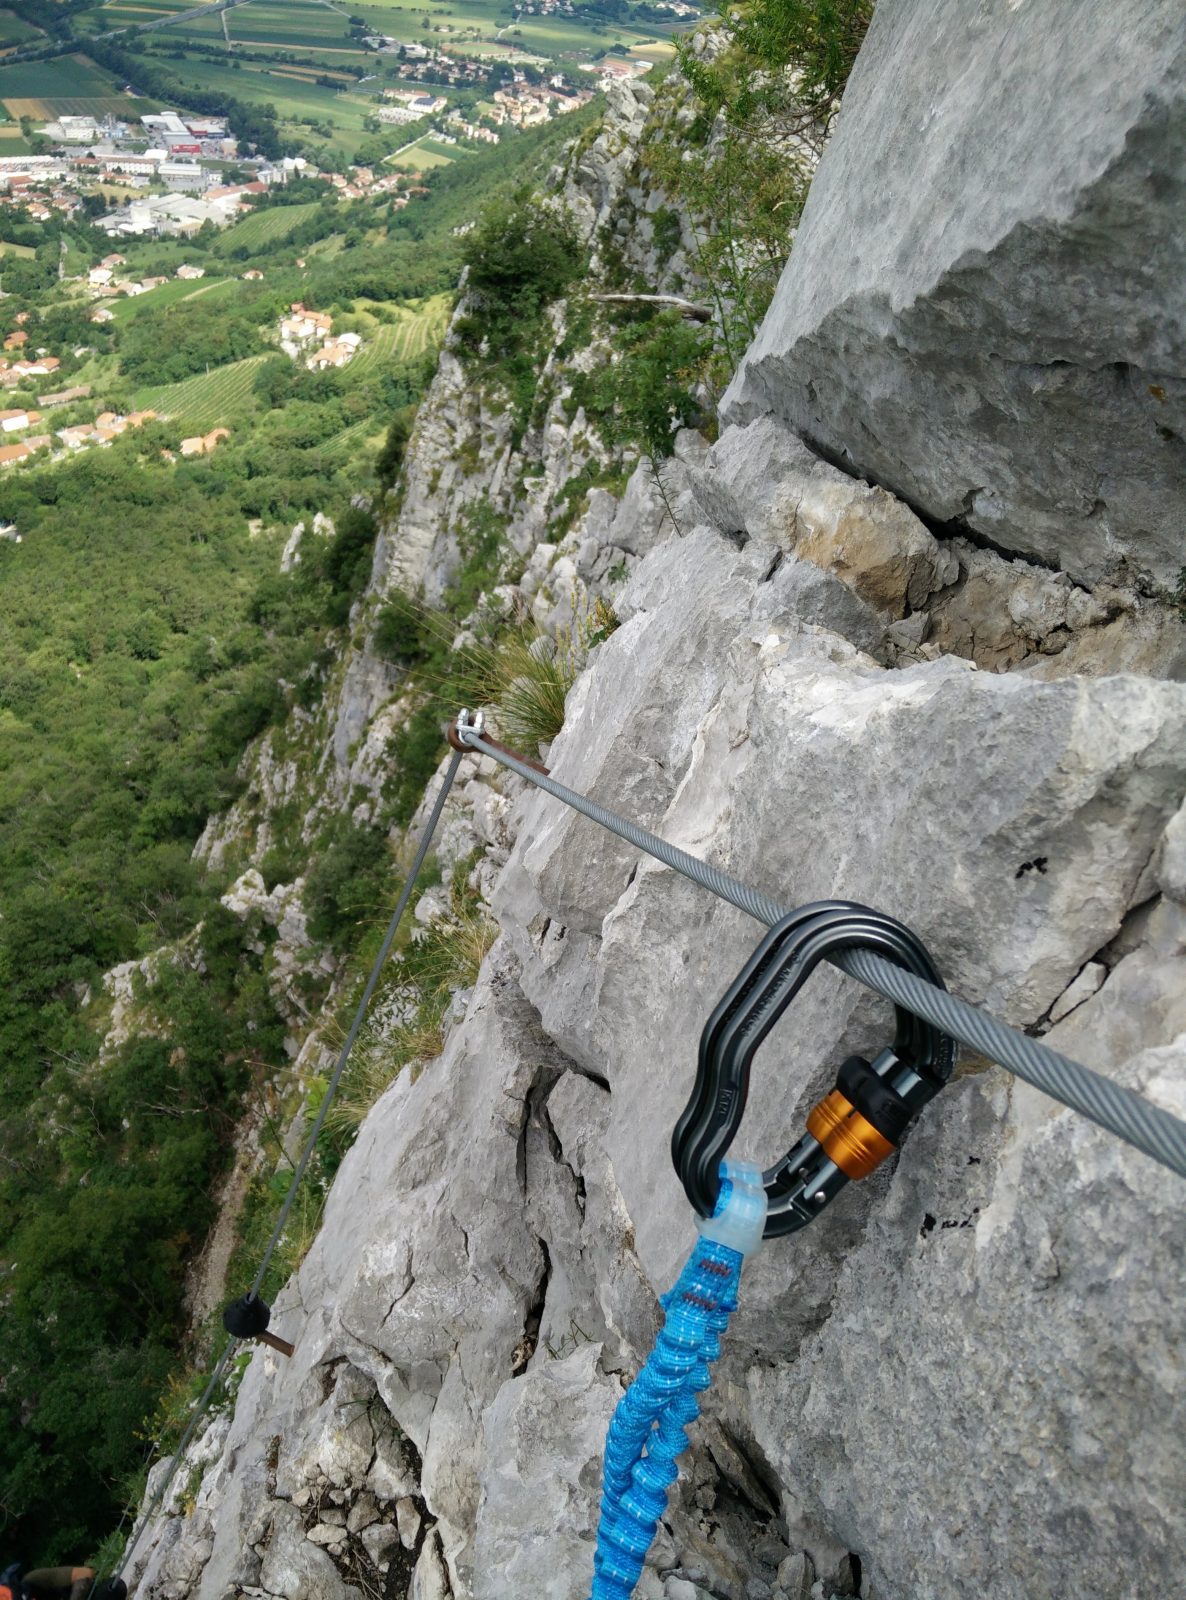
The Otmarjeva Pot via ferrata trail ascends for 240 meters over the distance of 400 meters on a very exposed terrain. You encounter long ladders, very steep to vertical stretches and even overhanging sections. Nevertheless, there are plenty of climbing aids such as iron rungs and carved steps, and the steel cable is fixed to the rock every couple of meters for extra safety. This via ferrata is, however, suitable only for those who already have via ferrata experience and requires a climbing harness, helmet, good footwear and a via ferrata set.
I decided to approach Gradiska Tura undertaking both via ferrata trails, even though I already climbed the much easier Furlanova Pot several years ago. Indeed, Furlanova Pot turned out to be a nice warm-up for the much more demanding Otmarjeva Pot. Below are the trail details and description.
Otmarjeva Pot Via Ferrata Trail Details
Physical Difficulty
Easy
Technical Difficulty
Hard
Duration
4h 38 min
Distance
4.30 km
(2.67 mi.)
Ascent
501 m
(1644 ft.)
Descent
517 m
(1696 ft.)
Highest Point
749 m
(2457 ft.)
Lowest Point
270 m
(886 ft.)
Date of the Hike Date when we did this hike ?
July 2019
Weather On the day when we did this hike ?
Mostly Sunny
Temperature On the day when we did this hike ?
28° C
(82° F)
Wind On the day when we did this hike ?
5 km/h
Warning!
This trail is technically very difficult and requires alpine equipment and proven experience with alpine mountaineering.
Otmarjeva Pot Via Ferrata GPS Route and Trail Description
*Click on the chart to see the location on the map
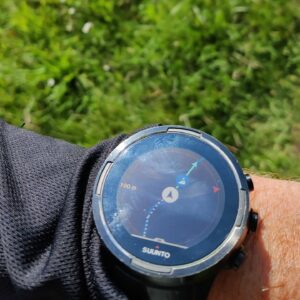
GPX route helps you with the navigation on a hike. It can be used with a smartphone, handheld GPS device or a GPS watch.About GPX Route
Reaching the starting point
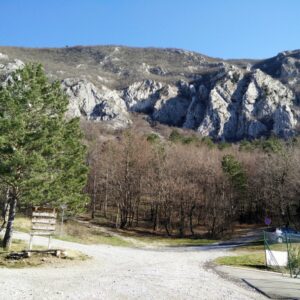
This trail starts at the Tura campsite in the village Gradisce which is located several kilometers away from the bigger town Vipava. The best way to reach the starting point is by car, but with a bit of effort and hassle you can also get there by public transport.
To reach the Tura campsite you should drive along the E61 freeway and at the Razdrto you should continue towards Vipava on H4 highway. Take the Vipava exit and after that turn left in the first crossroad. After half of a kilometer or so, you will see direction signs for Gradisce and campsite Tura. Then just follow the directions signs for the campsite and after several minutes you will reach it. There you can park your car free of charge on a big parking lot.
If you plan to arrive by public transport, check the time schedules for buses to Vipava on this website. Note that you will have to walk (uphill) from the bus stop to the campsite which will take you at least half of an hour.
Trail
At the parking place of the campsite follow the directions signs for Gradiska Tura and start hiking on the narrow path towards east. The trail is well marked and thus you shouldn’t have any problems with the navigation. In case you are not sure where to go, just follow the painted white and red circles on trees and rocks. After a couple of hundred of meters the trail will become rockier, steeper and cross some exposed stretches where you will have to use your hands. Soon you will arrive to a crossroad with a directions sign (distance of approximately 600 meters altogether). Here follow the directions sign for Furlanova Pot (left) and after 50 meters you will come to a bench just below this relatively easy via ferrata trail.
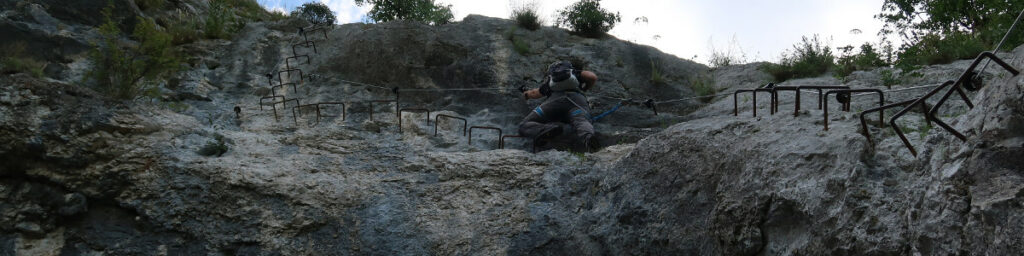
The bench is a great place to put on your via ferrata gear before you start ascending almost vertically up the mountain. The Furlanova Pot via ferrata is challenging but not too demanding. I think that it’s suitable for anyone reasonably fit and not afraid of heights. As I already described this via ferrata in an earlier trail here, I won’t go into details in this blog post.
After you are done with the Furlanova Pot, go right on the narrow path until you reach the starting point of the Otmarjeva Pot. The path will then descend for around 50 meters and soon you will be under a long ladder where the demanding part of the via ferrata starts.
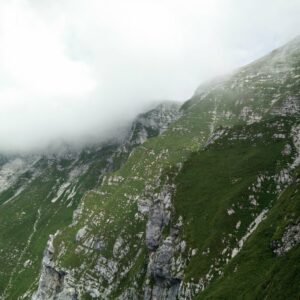
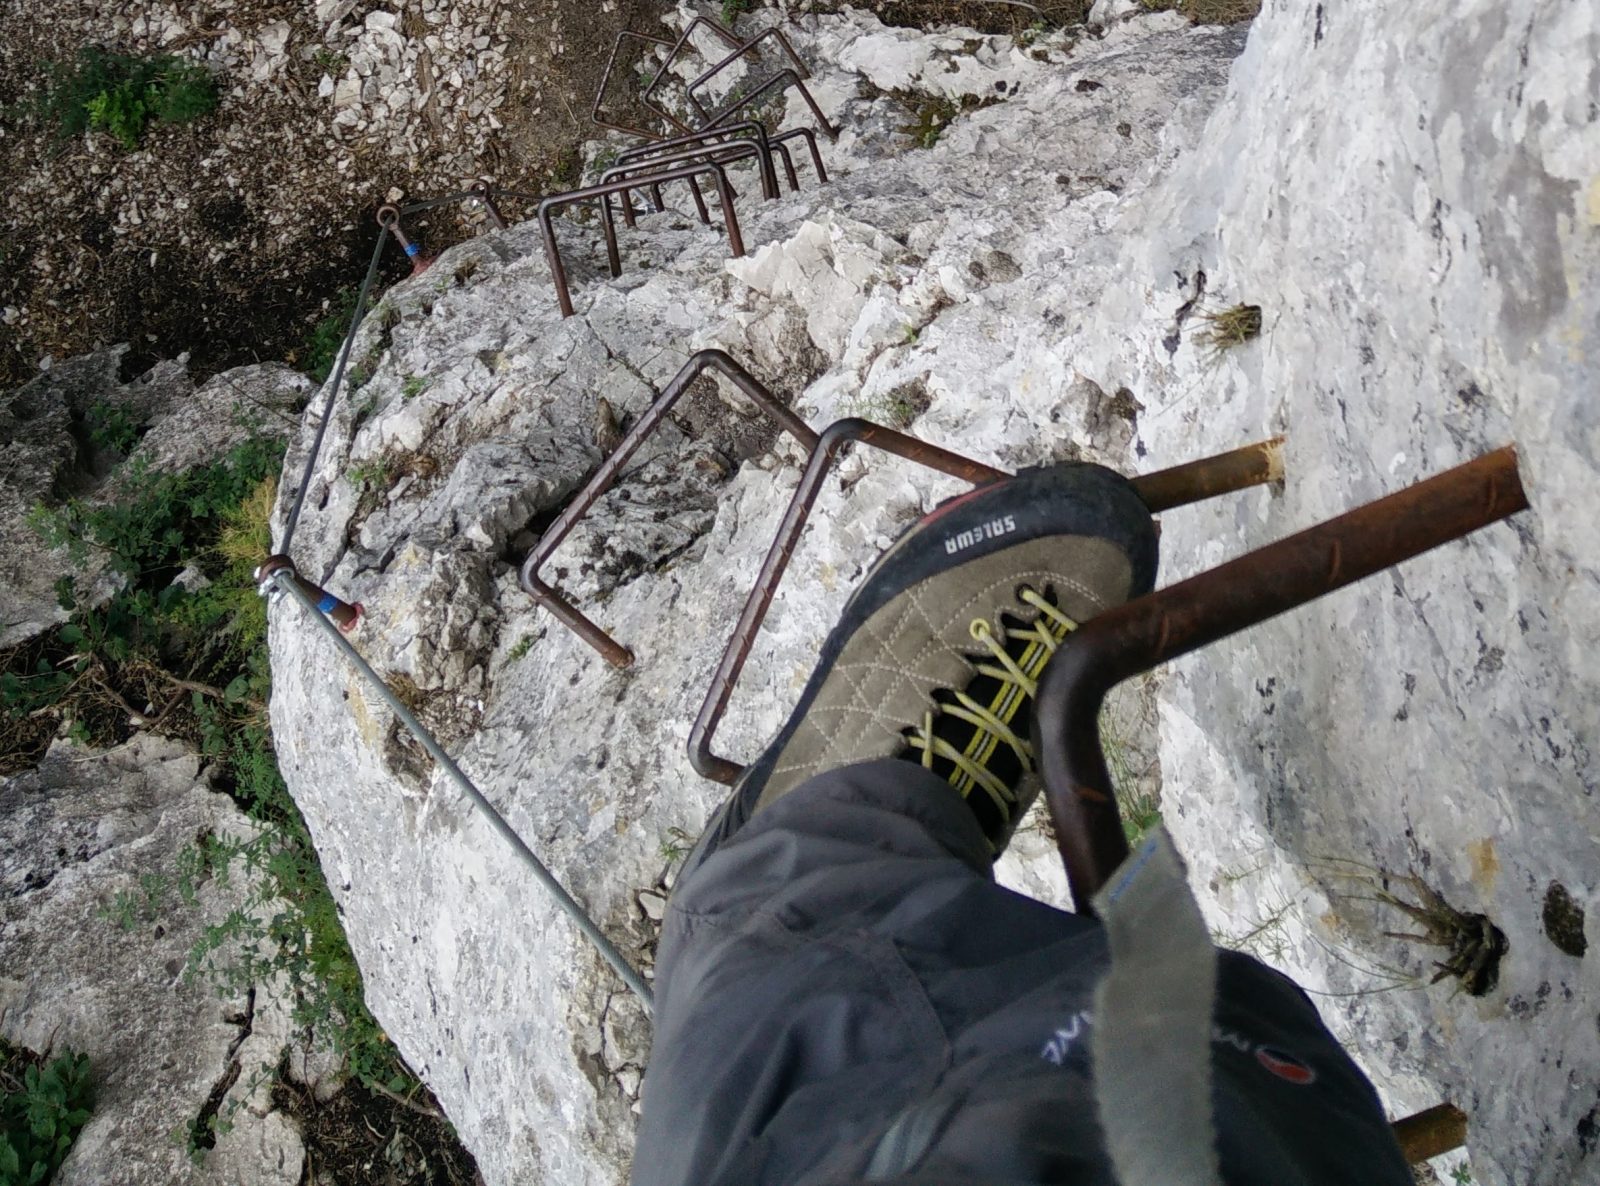
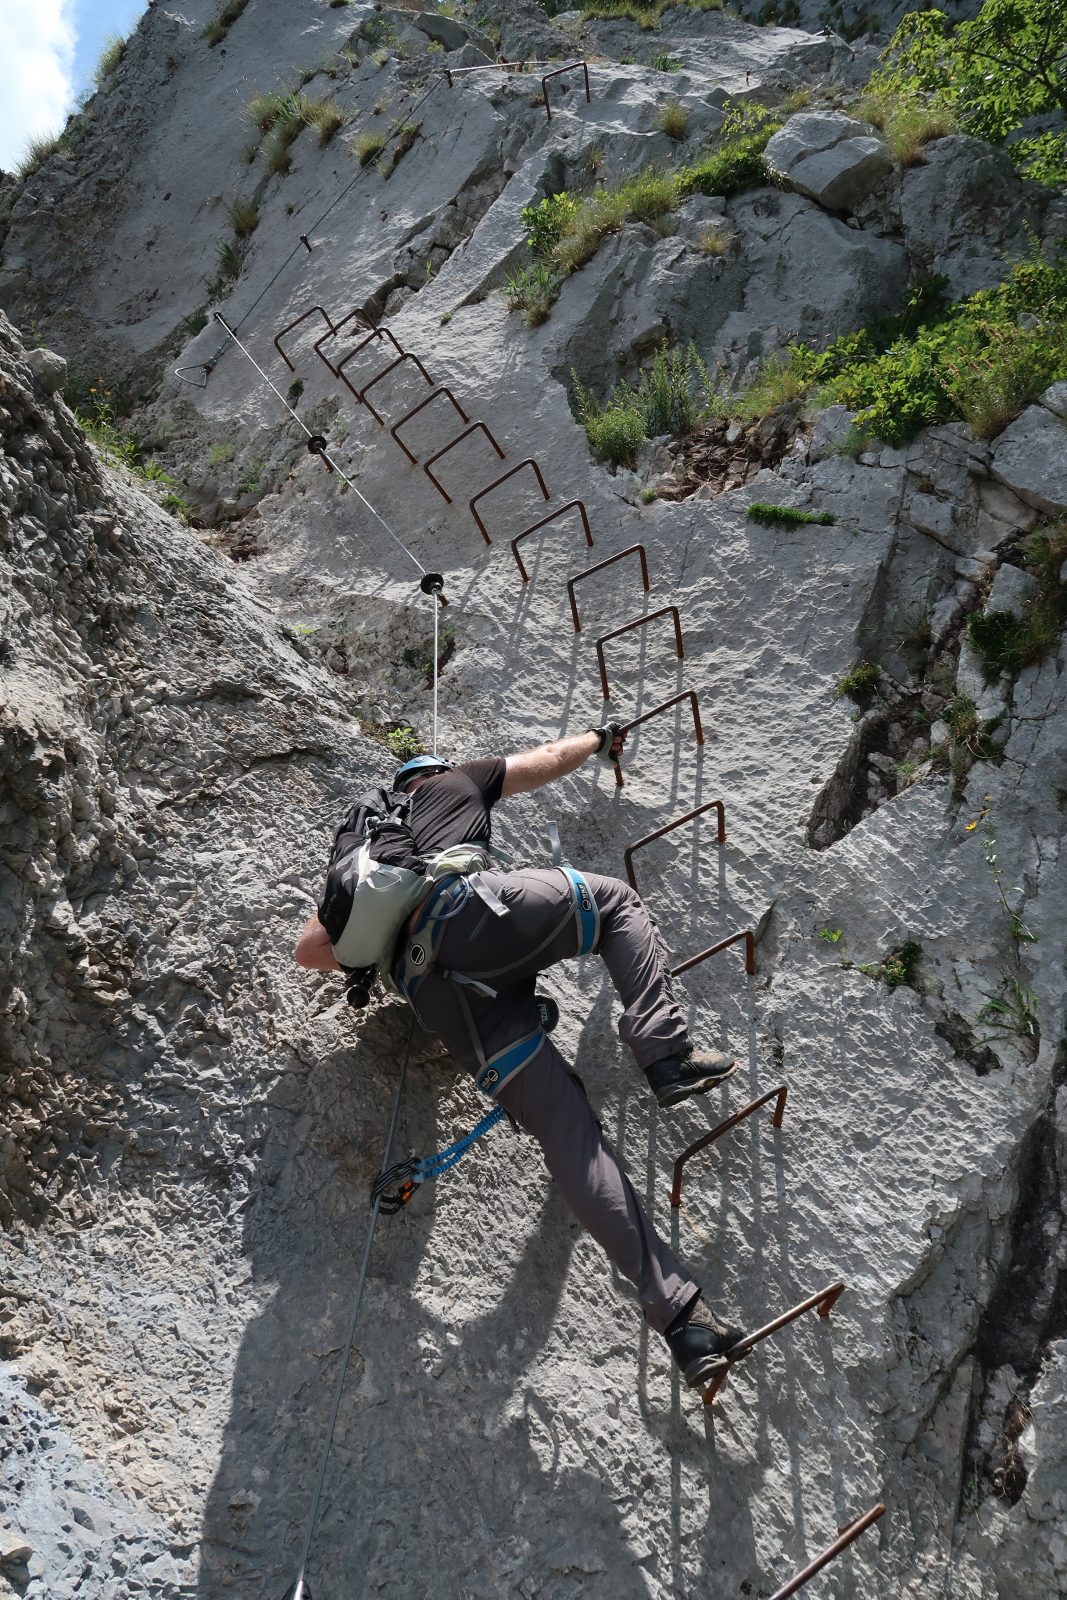
This very first ladder is also the most demanding part of Otmarjeva Pot. It first takes you directly up and then horizontally to an overhanging section. I had a bit of trouble coming over this overhanging section and thus I used the short arm of my Petzl Scorpio via ferrata set to rest for a minute or two, just hanging in the air. After that I managed to pull myself over and continue. The terrain ahead is very exposed but there are many carved steps and iron rungs which make the ferrata considerably less demanding. Nevertheless, it’s still a thrill to climb on so exposed terrain. Higher up you will encounter several more ladders but none of them is as demanding as the first one. The last ladder is relatively long and just before the end of the via ferrata trail.
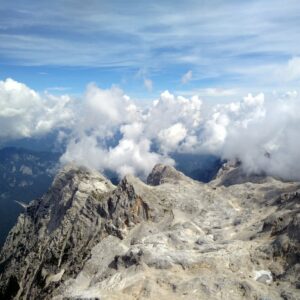
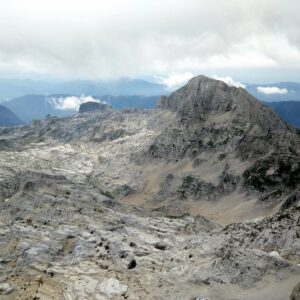
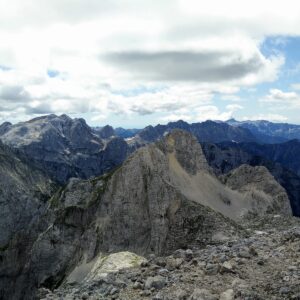
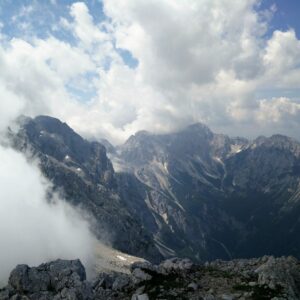
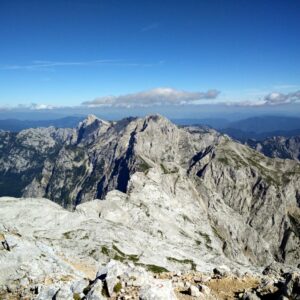
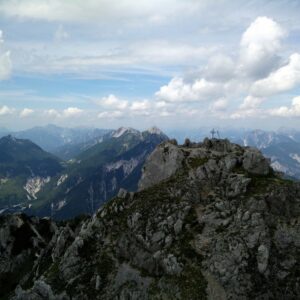
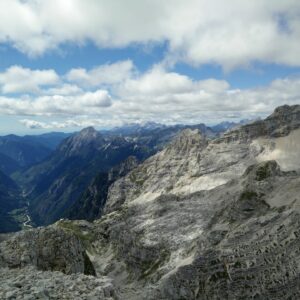
After you are done with the via ferrata you only have a couple of minutes of hiking left to the top. There is a big cross at the top and the view on the Vipava valley is just amazing.
Getting back to the starting point
For the way back you obviously don’t want to take the via ferrata trails. Luckily there is a nice hiking path back to the starting point. The path first goes towards south and then turns towards north. It runs parallel to both via ferrata trails and is well-marked, but steep in some places. It will take around an hour to come back to the starting point.
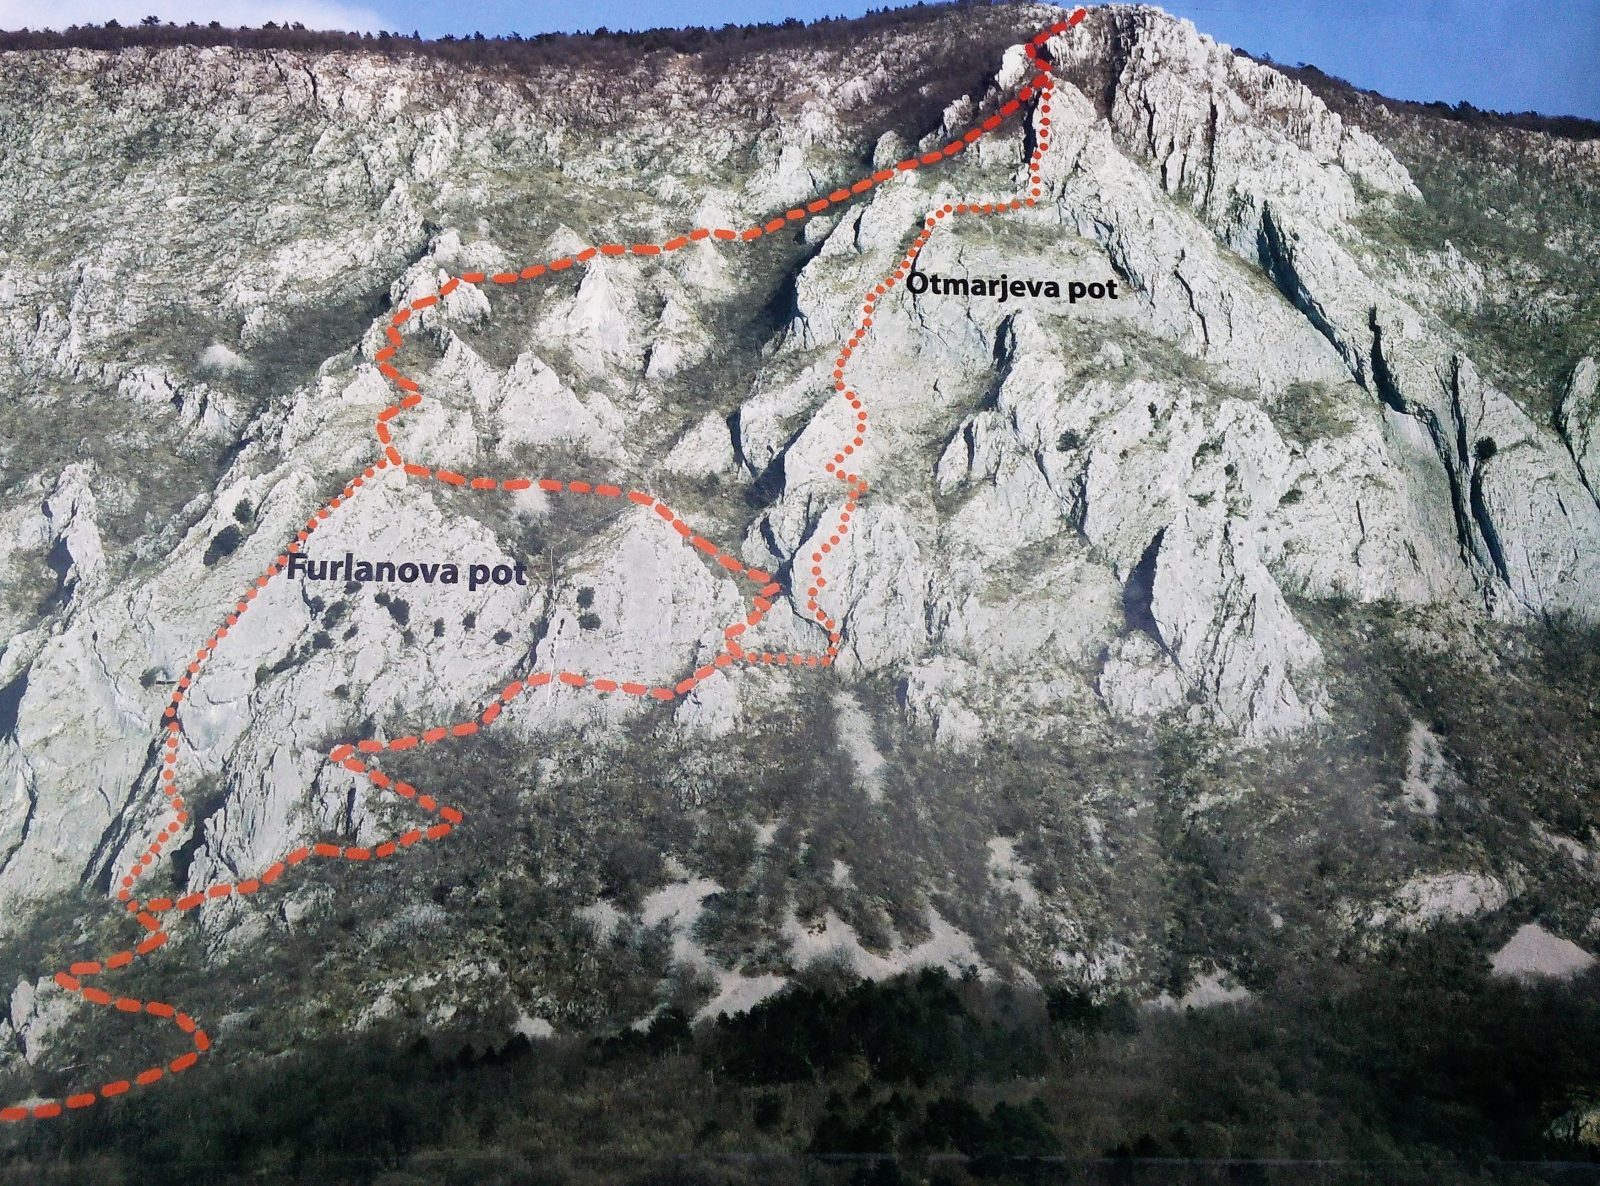
Visual presentation of both trails

The easier via ferrata – Furlanova Pot
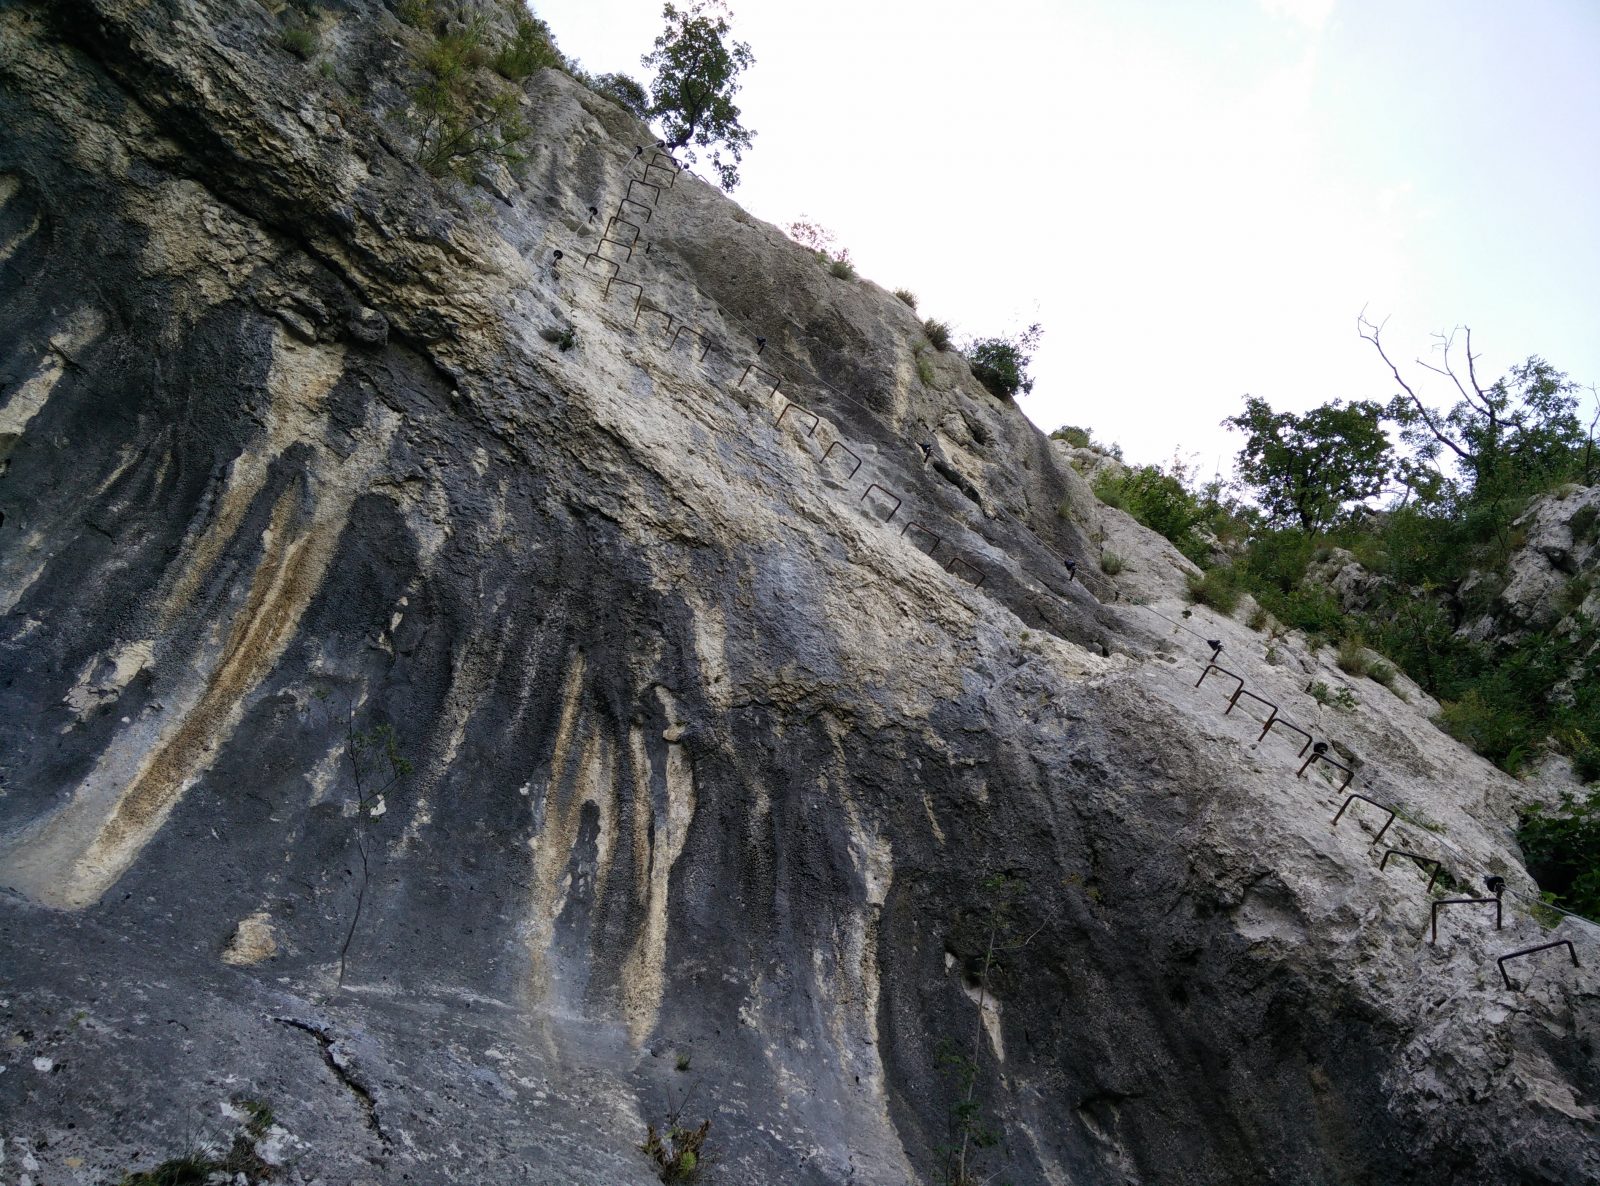
Otmarjeva Pot Via Ferrata – The first ladder
Otmarjeva Pot Via Ferrata – On the first ladder
Otmarjeva Pot Via Ferrata – Plenty of steps
Otmarjeva Pot Via Ferrata – Ladder Higher Up
Equipment
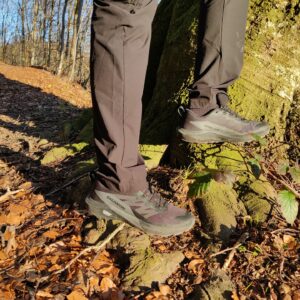
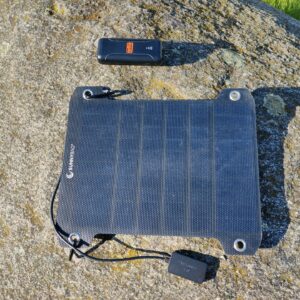
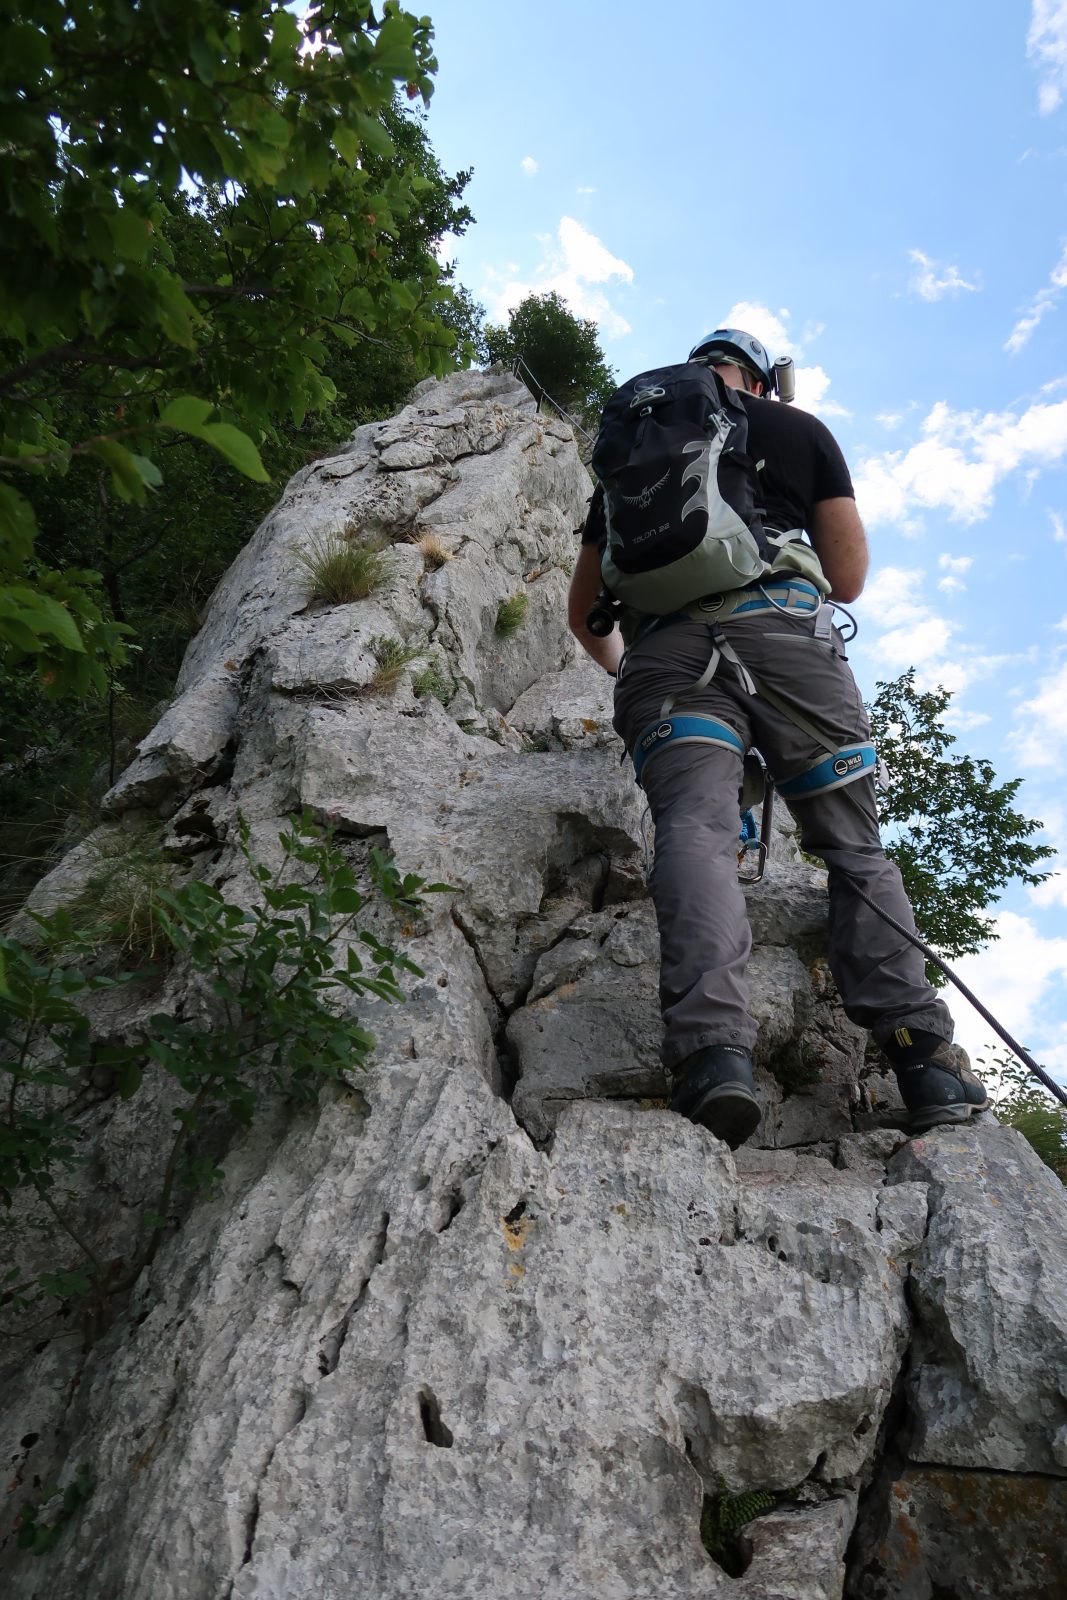
As I knew that this will be a relatively short climb and the weather forecast was good, I didn’t bring many things with me. I was wearing the Montane Terra Pack pants, Icebreaker Tech t-shirt and Salewa Mountain Trainer Mid hiking boots. While climbing I was also wearing a climbing helmet, climbing harness and my brand-new Petzl Scorpio via ferrata set. In my Osprey Talon 22 daypack I was carrying water, some snacks, and sun cream.
Equipment under scrutiny
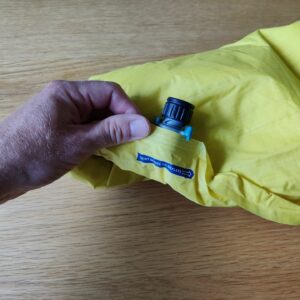
Petzl Scorpio Via Ferrata Set
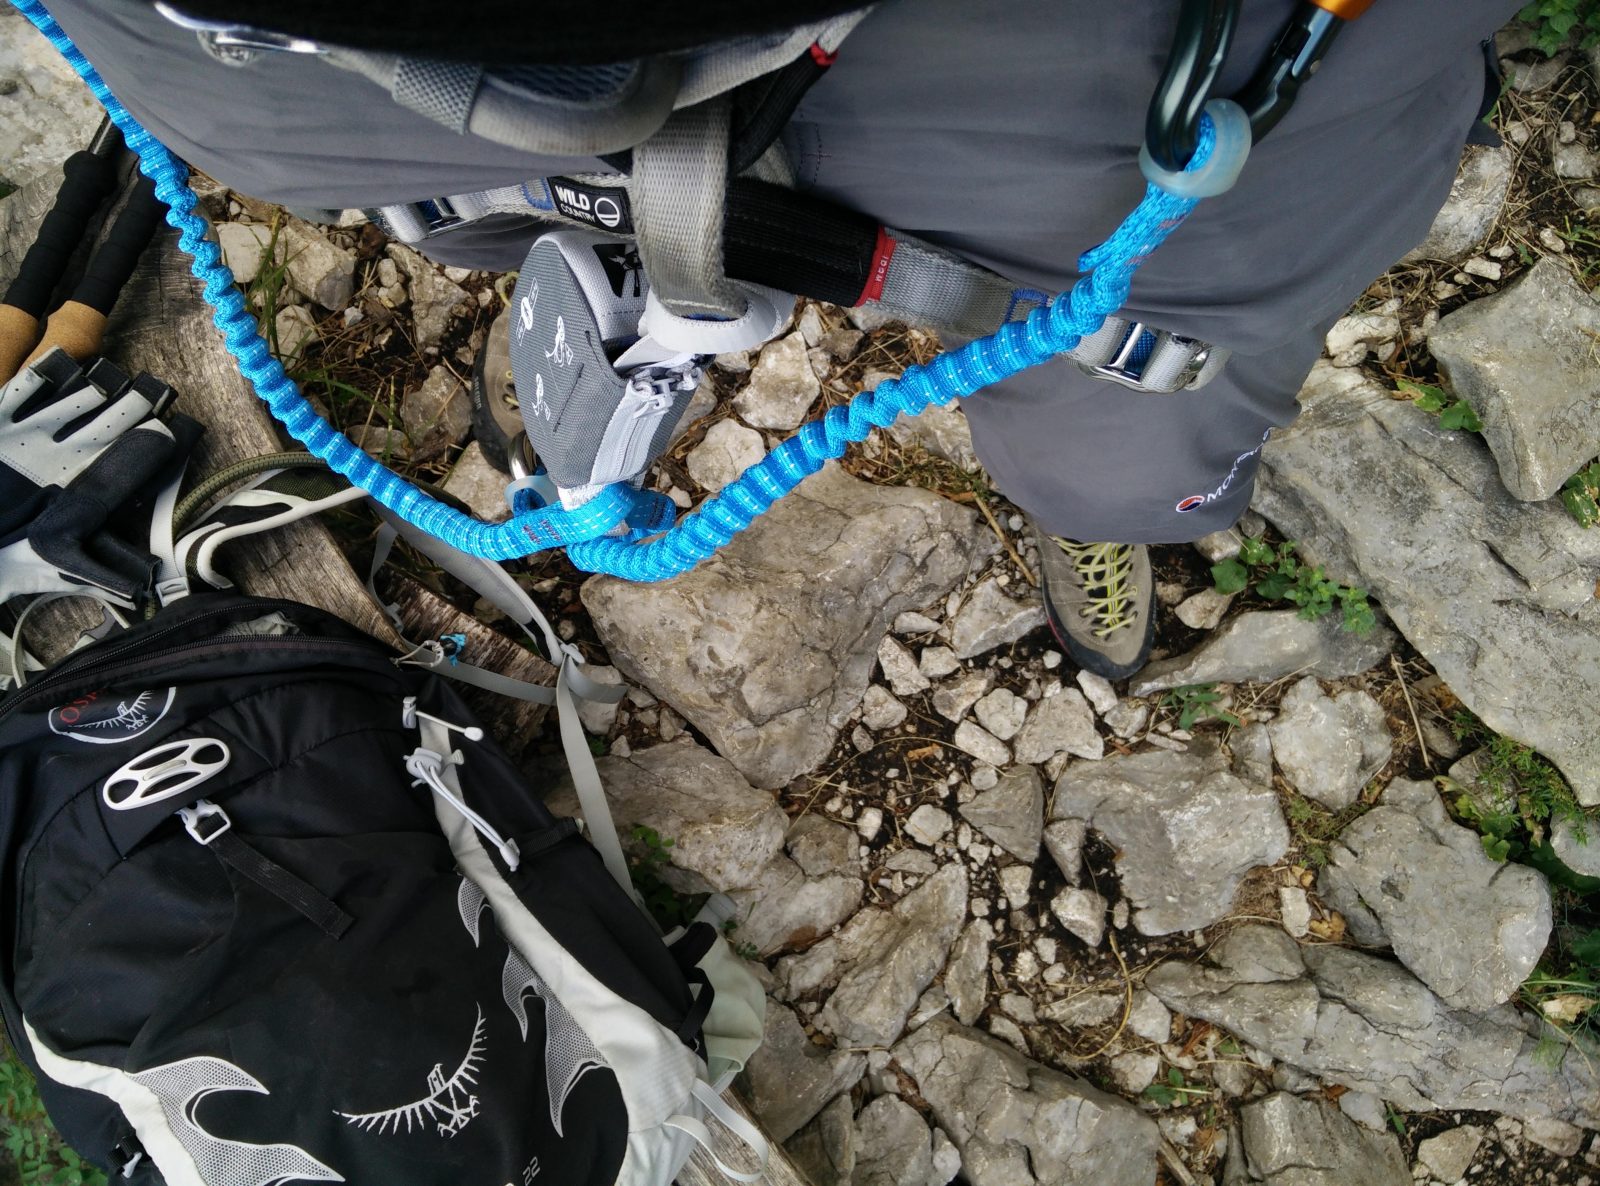
Petzl Scorpio Via Ferrata Set
I wore the Petzl Scorpio via ferrata set for the first time on this trail and I was very satisfied with it. The Petzl Scorpio via ferrata set is a Y-set with tear-out webbing and thus there is no rope hanging around while you are climbing. The best features of this via ferrata set are the elastic arms, easy-to-use carabiners and a short arm for resting. I switched to Petzl Scorpio from a bulky Y-set with a friction brake and it has been a delight. The Petzl set is also very small when packed into the pouch and thus it doesn’t take much space in the backpack. Read the full review of Petzl Scorpio via ferrata set.

Montem 3K Carbon Trekking Poles
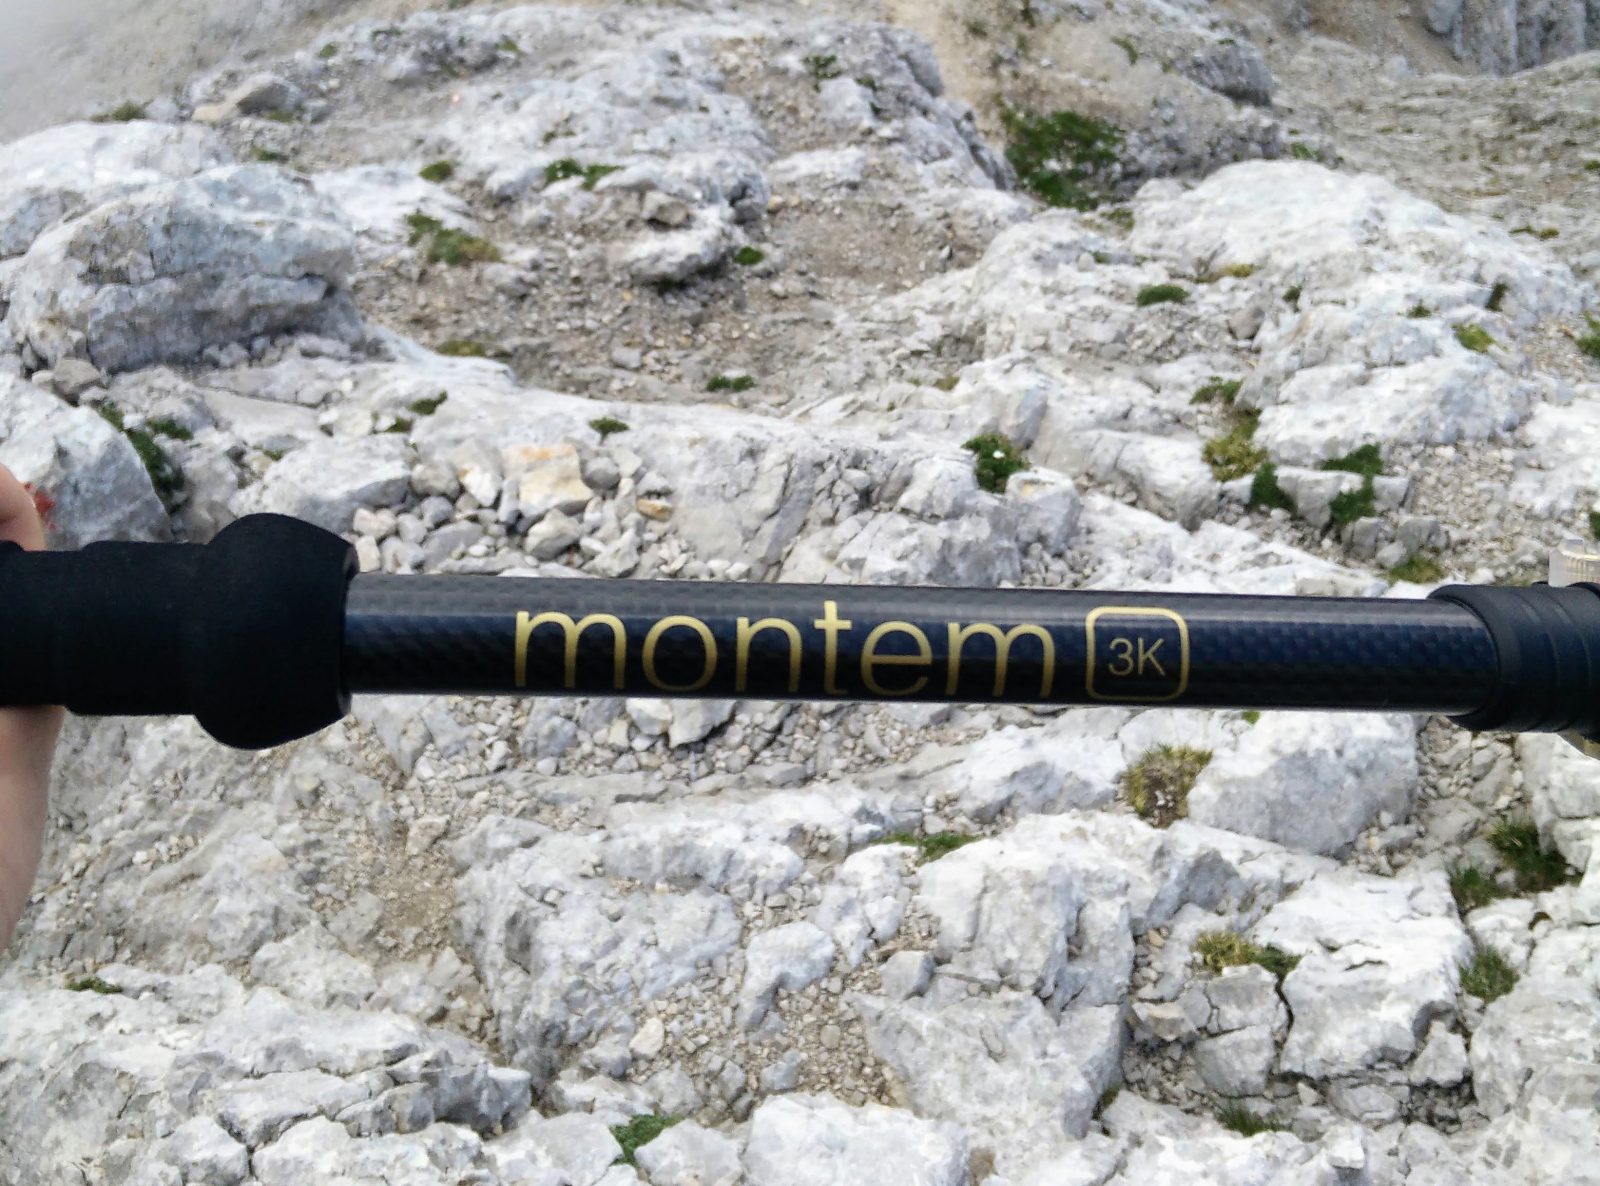
Montem 3K Carbon Trekking Poles
Now, trekking poles are not something you typically bring on a via ferrata trail but since I knew that the path down is quite steep, I wanted some extra traction. On the way up I mostly carried the Montem 3K carbon trekking poles attached to my Osprey Talon daypack via Stow-On-The-Go system. As they are very small when fully collapsed, they didn’t bother me at all. Furthermore, they are also super light. The pair weighs only 442 grams. Therefore, they are perfect for mountaineering and fast alpine ascents. Read also the full review of Montem 3K Carbon trekking poles.

Conclusion and photo gallery
The Otmarjeva Pot via ferrata trail is suitable for those who already have experience with such trails. It is technically very demanding and requires good physical preparedness – not least due to the first ladder and the overhanging section. You will without doubt need good footwear, a climbing harness, via ferrata set and a climbing helmet. Don’t forget to also bring water and sun cream, as there is very little shade to be had during the peak hours in the daytime. This trail is obviously not doable in wet conditions so check the weather forecast before going.
Resting along the Furlanova Pot via ferrata
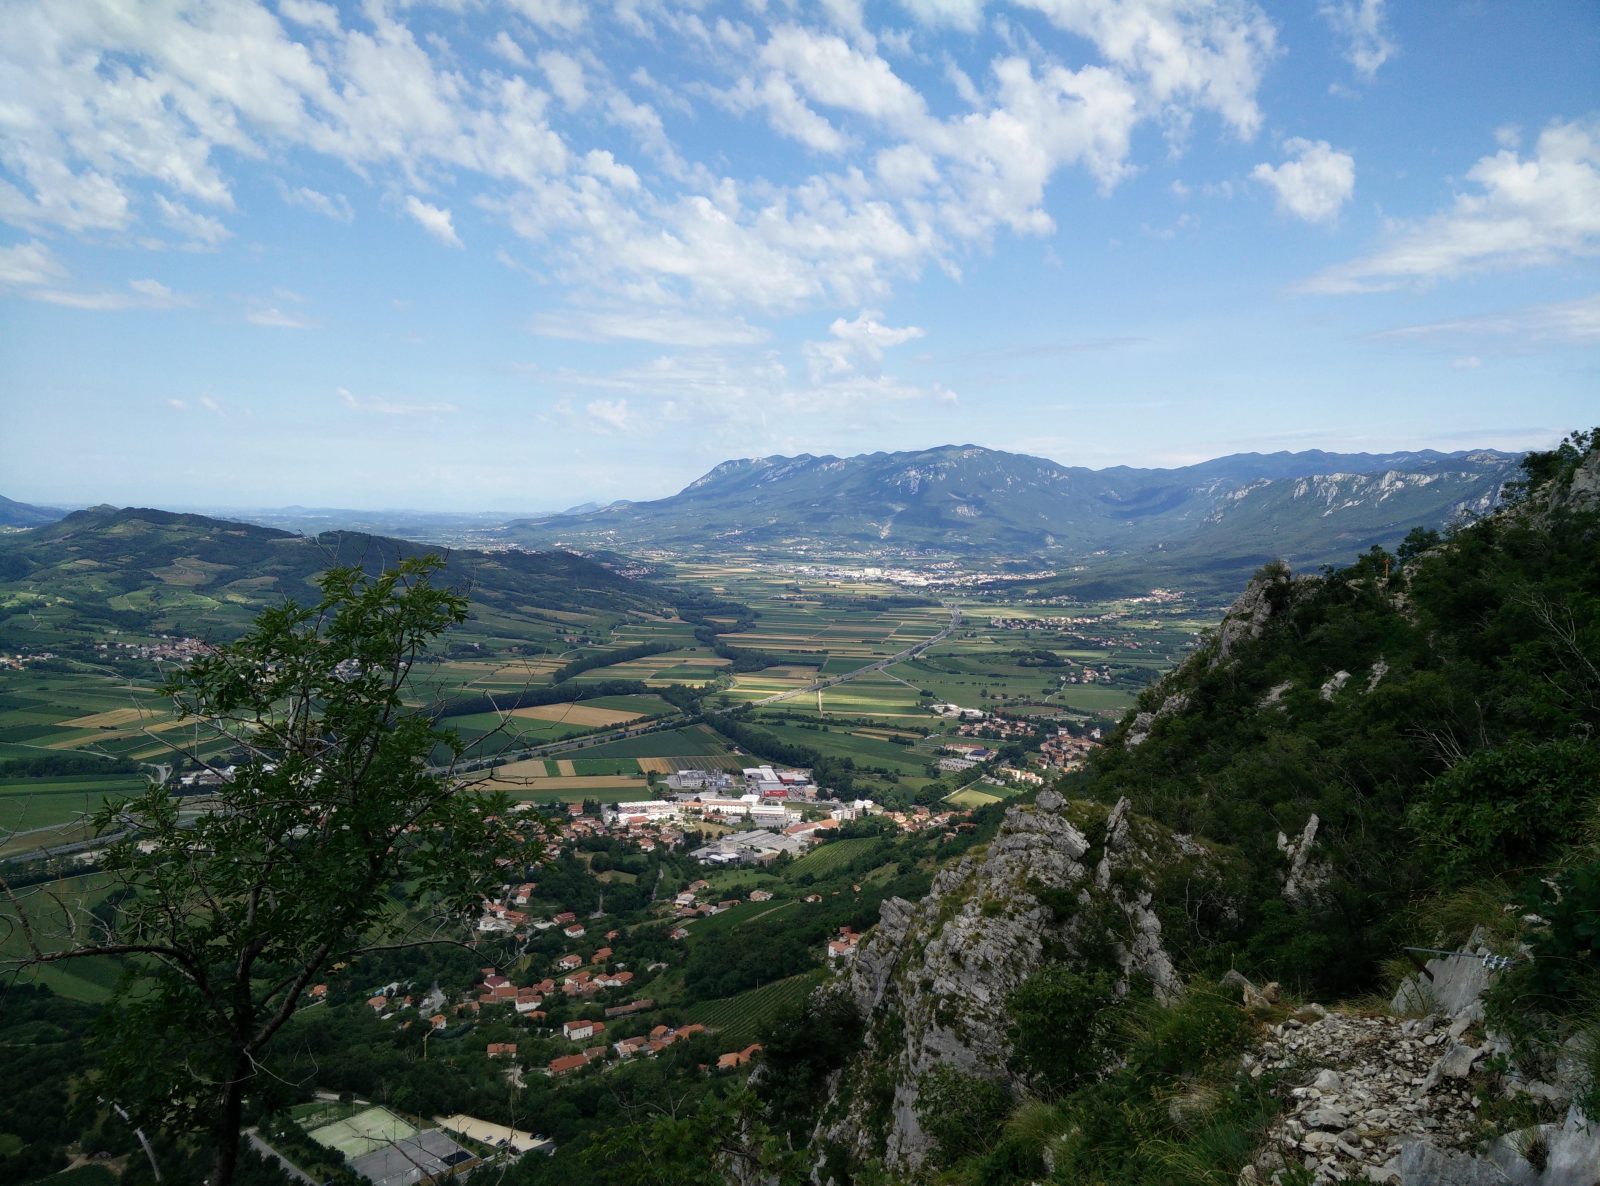
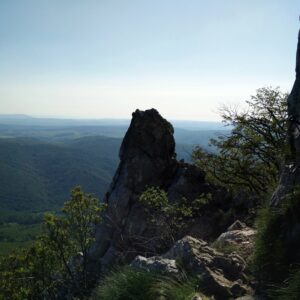
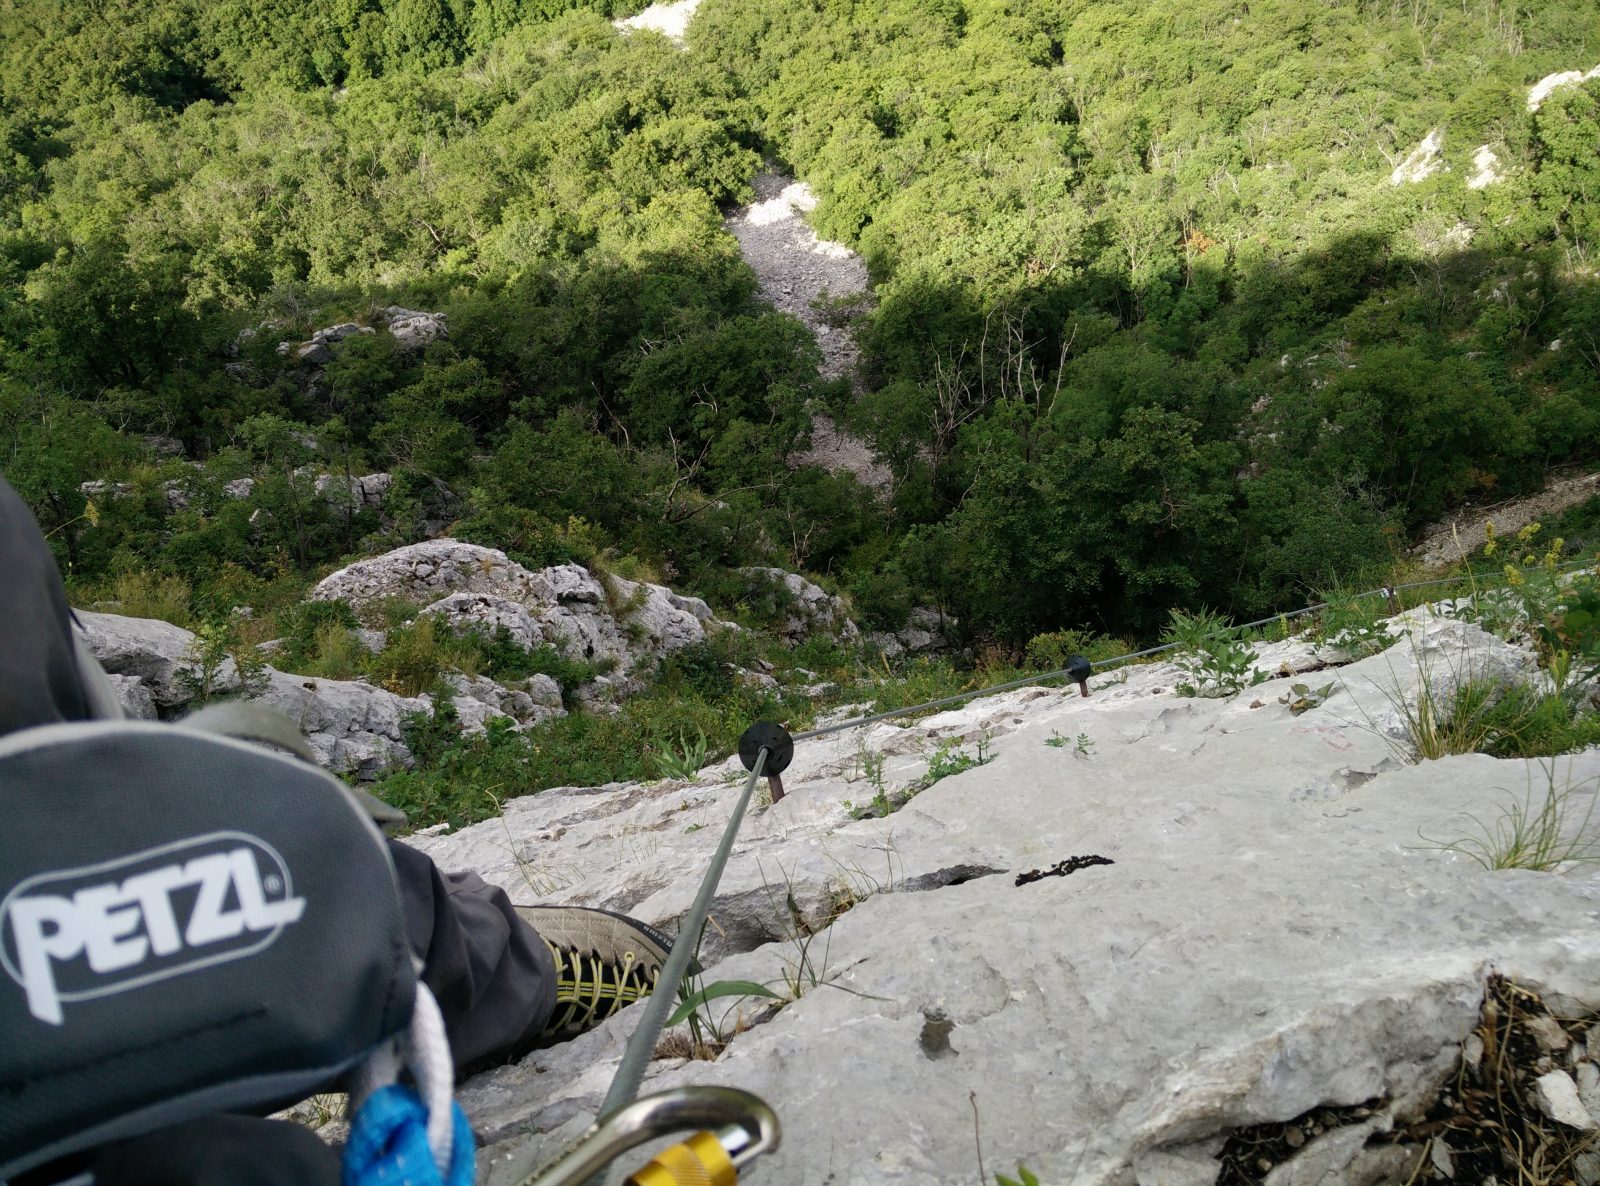
Otmarjeva Pot Via Ferrata - View from the trail
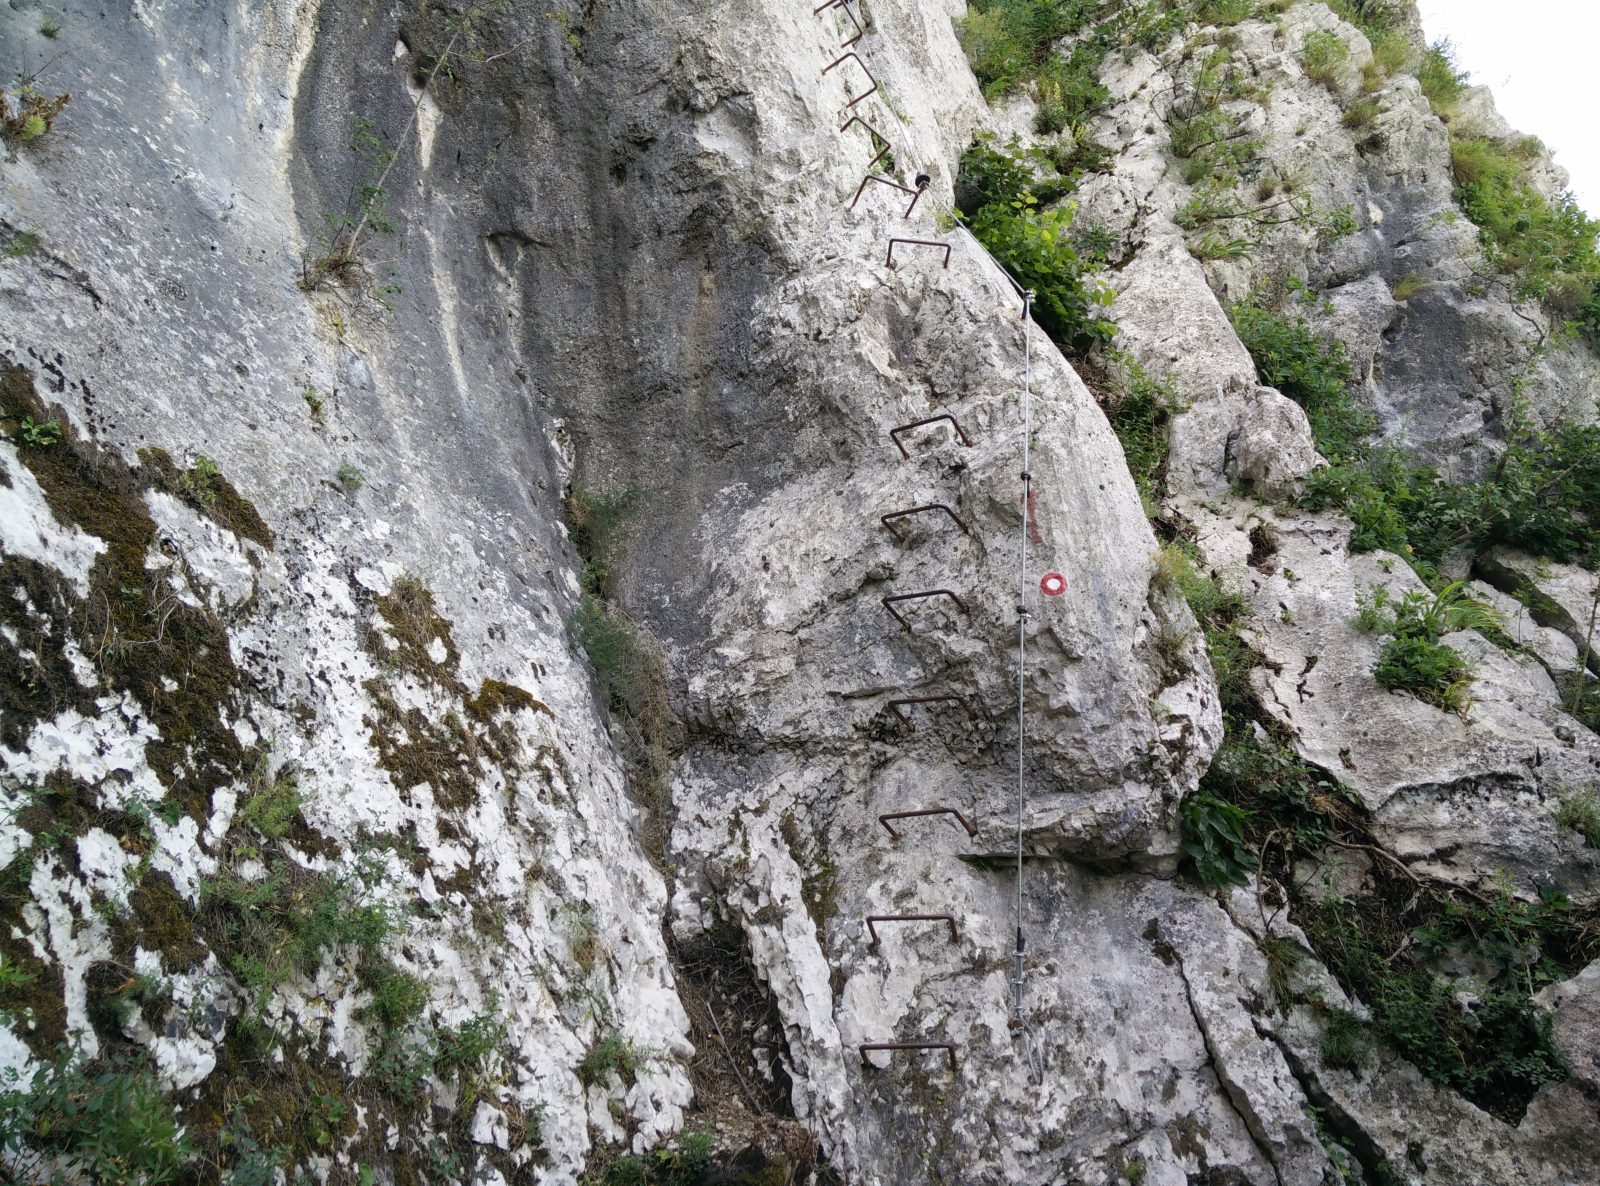
Otmarjeva Pot Via Ferrata - Start of the first ladder

Otmarjeva Pot Via Ferrata - On a ladder
Otmarjeva Pot Via Ferrata - Exposed terrain
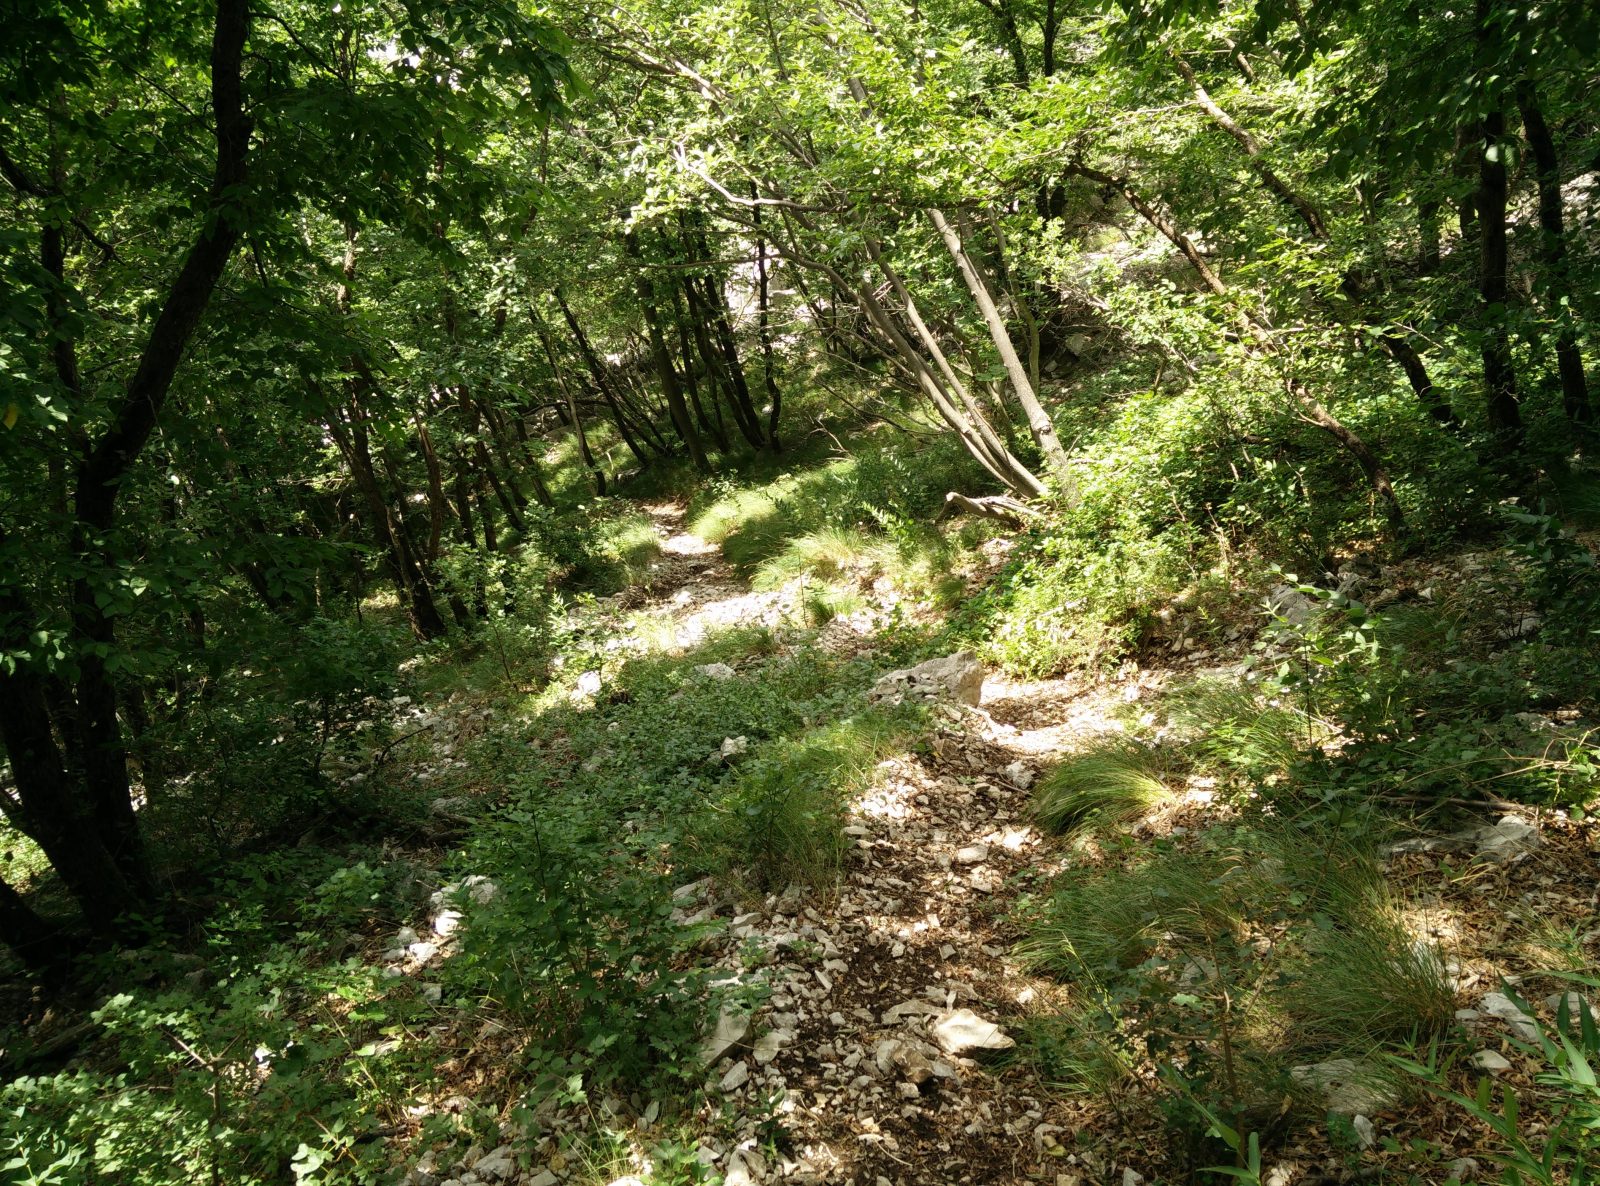
Otmarjeva Pot Via Ferrata - Path back
If you have any questions about this hike, please drop me a line in the comments below.