Krn Hiking Trail
About Krn Trail
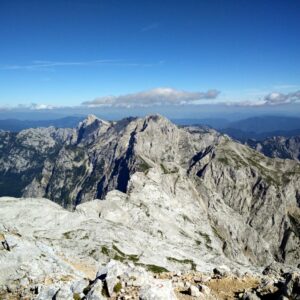
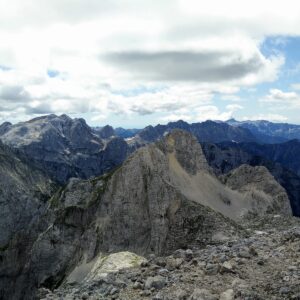
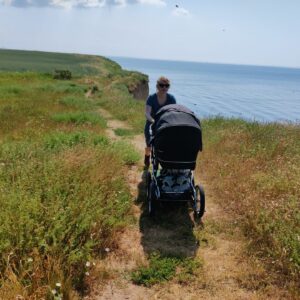
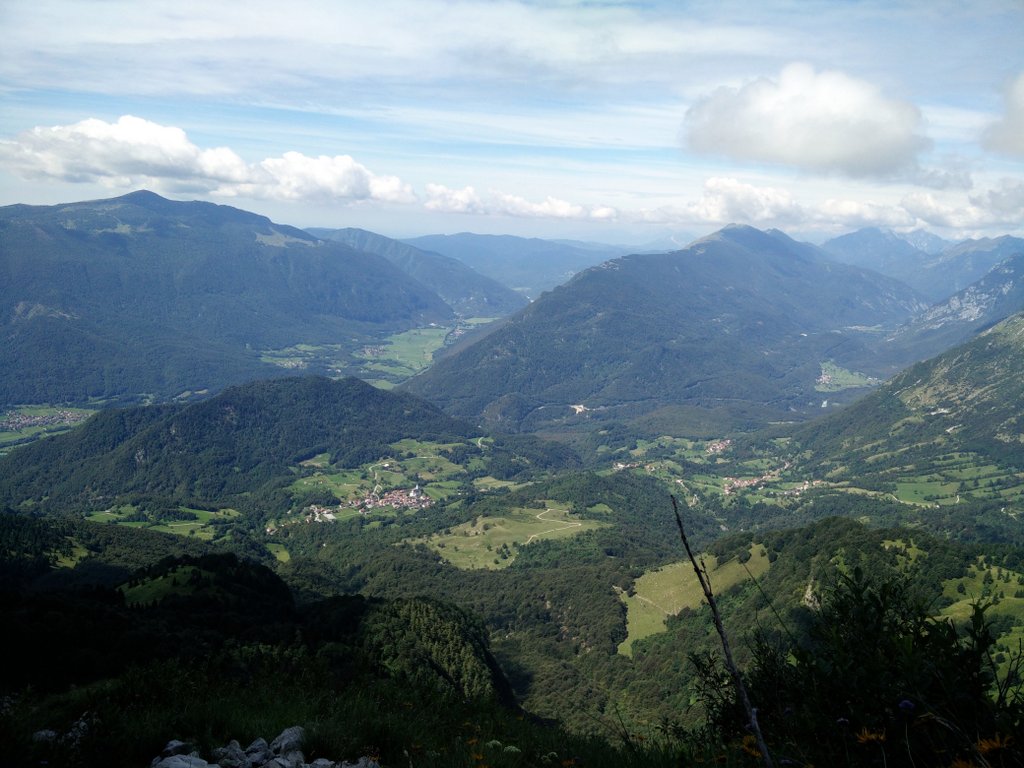
After climbing Begunjscica, Jof di Miezegnot and Cima del Cacciatore in the eastern part of the Alps, I decided to proceed my “Hiking the Alps” tour by climbing the 2245 meters high Krn. Krn is a very popular peak among hikers and mountaineers from Austria, Germany, Italy and Slovenia. It is a part of the Julian Alps in Slovenia and offers in clear weather a great view of the surrounding peaks in this astonishing mountain range – not least the 2864 meters high Triglav, which is the highest mountain of the Julian Alps as well as the highest mountain in Slovenia. I decided to ascend Krn by taking an exciting and technically challenging via ferrata trail called Silvo Koren’s Route. In addition to being technically challenging, this route also requires great physical preparedness as it over the distance of 5 kilometers ascends no less than 1700 meters. For the descent from the peak back to the valley, it is highly recommended to take the less steep Eastern Dreznica Route, but it is also longer. The Eastern Dreznica Route runs east of the via ferrata trail – see the GPS route below to get a better overview.
Both routes start in the small Slovenian village Dreznica which lies in the proximity to the bigger towns Bovec, Kobarid and Tolmin. These three towns are also popular tourist destinations as they offer great possibilities for outdoor sports such as rafting, tubing, canyoning, paragliding, mountain biking and of course also hiking. The via ferrata route which I used for ascending Krn requires sure-footedness and lack of vertigo as it constantly crosses very steep and exposed areas. In snowy winter this route is impassable – even with winter equipment such as crampons and ice axes.
I would also advise against taking this route in very wet conditions due to the risk of slipping. For the way down I used the Eastern Dreznica Route which is technically undemanding. To those who are uncomfortable with heights I highly recommend taking the Eastern Dreznica Route both ways. Skip down to the point Getting back to the starting point to see how this route runs, albeit in the opposite direction.
Alternatively you can also start the hike at the mountain hut in Planina Kuhinja (approx. 4 kilometers to the east from where I started the hike). The trail that leads from Planina Kuhinja to the peak is suitable for everybody and has total ascent of no more than 1250 meters thus being physically significantly less demanding.
Krn Trail Details
Physical Difficulty
Hard
Technical Difficulty
Hard
Duration
9 h 21 min
Distance
11.61 km
(7.21 mi.)
Ascent
1706 m
(5597 ft.)
Descent
1706 m
(5597 ft.)
Highest Point
2245 m
(7365 ft.)
Lowest Point
554 m
(1818 ft.)
Date of the Hike Date when we did this hike ?
August 2016
Weather On the day when we did this hike ?
Mostly Cloudy
Temperature On the day when we did this hike ?
17° C
(63° F)
Wind On the day when we did this hike ?
5 km/h
Warning!
This trail is technically very difficult and requires alpine equipment and proven experience with alpine mountaineering.
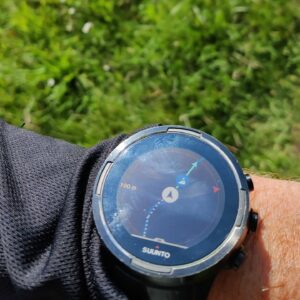
Krn GPS Route and Trail Description
*Click on the chart to see the location on the map
GPX route helps you with the navigation on a hike. It can be used with a smartphone, handheld GPS device or a GPS watch.About GPX Route
Reaching the starting point
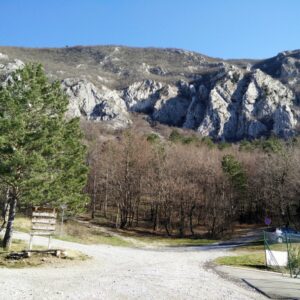
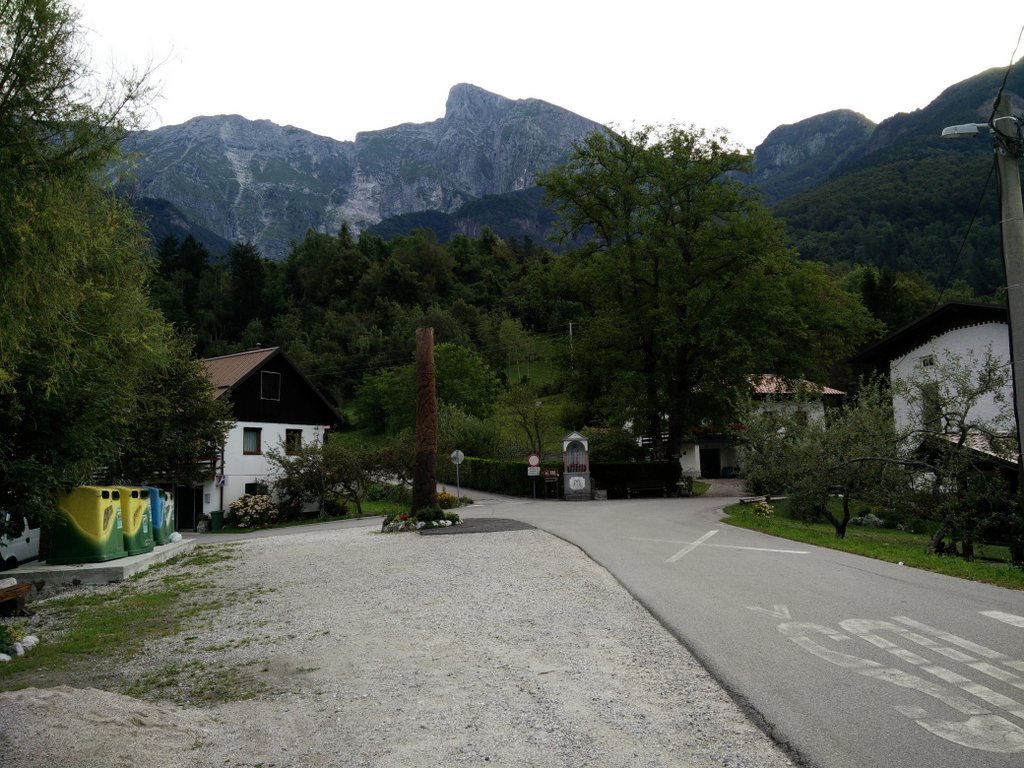
This trail starts in Dreznica, 6 kilometers to the east from the bigger town Kobarid. Reaching the starting point requires driving on local roads as there are no highways in this area.
If you are coming from the north (Austria) you should first drive to Villach and then continue towards Tarvisio (A2 expressway and A23 highway). When you reach Tarvisio you should head south on the local road towards Cave del Predil. Soon after reaching Cave del Predil you will cross the border between Italy and Slovenia. Then continue towards south, through Bovec, until you reach Kobarid. In Kobarid, you should drive through the town till you at the end will see a direction sign for Dreznica. Go left and follow the narrow road that leads you to the village. In the village’s center you should turn right and continue until you reach the playground where the free parking place is. If you are using a GPS device, the coordinates 46.255517, 13.617037 will lead you directly to the parking place.
Those who are arriving from south (Italy), should first drive towards Udine and then continue towards the Slovenian border by passing Cividale del Friuli and Pulfero. After crossing the border there is just 10 kilometer left to Kobarid. From Kobarid onwards continue as described above (coming from Austria) to reach the starting point in Dreznica village.
Alternatively you can also reach Kobarid from the east in Slovenia. In order to do so, you should drive along the southern stretch of the Slovenian E61 highways until you reach the Logatec exit. Then take this exit and continue on the regional highway for 86 kilometers until you reach Kobarid. At the beginning of the town you will see a direction sign for Dreznica. Here you should go right and then follow the road that leads you to the village and the free parking place where the trail starts (coordinates 46.255517, 13.617037).
While you can relatively easy reach Dreznica by car, this small village is unfortunately not connected with any public transport routes. You can go from the Slovenian capital Ljubljana to Kobarid by bus (3 hours), but it will still entail 4.7 km extra to walk – each way.
Trail
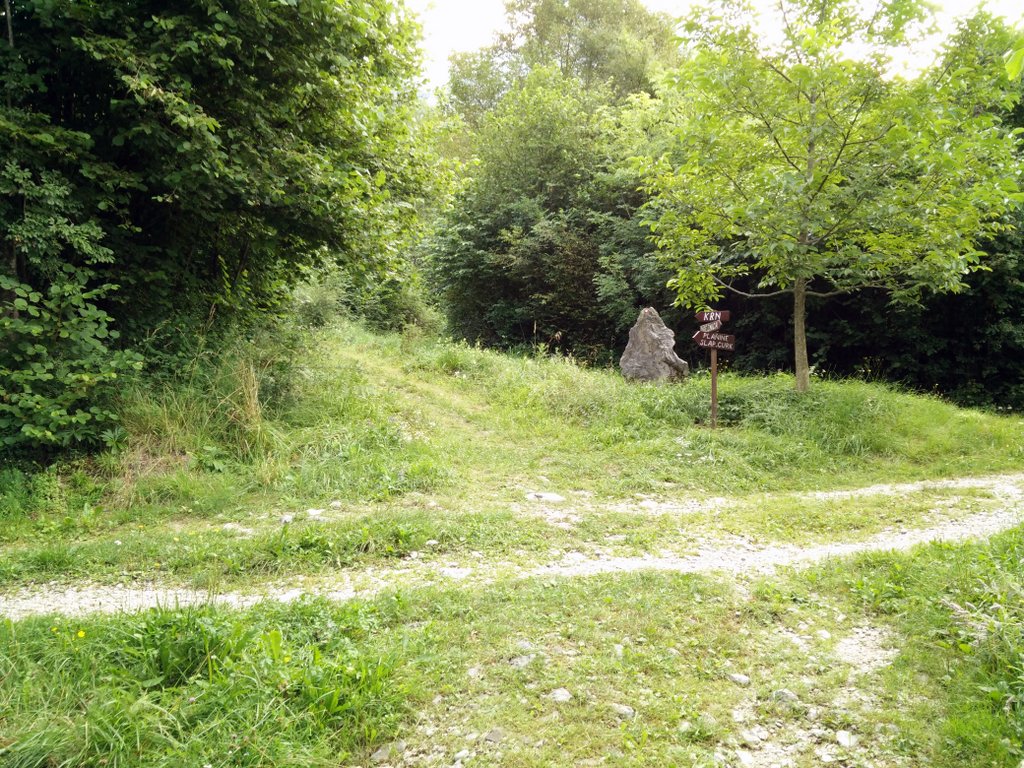
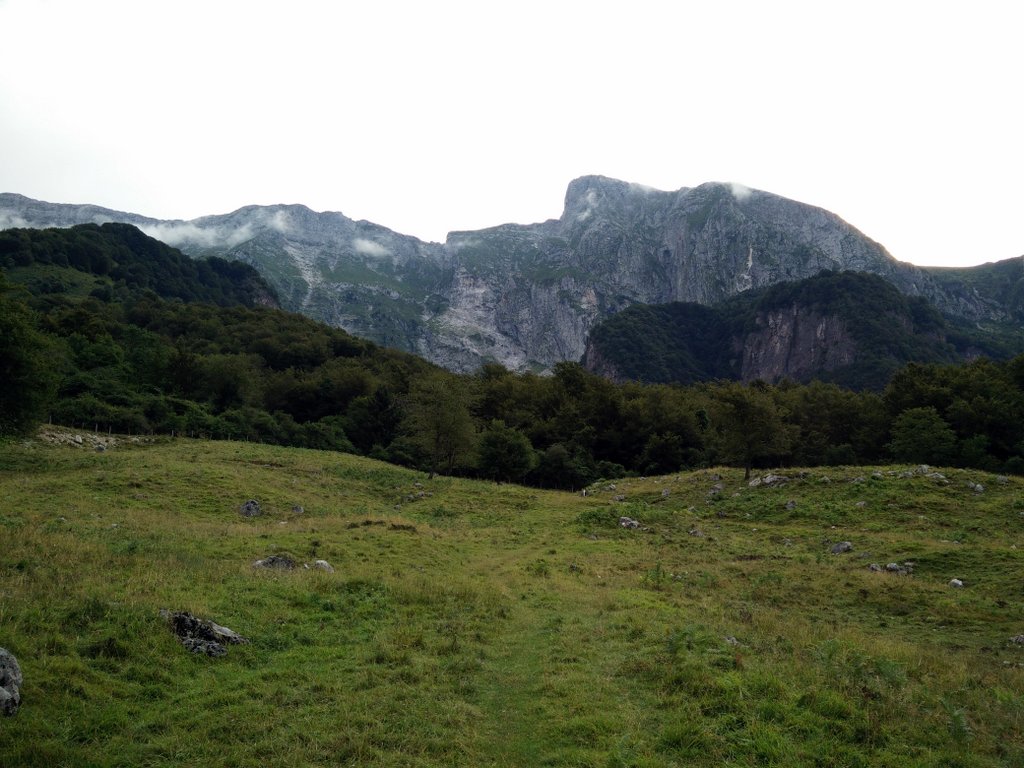
From the parking place, start walking on the asphalt road towards northeast until the road ends at the village school (less than 100 meters). From here on, continue on the narrow path which starts ascending gently through dense woods. After ascending for approximately 440 meters you will reach a wide dirt track that intersects the narrow path. Here you should cross the wide dirt track and continue ascending on the narrow path. There is also a directions sign in this intersection. The trail is in general very well marked (e.g. with direction signs and painted red and white circles on rocks, trees etc.) and therefore I believe you will not have any problems with the navigation as long as the visibility is good. After ascending on the narrow path for 750 meters altogether you will come to a fenced pasture. You can enter the pasture by using the big steel gates, but remember to close them afterwards in order to prevent any cattle from escaping. Now the trail leads you towards northeast over the pasture until it reaches a wide dirt track, which you should follow to the right. The wide track will take you to a bridge over a small stream; on the other side you should follow the trail to the left (which is easy to miss) although the wide track turns right.
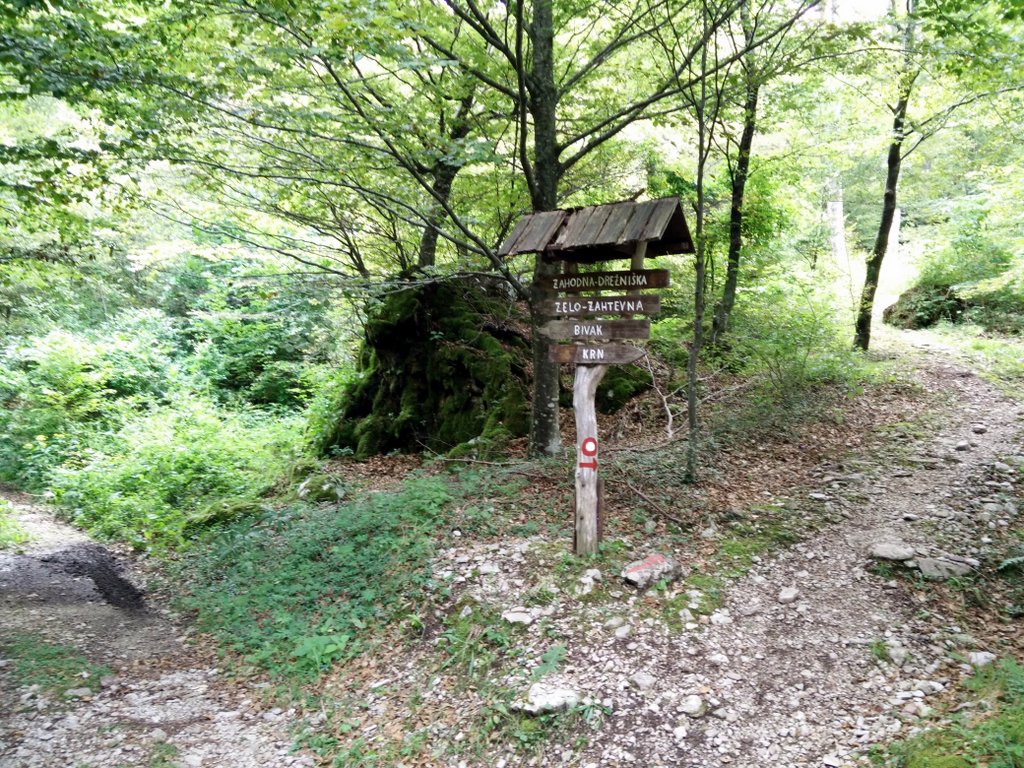
After 50 meters or so you will arrive to a crossroad with a directions sign. In order to take the via ferrata trail you should go left here towards Bivak, Zahodna Drezniska, Zelo-Zahtevna as I did. If you don’t want to use the via ferrata trail then you can continue straight ahead towards Krn.
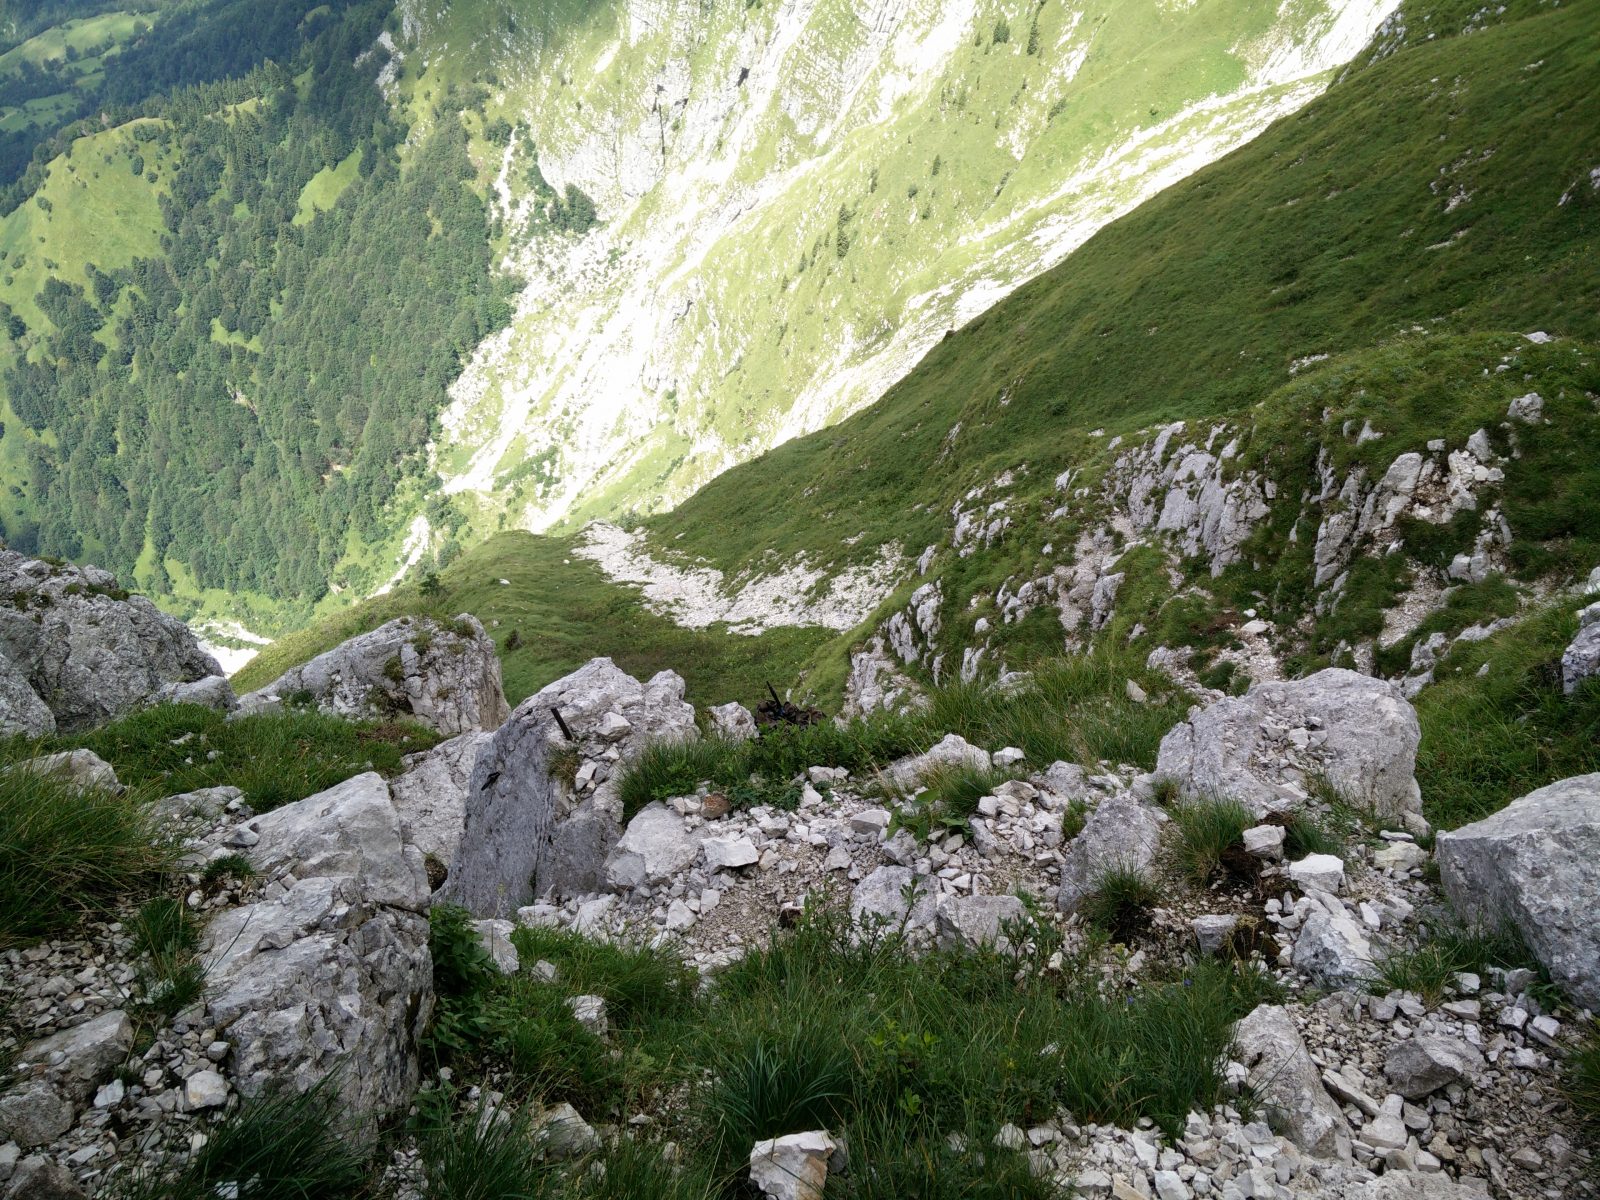
From the crossroad onwards the path starts ascending rapidly and runs more towards north. After hiking for 2.7 kilometers altogether the path will turn towards southeast and reach the southern wall of the mountain. At this point you will have hiked 3.5 kilometers from the starting point and be 1350 meters above the sea level. This is where the via ferrata stretch begins.
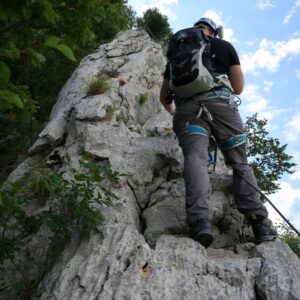
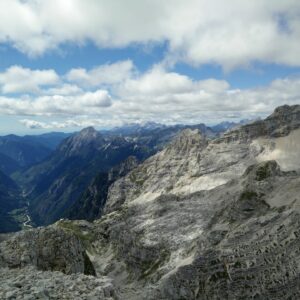
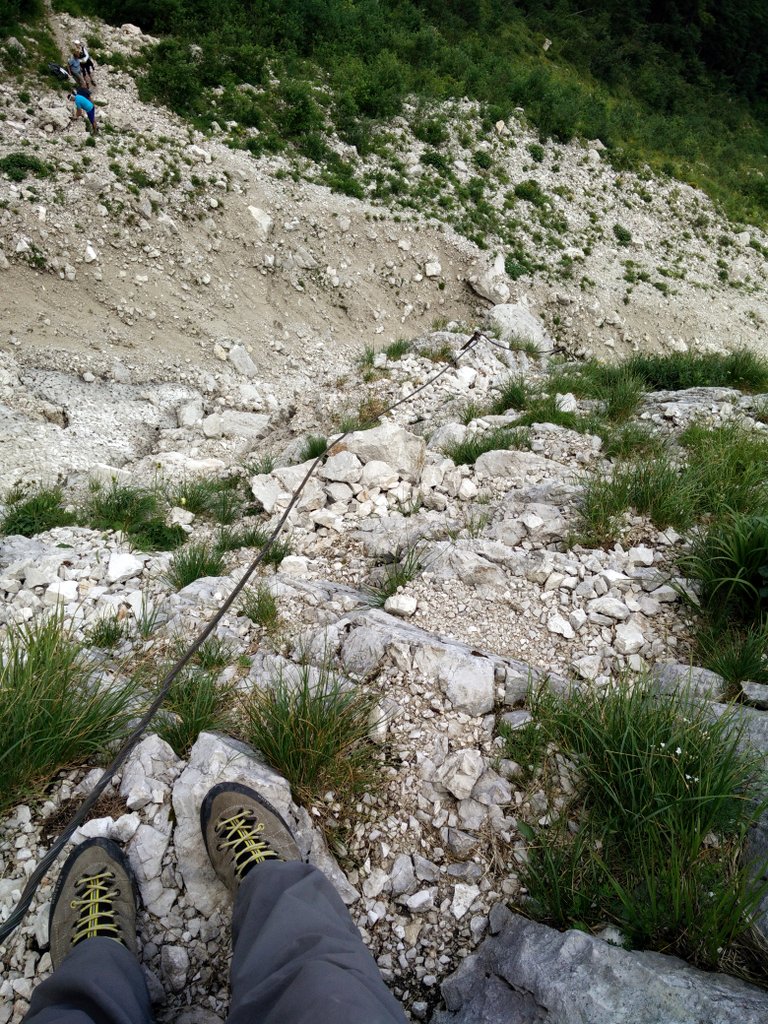
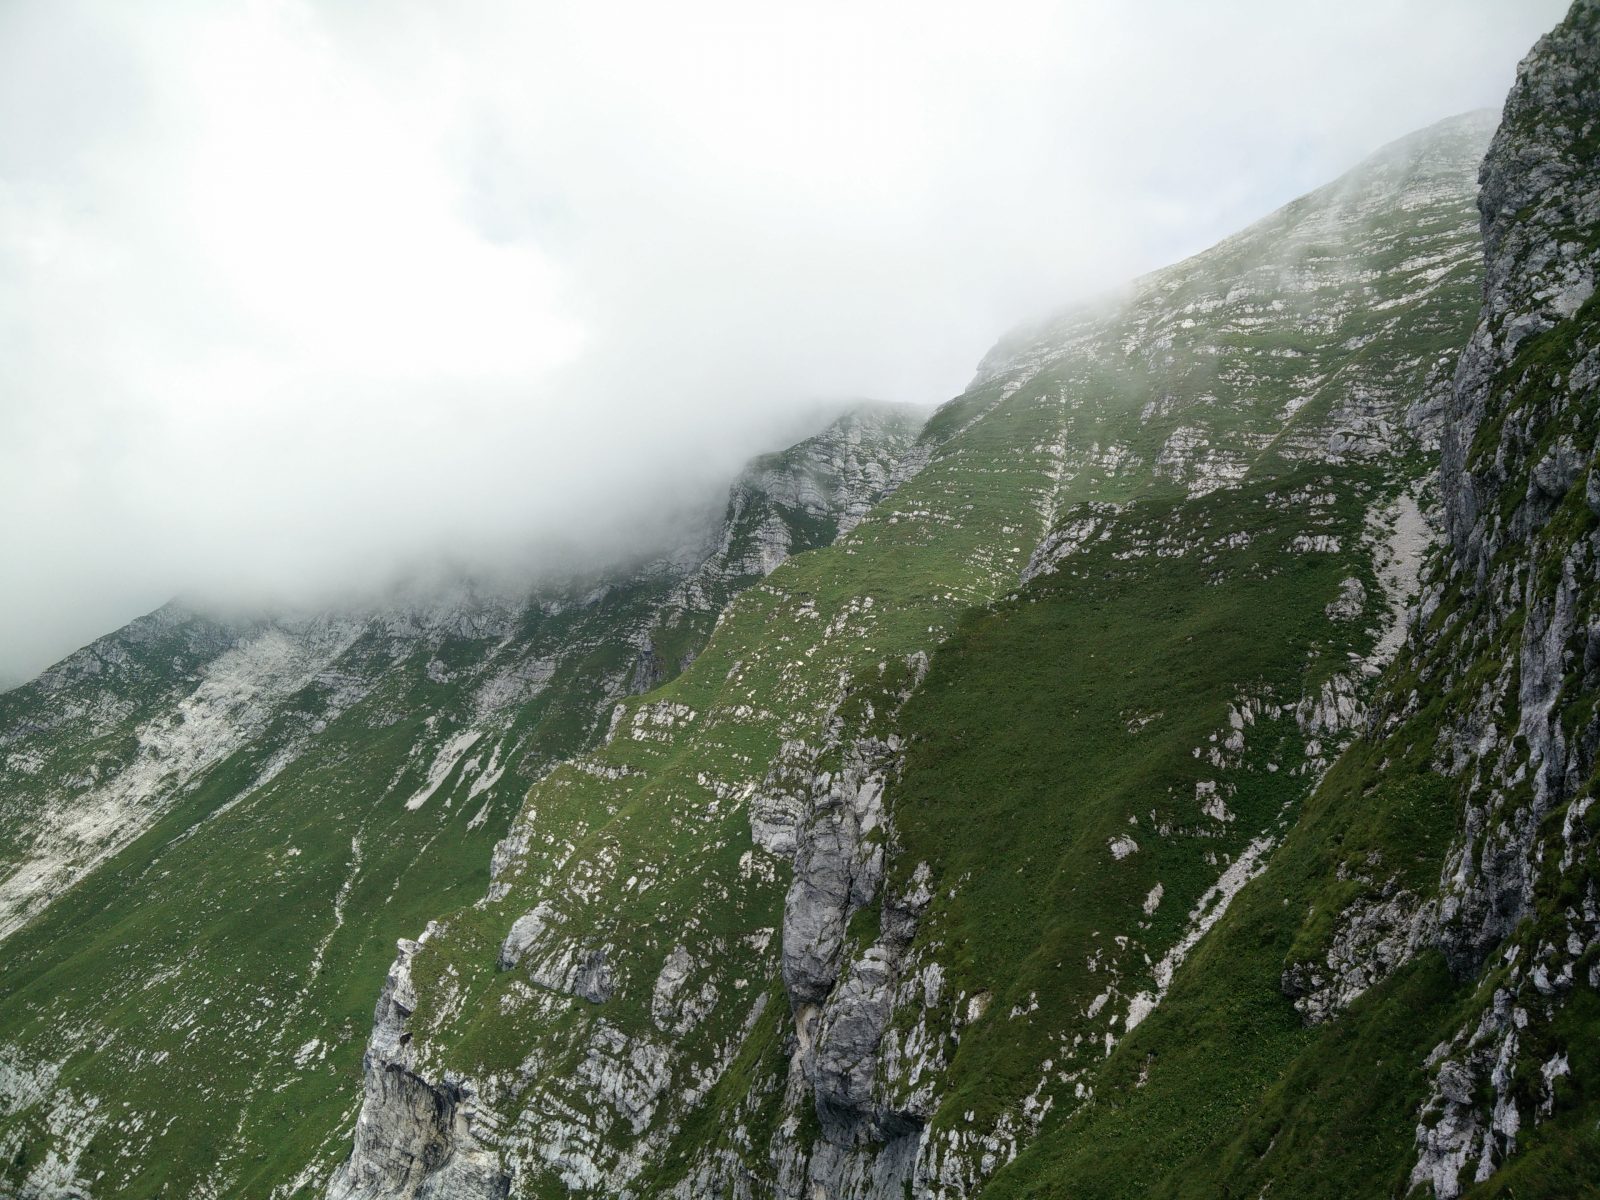
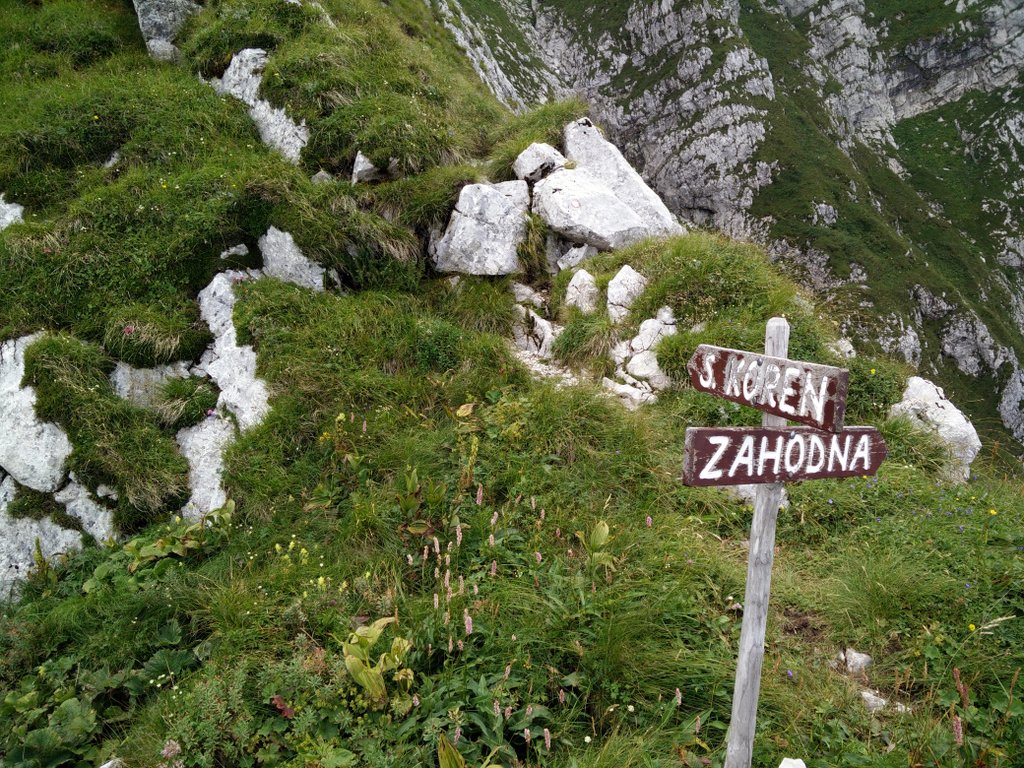
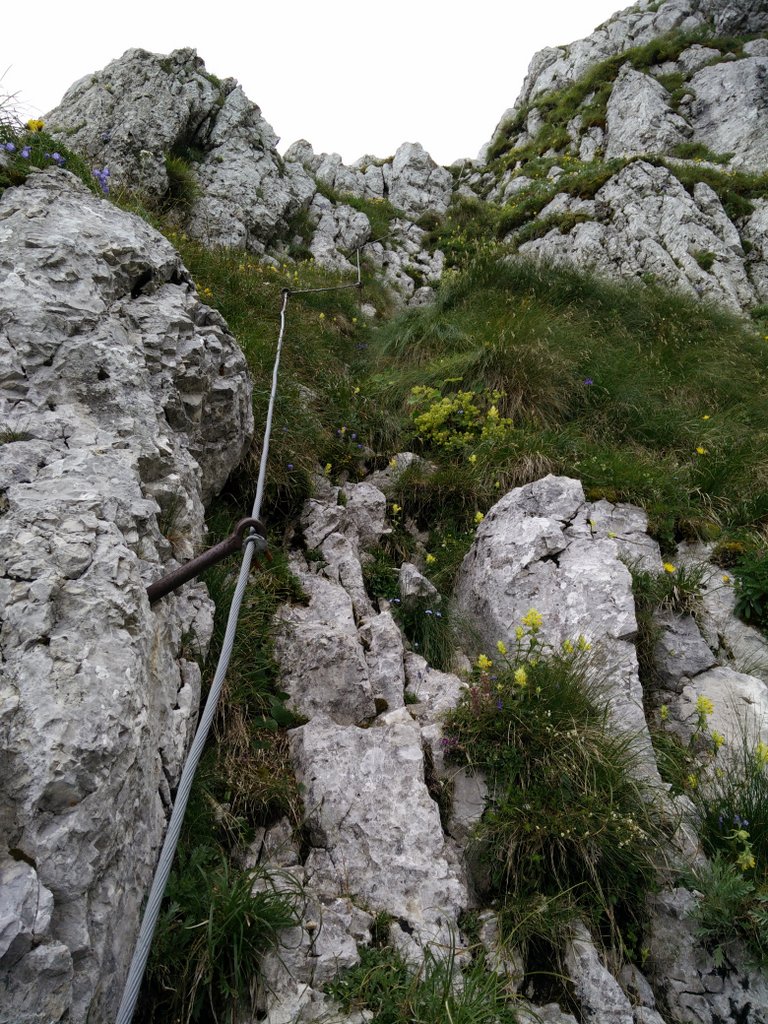
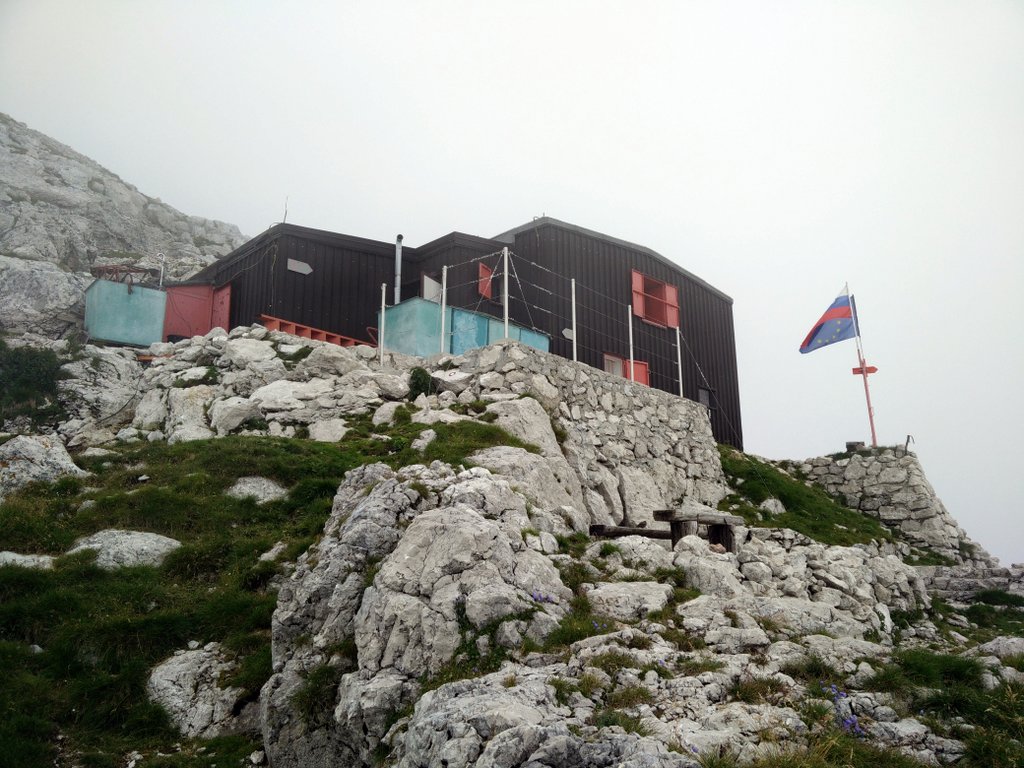
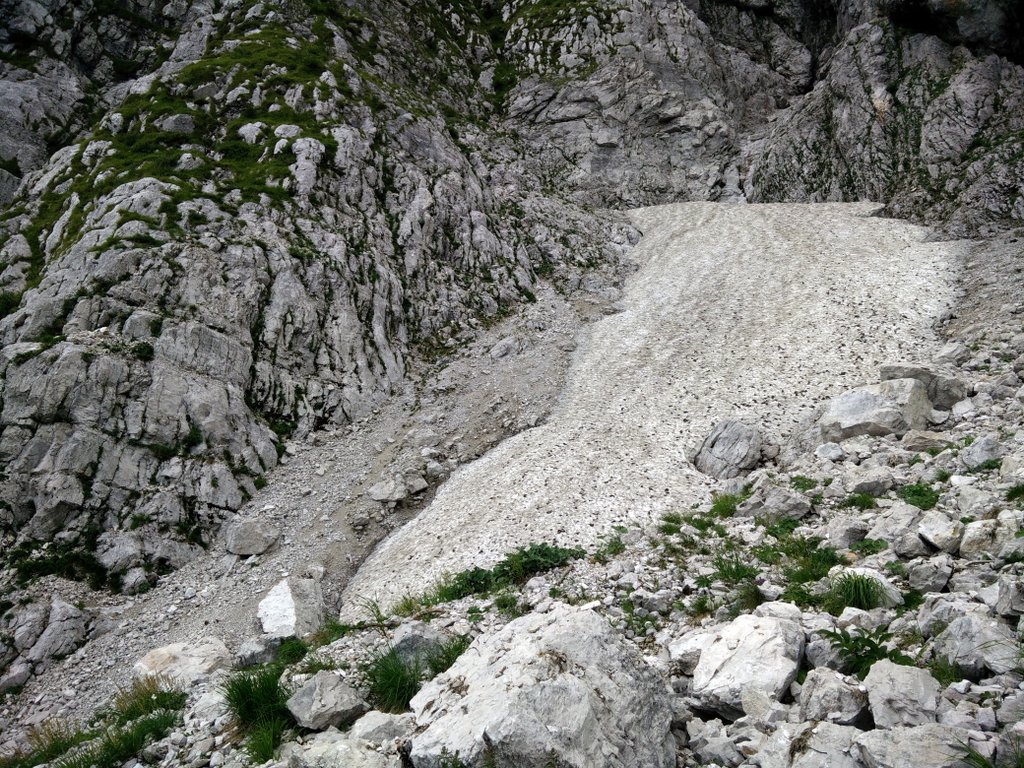
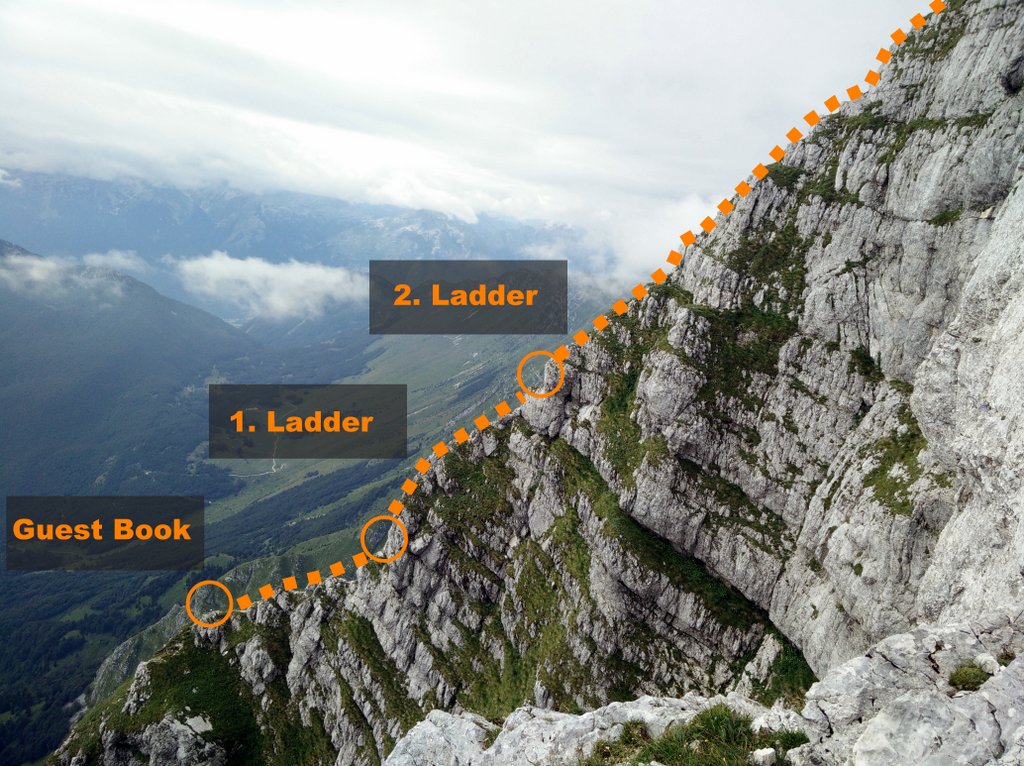
First you need to cross a narrow groove; the via ferrata trail starts on the other side of it. There was still some snow in the groove at the time when I was doing the hike (August) but as it was not frozen I didn’t have any problems crossing the groove. After you cross the groove you should follow the via ferrata trail that ascends almost vertically up the ridge to begin with. There is a steel cable running along the trail so that you can attach yourself with a via ferrata set for added security. After the initial climb, the trail starts running over a steep grassy slope on the eastern edge of the ridge. Even though there is a great danger of slipping, there is no steel cable on this stretch. Therefore, extra caution is required. After hiking altogether for 4.2 kilometers up to 1700 meters above the sea level, you should follow the trail that now turns towards south and soon you will reach another very steep, but secured wall that has to be ascended. After climbing the wall you will arrive to a ridge that runs all the way up to the peak; you should continue over the grassy areas on the ridge towards northwest. This stretch is also very exposed and not equipped with steel cable, thus requiring extra caution. Soon you will arrive to a crossroad where you should go left towards S. Koren; here the best part of the via ferrata starts. You will ascend almost vertically over a very exposed narrow ridge towards the mountain hut that lies just below the peak. This stretch is well-secured as the steel cable runs continuously to the top. In between there are also two ladders that have to be climbed; the first one is approximately 5 meters long while the second one is only 3 meters long. After climbing the second ladder, you are a few minutes away from the mountain hut at approximately 2100 meters above the sea level (100 meters below the peak). At the time when I was doing this stretch the weather had turned quite foggy and thus I didn’t have the best view. However, I didn’t have any navigation problems as I was just following the steel cable.
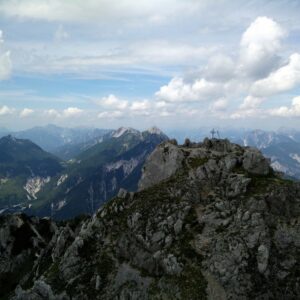
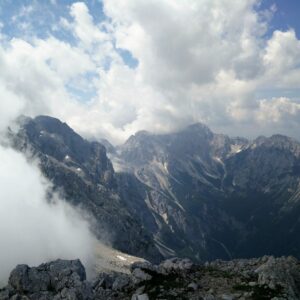
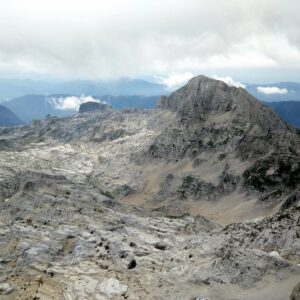
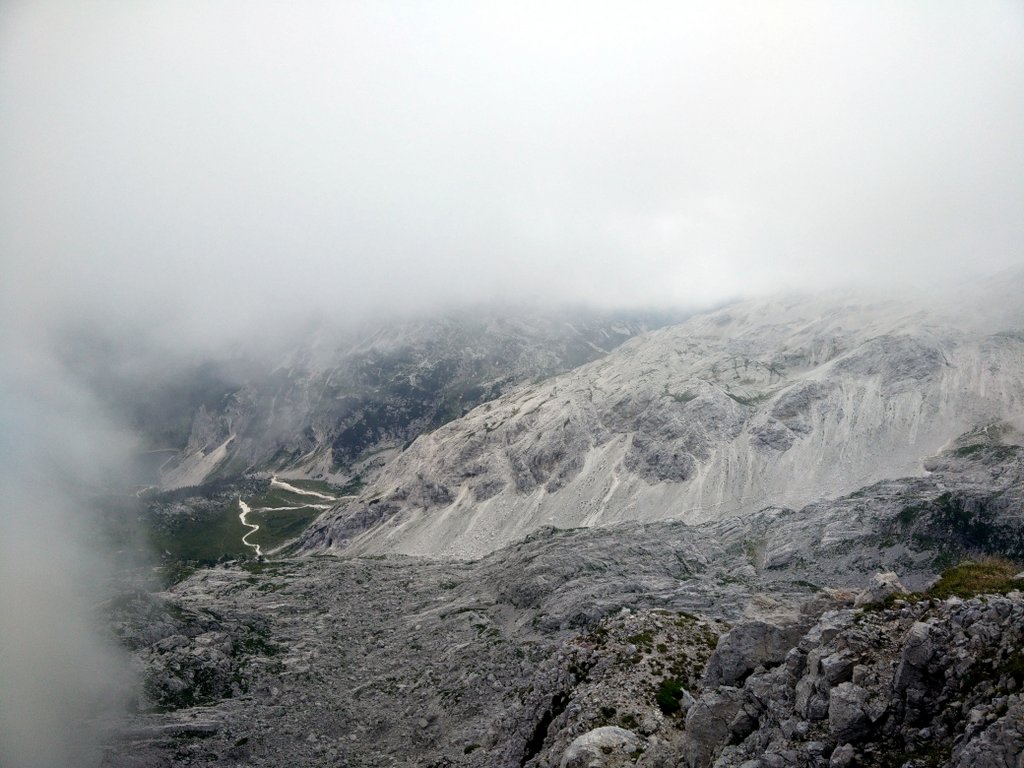
When you reach the mountain hut, continue towards the peak by following the directions sign and after hiking for approximately 10 minutes on a very easy trail that ascends gently you will reach the peak. By the time I reached the peak it got completely foggy and thus I couldn’t see the otherwise astounding mountains around me. Actually, I couldn’t even see the Krn Lake which lies just beneath the peak and is known to be the largest glacial lake in Slovenia. Therefore, I didn’t spend too much time on the peak and hiked back to the mountain hut. For those who would like to extend this hiking trip the mountain hut also provides accommodation, food and drinks. A night there should not cost you more than 27 € ($ 30) while a beer costs 4 € ($ 4.5) and a coffee goes for 1 € ($ 1.10). A popular mountain in the proximity to the mountain hut is Batognica where some of the most interesting battles of World War I happened. If you are lucky you might even find some artifacts on its slopes.
Getting back to the starting point
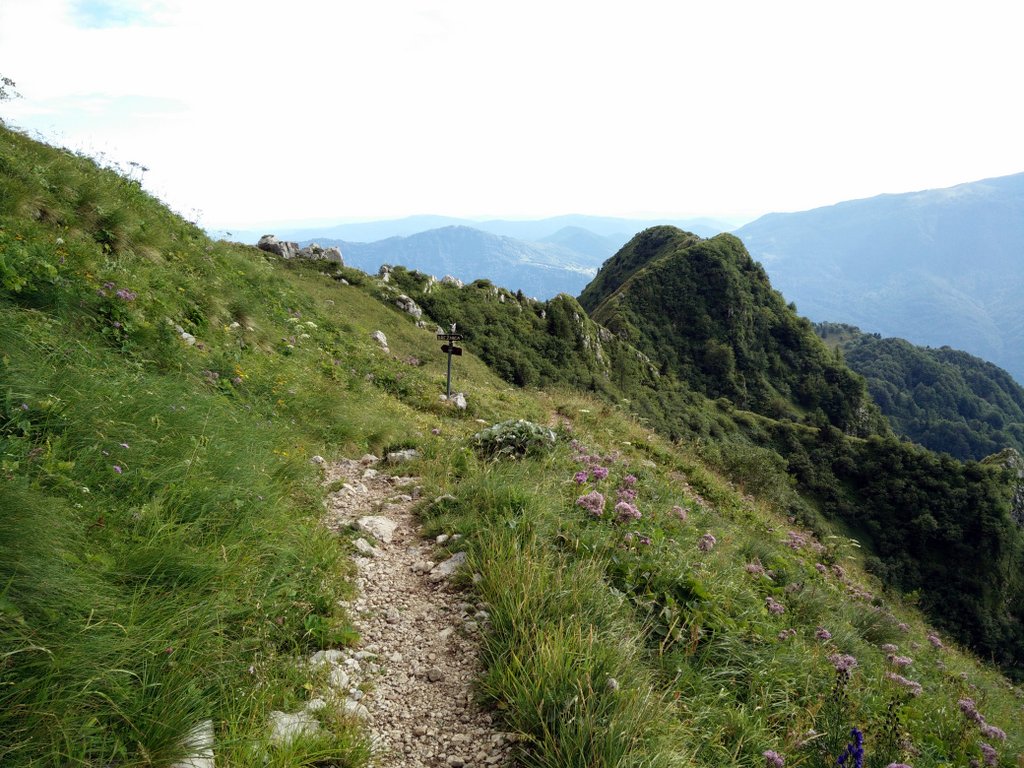
For the way back I used the Eastern Dreznica Route as I assessed that descending by the via ferrata route would be too dangerous. This trail first descends over a grassy slope towards the south and then reaches a crossroad where you should go right towards Dreznica (the path that goes straight ahead leads to Planina Kuhinja). From the crossroad, just follow the trail and after walking for 2.5 kilometers the path will turn into the path used for the way up. From there, there is less than two kilometers of hiking back to the parking place.
Krn Trail – Parking place in Dreznica
Krn Trail – Continue Straigh Ahead
Krn Trail – Go left for via ferrata route
Krn Trail – At the beginning of via ferrata
Krn Trail – View from the path
Krn Trail – View down
Krn Trail – Go left to climb the last stretch of the route

Krn Trail – The second ladder
Krn Trail – Last stretch to the mountain hut
Krn Trail – Mountain Hut
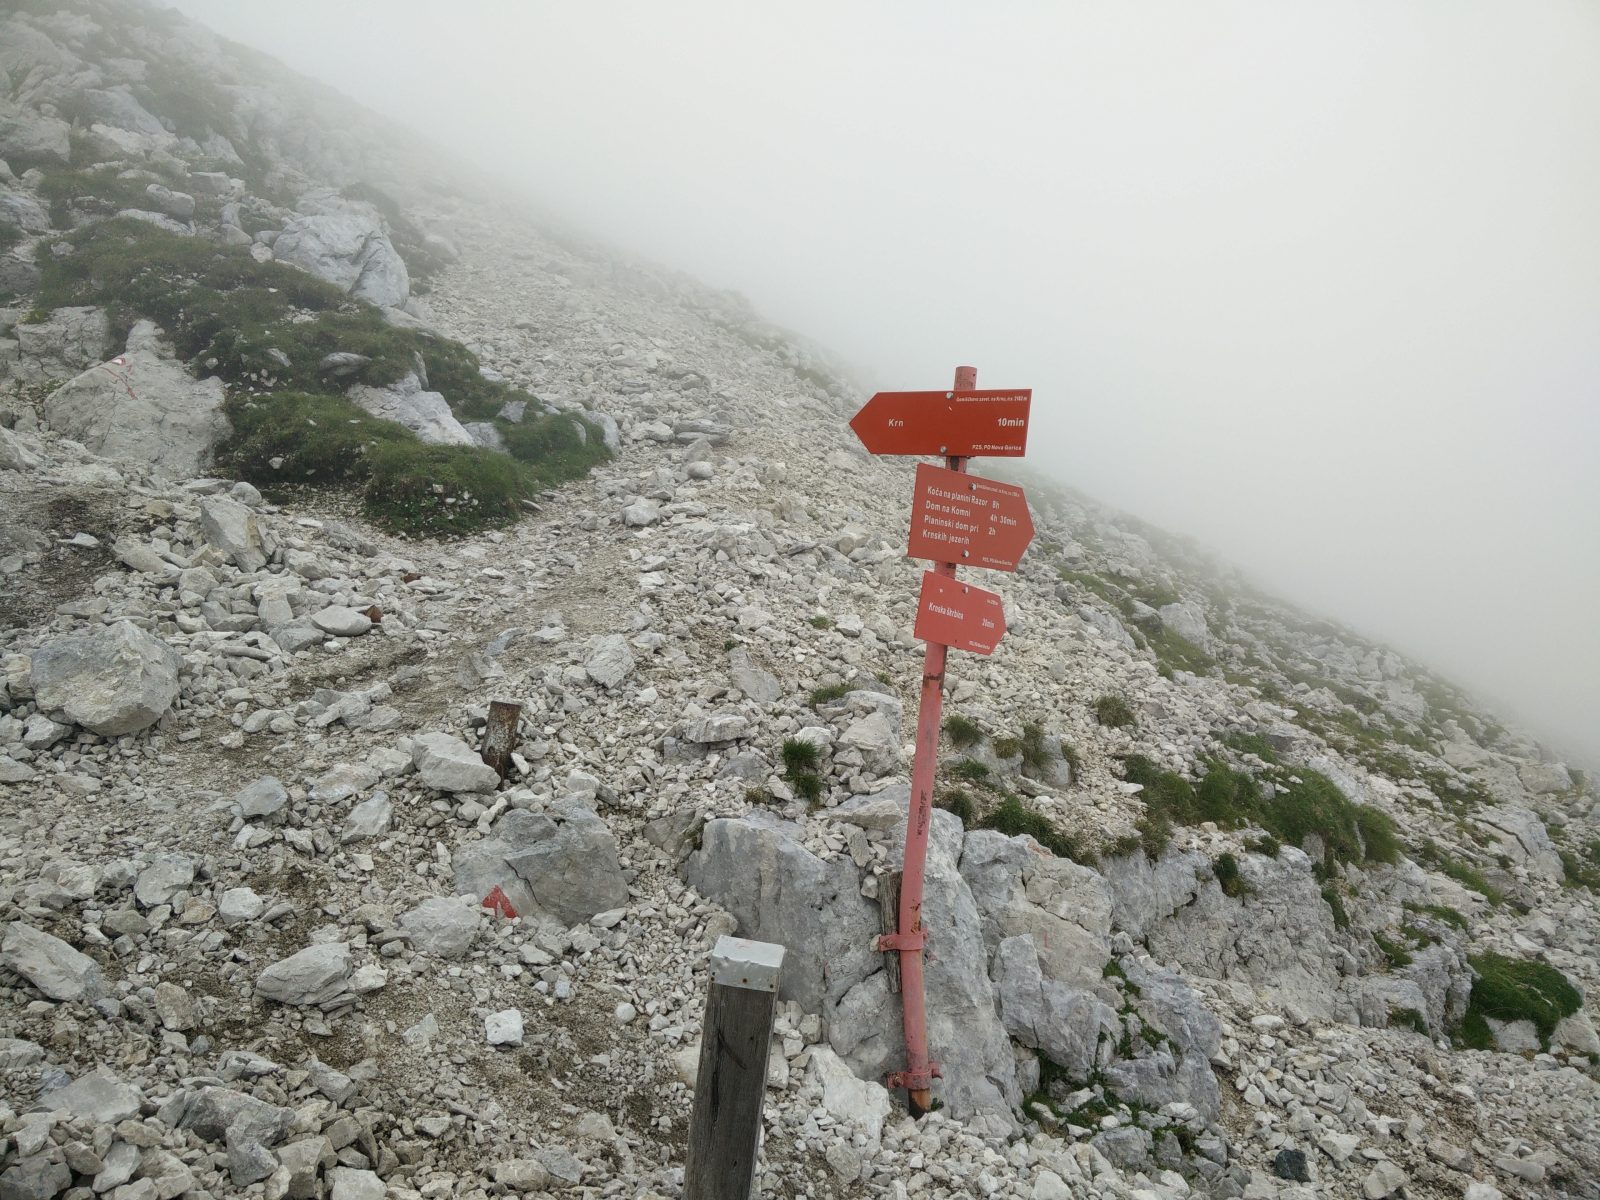
Krn Trail – Directions Sign
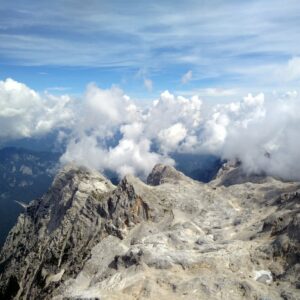
Krn Trail – View from the top was very limited due to fog
Equipment
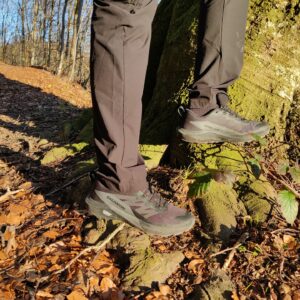
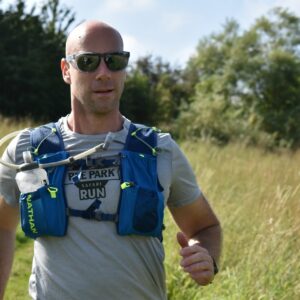
As I knew that this hike will be physically very demanding, I wanted to go as light as possible. I was wearing an Icebreaker Merino wool t-shirt, lightweight jacket made of Polartec fleece, lightweight Montane Terra Pack pants, Salewa Mountain Trainer Mid hiking boots and socks made of Coolmax fibers. I also used hiking poles in order to delay the exhaustion. On the via ferrata stretch I additionally used a via ferrata set along with a climbing harness, helmet and via ferrata gloves. In my Osprey Talon 44 backpack I was carrying a rain jacket, winter gloves, Woolx hat, food, water and some accessories. As the hike is long (at least 8 hours) take enough water to stay hydrated.
Equipment under scrutiny
Salewa Mountain Trainer Mid Hiking Boot
Krn Trail – At the beginning of via ferrata
The Salewa Mountain Trainer hiking boot once again proved itself as a reliable partner on rocky terrain. The boot is equipped with a relatively stiff sole and therefore it allowed me to safely climb the via ferrata stretch. Furthermore, it also provided me with great ankle support and traction. I have been using these boots for over a year now and I’m very satisfied with them. Therefore I would recommend them to every hiker who often does trips in rocky terrain. You can read the full review of the Salewa Mountain Trainer Mid boots here.
Note: Salewa has since released an updated version of this boot and the links are for the newer version.

Conclusion and photo gallery
Silvo Koren’s Route to ascend Krn is suitable for those who already have experience with via ferratas and want to climb a very technically and physically challenging route. This route is definitely not suitable for beginners and inexperienced hikers. If you are one of those I recommend you taking the Eastern Dreznica Route which might not give you an adrenaline rush, but rather allow you to safely ascend this beautiful 2245 meters high mountain. On the top you will be rewarded with a great view on the other peaks of the Julian Alps (unless you will be “blessed” with foggy weather as I unfortunately was). However, you should check weather conditions before going, as bad weather (thunderstorms, heavy rain, snow) could be very risky.
Krn Trail - Fenced Pasture

Krn Trail - After crossing the bridge go left
Krn Trail - On the other side the via ferrata route starts
Krn Trail - View during the climb
Krn Trail - Last stretch of via ferrata route runs over this ridge
Krn Trail - Eastern Dreznica Route
If you have any questions about this hike, please drop me a line in the comments below.
Krn Trail Terrain Video