Jof di Miezegnot Trail
About Jof di Miezegnot Trail
After climbing Slovenian Begunjscica in the eastern part of the Alps, I decided to continue my “Hiking the Alps” tour by climbing Jof di Miezegnot in north-eastern Italy. Jof di Miezegnot is a 2088 meters high mountain which lies in the heart of the Julian Alps and offers a great view on the surrounding peaks – not least the popular 2754 meters high Jof di Montasio. I chose to climb Jof di Miezegnot because the starting point is relatively easy to reach by car (via highway to Tarvisio) and the elevation seemed just right for the season. Summits 2500 meters and higher above the sea level still had some snow in late June and thus higher mountains were trickier to ascend. Additionally, Jof di Miezegnot fascinated me by its World War I heritage. During the war Italians built many bunkers and other military buildings on the slopes of the mountain as well as on the peak itself. You will see several of these constructions on your way to the top.
This trail requires good physical preparedness as well as sure-footedness and lack of vertigo as some steep and exposed areas have to be crossed. In winter (snow) the ascent may involve ice climbing as two very steep grooves have to be ascended (approximately 10 meters high each). Therefore, additional equipment, such as crampons, ice axe(s) and gaiters, is required if the trail is covered with snow. For those who would like to take an easier route to the top of the mountain, Jof di Miezegnot can also be climbed from the southern side. I, however, decided to climb the mountain from the Valbruna village over eastern and northern ridges on a technically challenging trail.
Jof di Miezegnot Trail Details
Physical Difficulty
Hard
Technical Difficulty
Medium
Duration
8 h 5 min
Distance
16.2 km
(10.07 mi.)
Ascent
1456 m
(4777 ft.)
Descent
1456 m
(4777 ft.)
Highest Point
2088 m
(6850 ft.)
Lowest Point
843 m
(2766 ft.)
Date of the Hike Date when we did this hike ?
June 2016
Weather On the day when we did this hike ?
Mostly Sunny
Temperature On the day when we did this hike ?
20° C
(68° F)
Wind On the day when we did this hike ?
3 km/h
Warning!
This trail has a few steep sections and requires good footwear, steady footing and no fear of heights.
Jof di Miezegnot GPS Route and Trail Description
*Click on the chart to see the location on the map
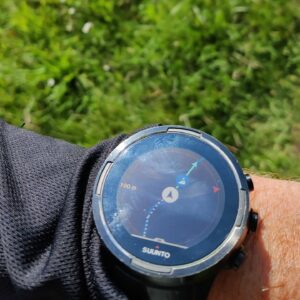
GPX route helps you with the navigation on a hike. It can be used with a smartphone, handheld GPS device or a GPS watch.About GPX Route
Reaching the starting point
This trail starts in Valbruna, a small village near the bigger town Tarvisio. Tarvisio is very easy to reach by car as it is just next to the A23 highway which connects Italy with Austria. To reach the starting point in Valbruna village you should drive along the A23 highway (Italy) or A2 expressway (Austria) between Udine and Villach. If you are coming from the south you should get off at the Valbruna exit (the first exit after the toll station) or the Tarvisio exit if you are coming from the north. If you are coming from the south take the Valbruna exit and continue on the road towards south for 2.6 kilometers. There you will see a small graveyard (Cimitero di Valbruna, Via Alpi Giulie, 33010 Malborghetto Valbruna UD) which is positioned on the right side of the road shortly after the village. On the left side of the road is the parking place where you can leave your car free of charge. If you are coming from the north take the Tarvisio exit and then continue on the road towards west and after approximately 5.6 kilometers you should go left, off the main road, towards Valbruna. Soon you will arrive to the village and shortly after to a crossroad. Here you should go left (towards south) and after driving for approximately 1.2 kilometers you will reach the graveyard and the parking place.
While you can easily reach Tarvisio with public transport (train, bus), it is a bit harder to reach the Valbruna village. The best is to take the train from the station Tarvisio Boscoverde to the station Ugovizza which is located north-east of Valbruna. The train ride takes less than 10 minutes, but only have a few departures a day, so be sure to check the schedule on Trenitalia. You will, however, have to walk approximately 2.5 kilometers from Ugovizza to reach the starting point of the trail. Keep in mind that these extra kilometers might matter a lot on top of this already very physically demanding hiking trip.
Trail
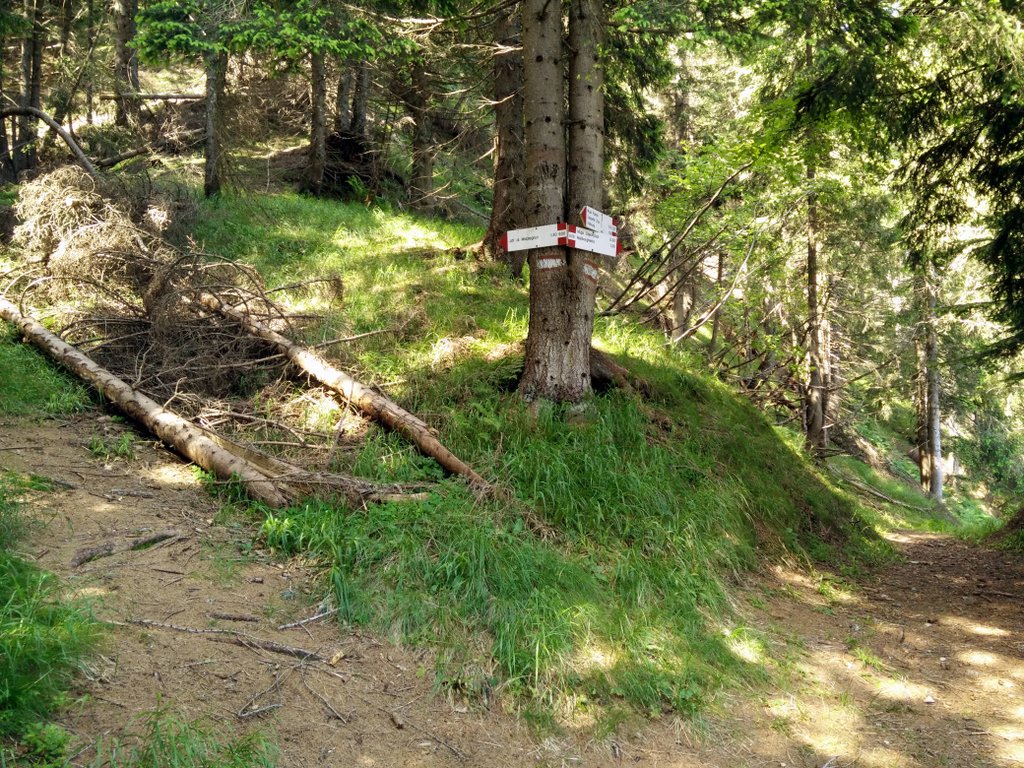
Start walking towards north on the main road from the parking place; after 300 meters you will see a wide dirt track that runs towards south-west on your left. Here you will see a direction sign for Jof di Miezegnot; it states that you will only need 3.5 hours to reach the mountain’s top but this is a very optimistic estimate! I think that most hikers will need at least 4 hours to reach the top. The wide dirt track starts ascending steeply and after hiking on it for approximately 2.8 kilometers you will come to a U turn which is close to a small stream that runs through the groove to the south. Here the trail splits left from the wide dirt track on a very narrow and even steeper path that runs uphill towards the north-east. It is very easy to miss this narrow path as the trail is poorly marked. If you are not using a GPS device with the above attached GPS route, I strongly advise you to carefully observe the surroundings for trail markers (red and white squares). The narrow path is basically a shortcut that runs straight up the slope rather than meandering up the mountain, but as it anyways merges with the wide dirt track higher up it is not a complete disaster if you miss it and continue ahead on the wide track. You will merely prolong the distance and duration of the hike.
After ascending steeply on the narrow path for approximately 350 meters you will again come to the wide dirt track, but you should just cross it and continue on the narrow path on the other side. After walking/scrambling for approximately 100 meters you will again reach the wide dirt track. Here the narrow path ends and you should turn right on the wide dirt track. At this crossroad the trail is not marked and because the right trail seems to go in the opposite direction of the mountain top, it is very easy to go the wrong way. (If you by any chance go left here, you will start descending back to the valley.) After walking for approximately 500 meters you will reach a small mountain hut with plenty of benches and tables outside – great for a longer break. In this “picnic area” you will also find a wooden water trough with a water tap; the water is drinkable and thus you can refill your bottles/water reservoir here. If you go hiking in summer like I did, you will also be able to enjoy handfuls of wild Alpine strawberry which you can collect along the path all the way up to 1500 meters above sea level or so.
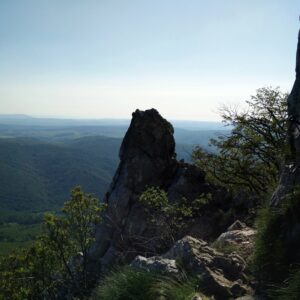
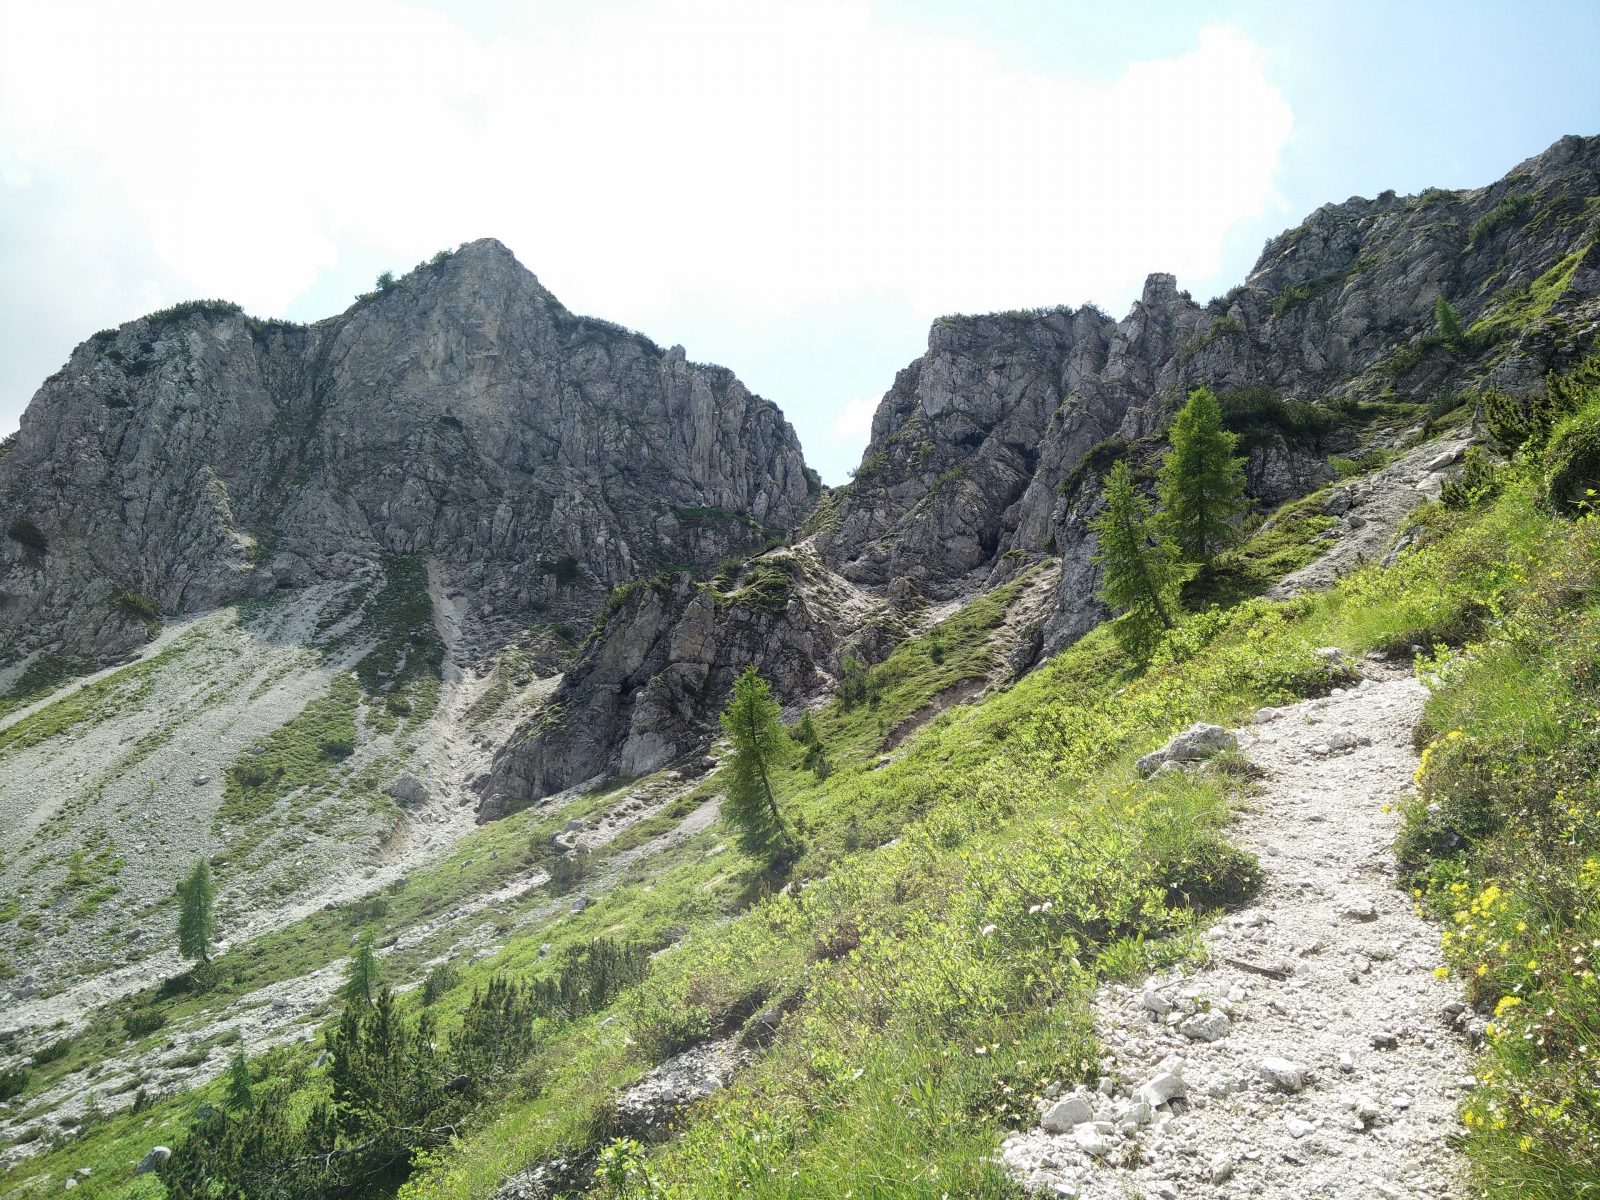
From here on continue on the path that runs towards west and soon you will reach a small chapel on a green plateau. Then the path gets narrower and leads into dense pine forest – the first part of the hike otherwise go through lush deciduous forest. The height of the pine trees will, however, decrease after a while and you will be able to navigate easier. After approximately 300 meters the path splits in two and here you should take the left path towards Jof di Miezegnot. This crossroad is properly marked and thus I believe you won’t have any navigation problems here. From here on the path turns towards south, becomes steeper and very narrow as it ascends through the woods. After hiking for approximately 1.5 kilometers on this path, the terrain will become more rocky and soon you will see the Jof di Miezegnot’s peak on your right. It might seem very close, but you first have to climb to a ridge that runs horizontally ahead of you. Be carefully when climbing the ridge as the path is very steep and slippery; a fall may result in injuries.
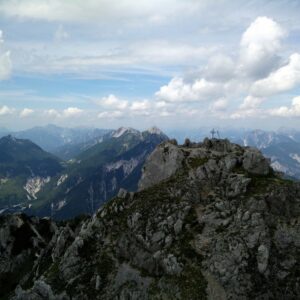
On the top of the ridge the path turns towards west and runs over the southern slope of another smaller mountain. Even though the Jof di Miezegnot is clearly seen from here, the navigation gets quite tricky at this point as you first have to descend from the slope of the smaller mountain towards south and then start climbing the actual peak of Jof di Miezegnot towards north-west. I had some problems finding the trail here and thus I first climbed to the top of the smaller mountain in order to find the trail again – which you hopefully won’t have to. After you descend down the slope of the smaller mountain for approximately 50 meters the path starts again climbing and soon you will find yourself in a very steep groove. Cautious scrambling is required to climb this groove. After you climb the groove, continue towards the peak in the direction of north-west. You will have to scramble your way to the top but at least the area is not very exposed here. On the peak there is a metal cross as well as several military bunkers from World War I.
Getting back to the starting point
For the way back I more or less used the same path as for the climb. I, however, didn’t take the shortcut below the mountain hut as I preferred to simply follow the less steep wide dirt track all the way down to the valley. This naturally increased the overall distance of the hike.
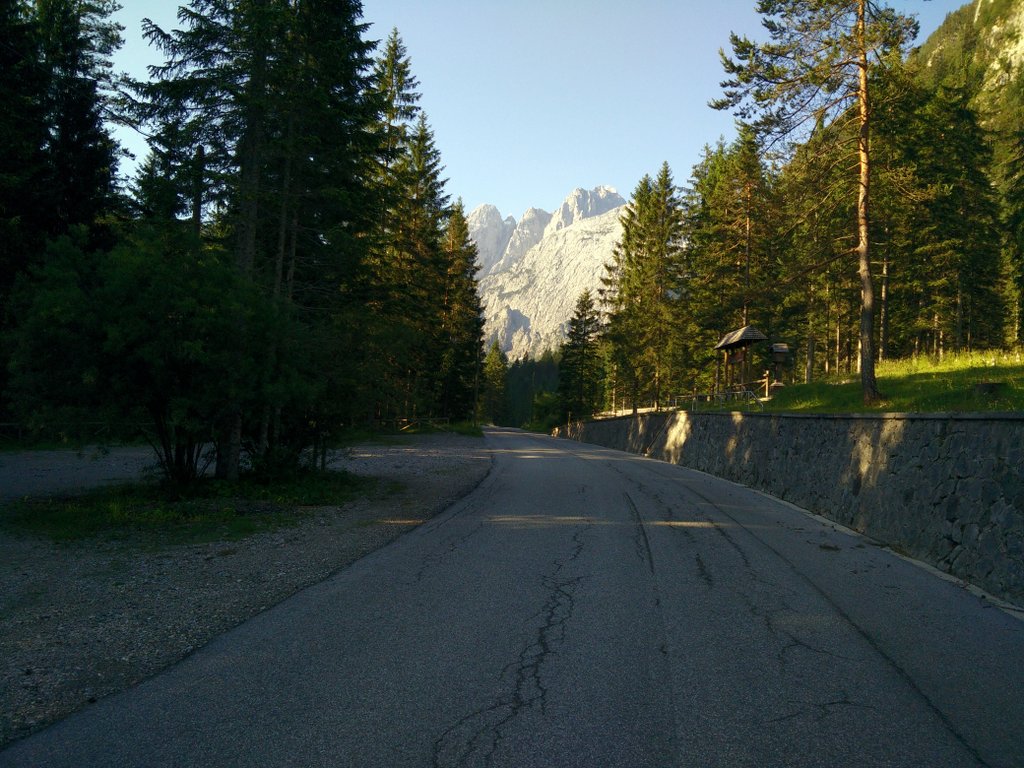
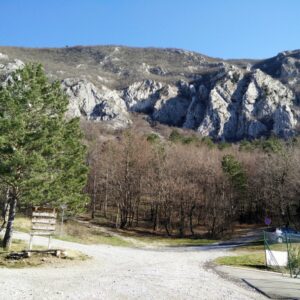
Jof di Miezegnot – Parking place
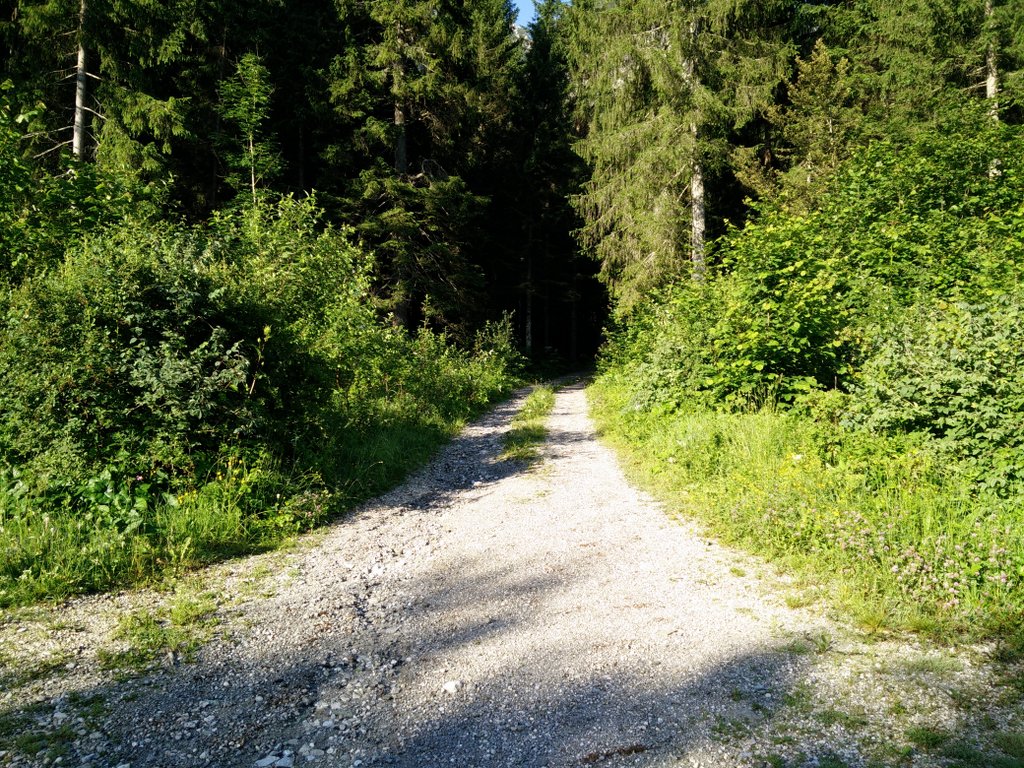
Jof di Miezegnot – Wide dirt track

Jof di Miezegnot – Here take the shortcut

Jof di Miezegnot -Mountain hut
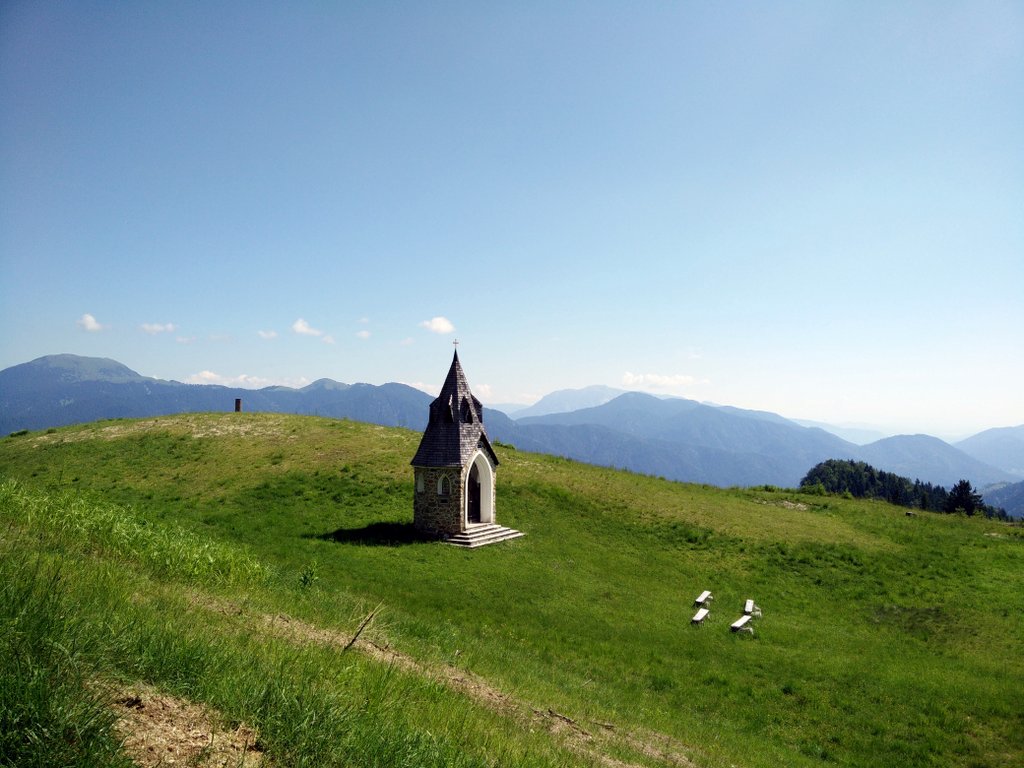
Jof di Miezegnot -Small chapel
Jof di Miezegnot – Crossroad after the chapel
Jof di Miezegnot – Path
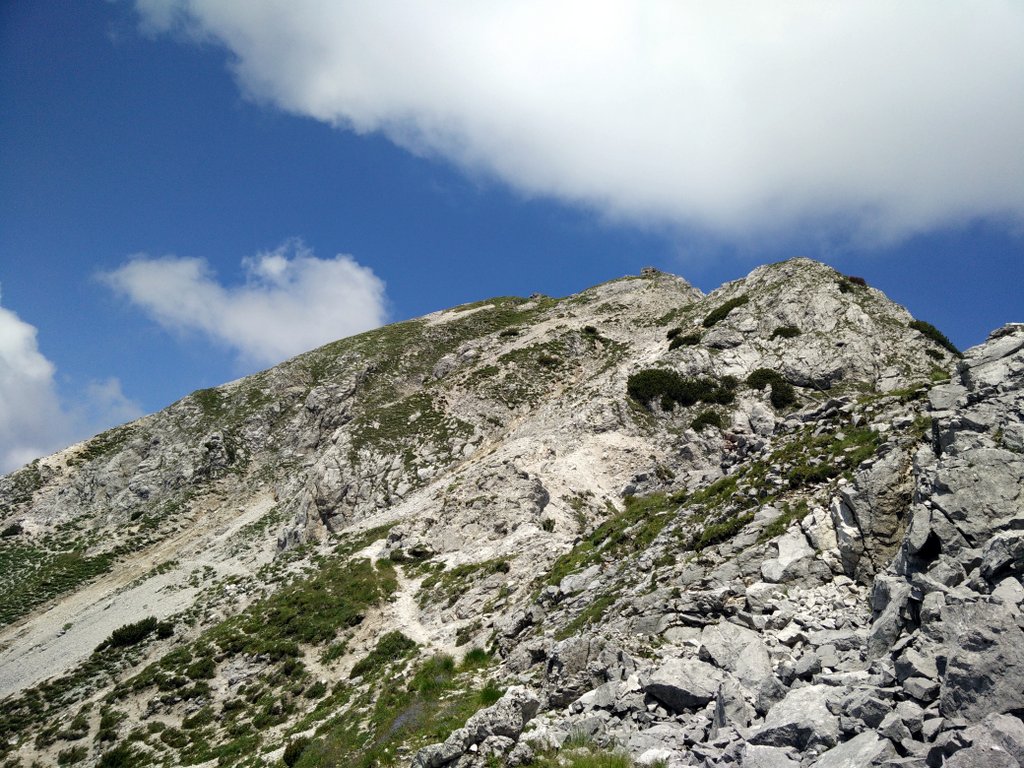
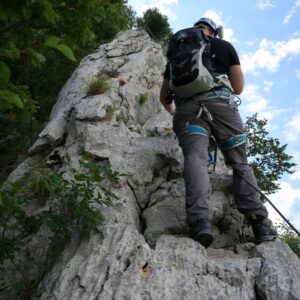
Jof di Miezegnot – Some scrambling is required to reach the top
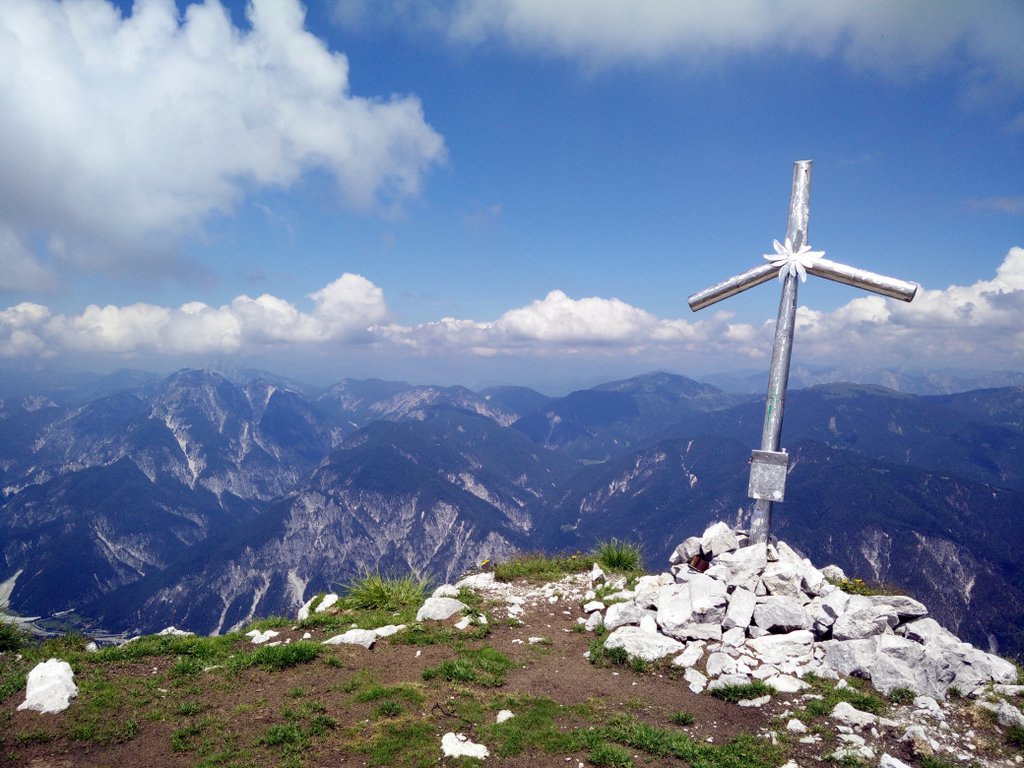
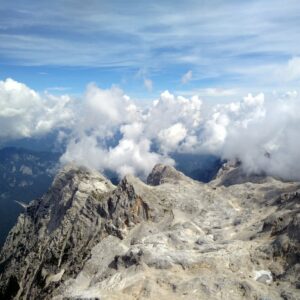
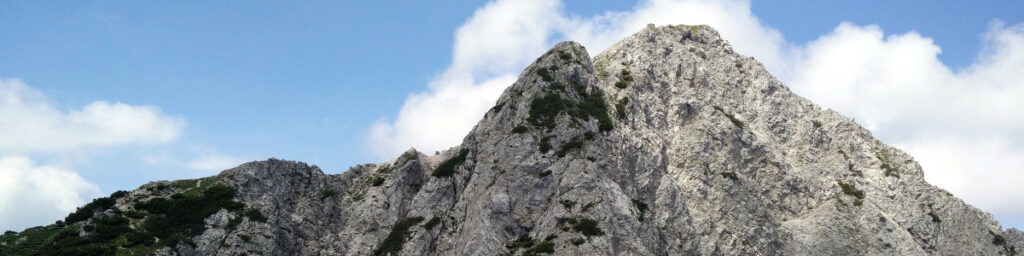
Jof di Miezegnot – Summit

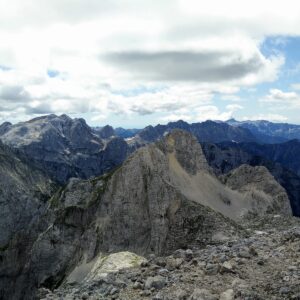
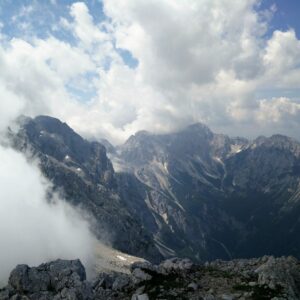
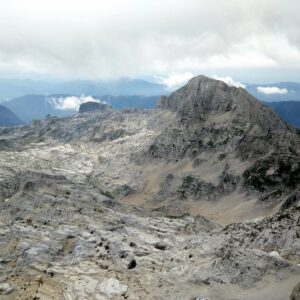
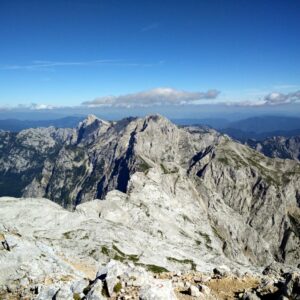
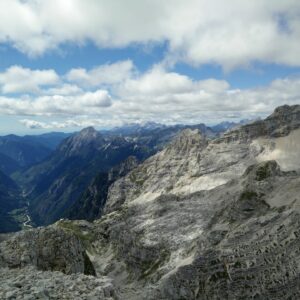
Jof di Miezegnot – View on the surrounding peaks
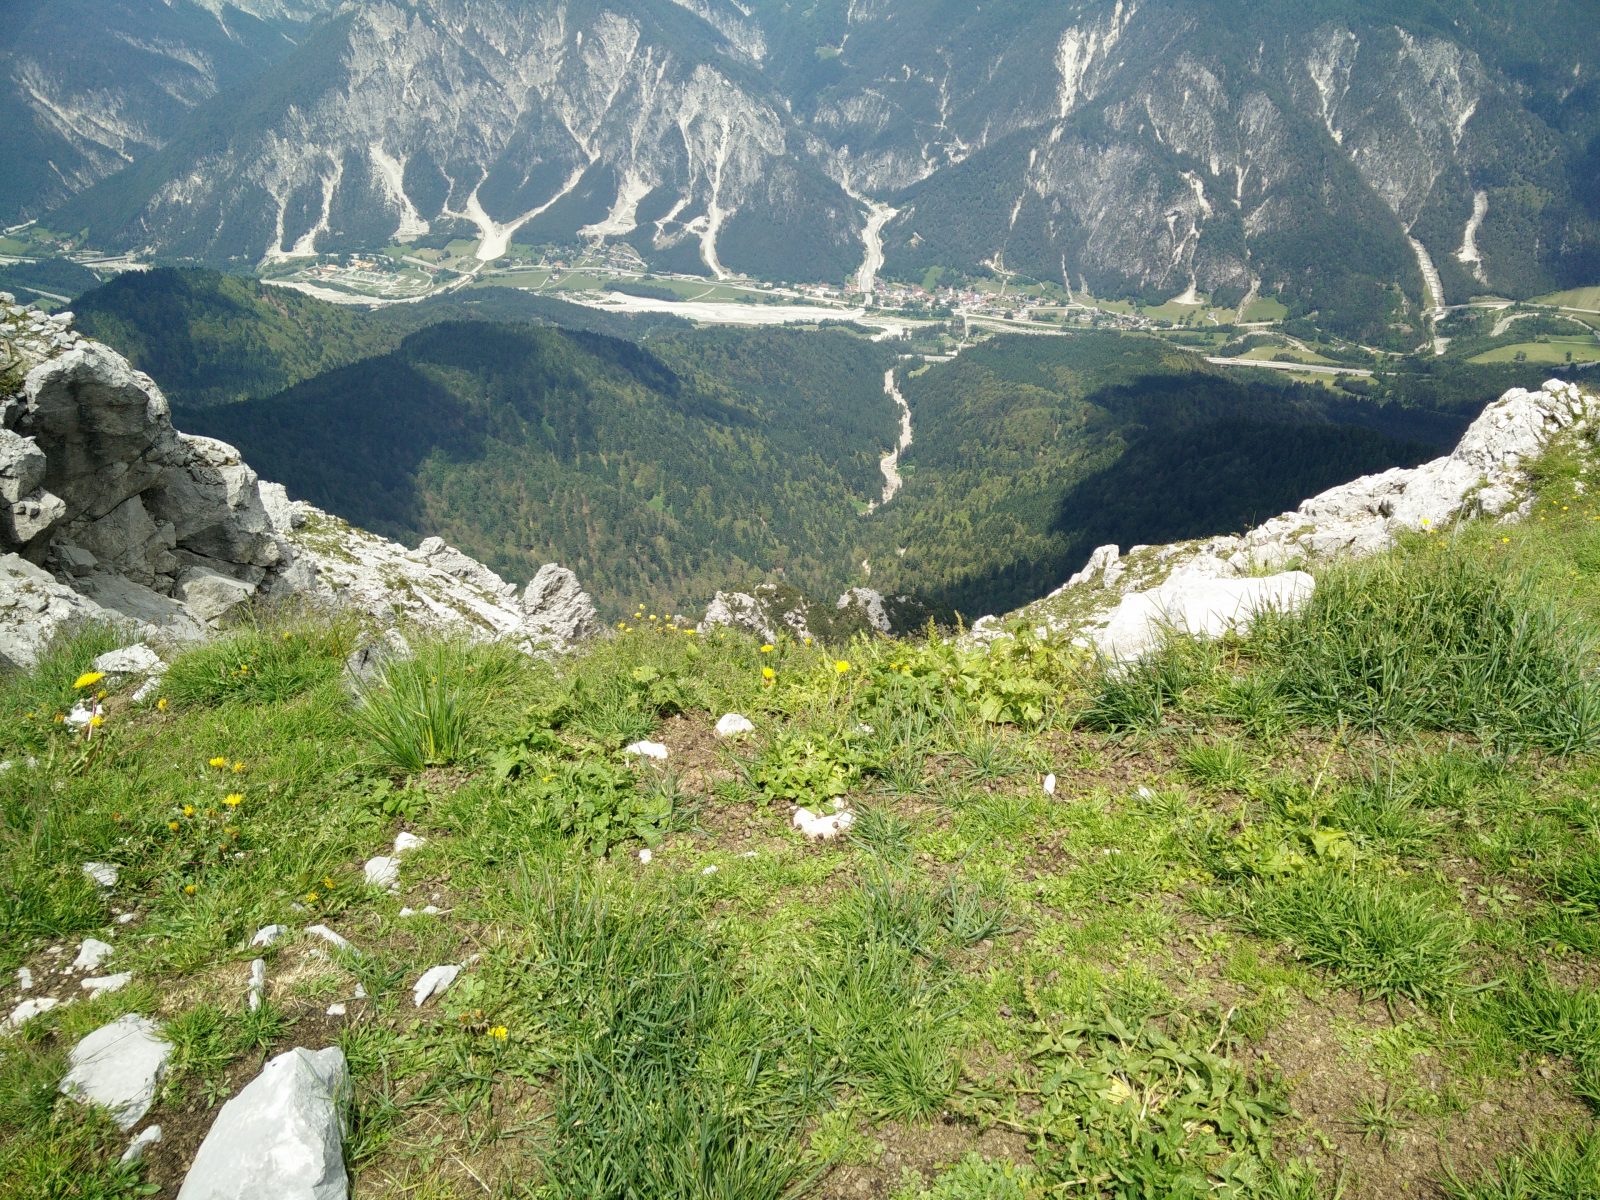
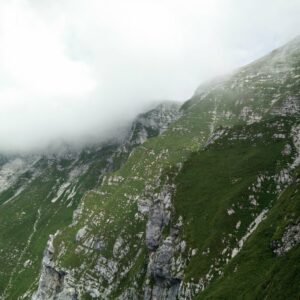
Jof di Miezegnot – View down
Equipment
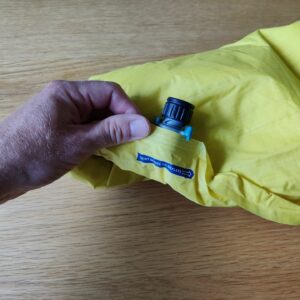
As I knew that the hike is physically demanding, I wanted to hike as lightweight as possible. Therefore I was only carrying a rain jacket, fleece jacket, sun cream, food, water and some accessories in the Osprey Talon 44 backpack. However, as it was sunny and the temperatures were high I assessed that I need no less than 4 liters of water. If I would know that I can refill the water bottle and water reservoir at the mountain hut, I would definitely take less water on this hike in order to be even lighter and probably faster.
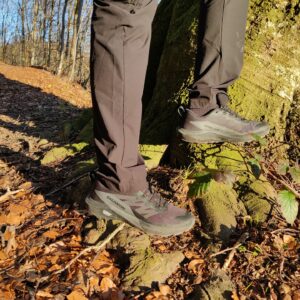
During the hike I was wearing the Icebreaker Tech T Lite Merino wool t-shirt, Montane Terra Pack pants, Salewa Mountain Trainer Mid hiking boots, Woolx Merino Boxers, baseball cap and socks made of Coolmax fibers. I was really satisfied with all the apparel that I used as it kept me comfortable throughout the hike. The Salewa Mountain Trainer Mid boots proved to be especially excellent for the scrambling which was required higher up as they provided me with good grip and ankle support.
If you are doing this hike in any other season than summer you will probably also need crampons, ice axe(s) and gaiters as the trail will be covered with snow. In these seasons also don’t forget to check the snow and weather conditions before going. In case of avalanche danger I recommend postponing the trip.
Equipment under scrutiny
Icebreaker Tech T Lite T-shirt
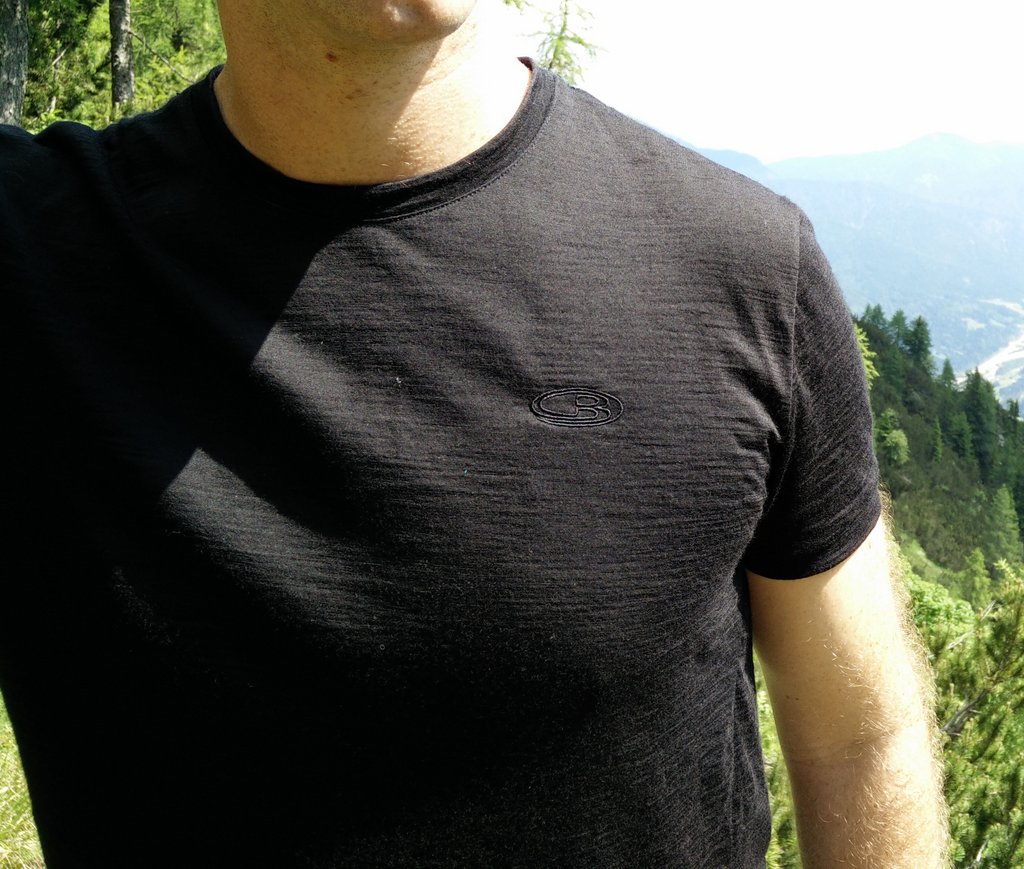
Icebreaker Tech T Lite T-shirt
I was really surprised over the performance of this t-shirt on this very demanding hike. The t-shirt is made of a very thin fabric (mixture of Merino wool and nylon) with great porosity and thus it efficiently wicks moisture away from the skin while providing great breathability. In spite of the very fine fabric, the t-shirt seems quite durable as it uses nylon for increased strength. I was also surprised over the drying time – it basically went from being completely soaked to being dry in less than 15 minutes (in sunny and slightly windy weather on the top). I would recommend this t-shirt to every hiker and mountaineer who wants a well-performing base layer for tough adventures. You can read the full review of the Icebreaker Tech T Lite t-shirt here.

Also available at:
Conclusion and photo gallery
The Jof di Miezegnot trail is best for hikers and mountaineers who already have some hiking/mountaineering skills and are physically well-prepared with no outbursts of vertigo. You will also need to be sure-footed as the trail runs through dense woods as well as over exposed and rocky terrain. On the top of the mountain you will be rewarded with a great view on the surrounding peaks in the Julian Alps. I strongly recommend checking the weather conditions thoroughly before going as this hike could be potentially dangerous (storms, avalanches etc.) in bad weather.
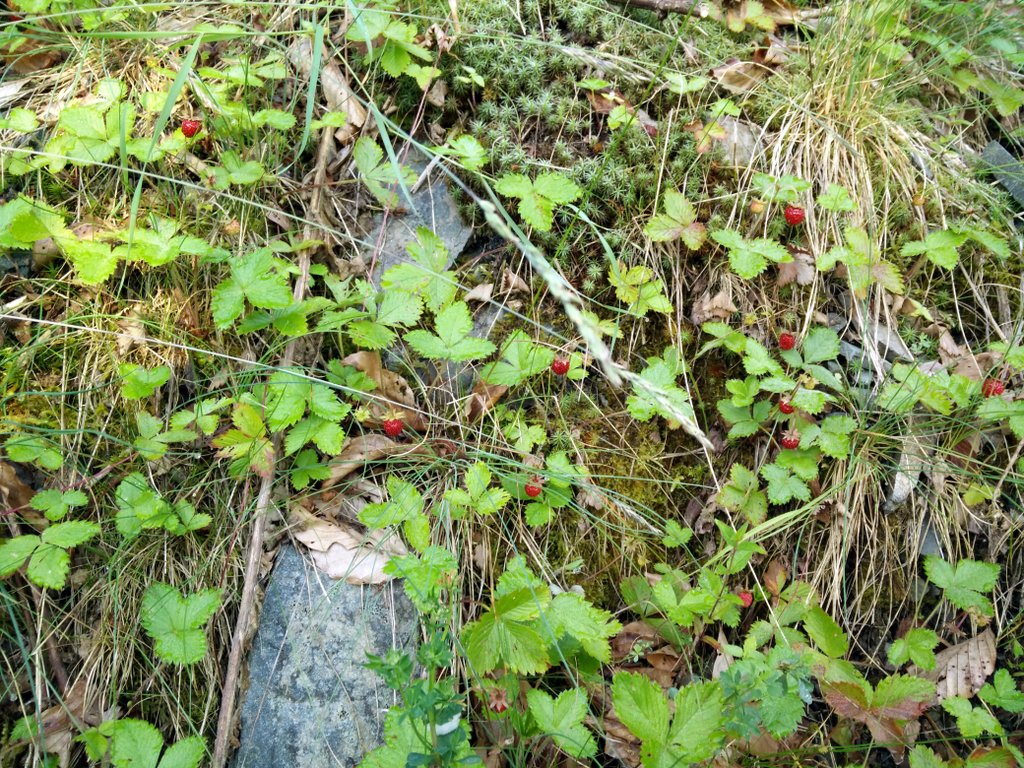
Jof di Miezegnot - Strawberries
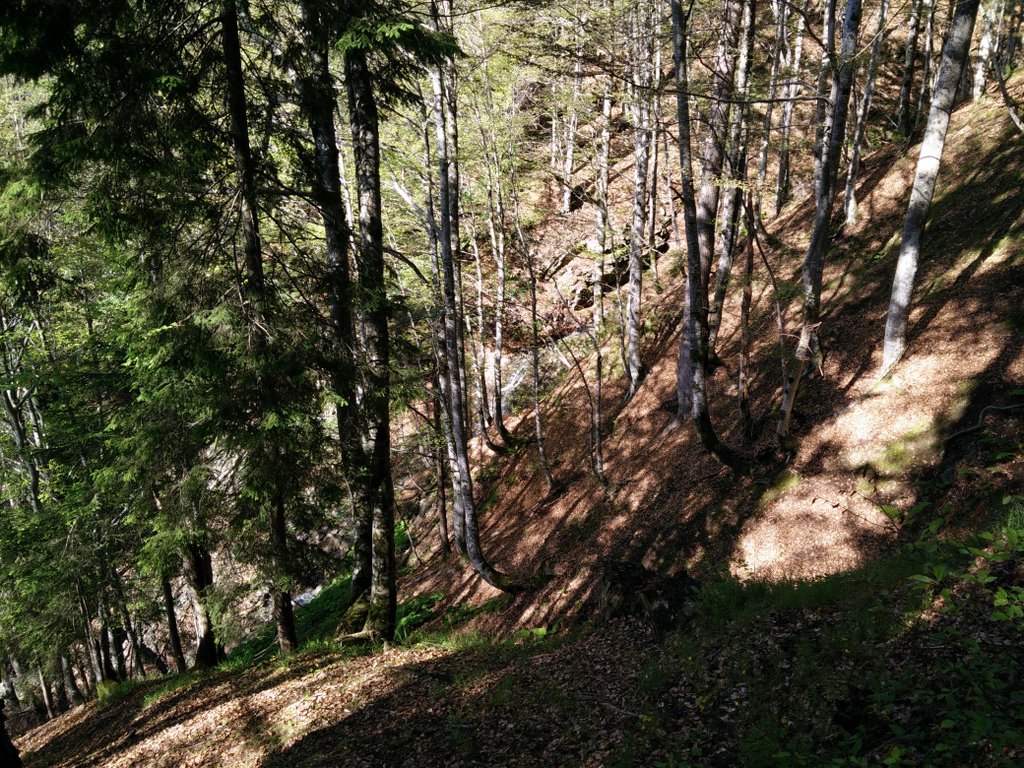
Jof di Miezegnot - The shortcut is rather steep
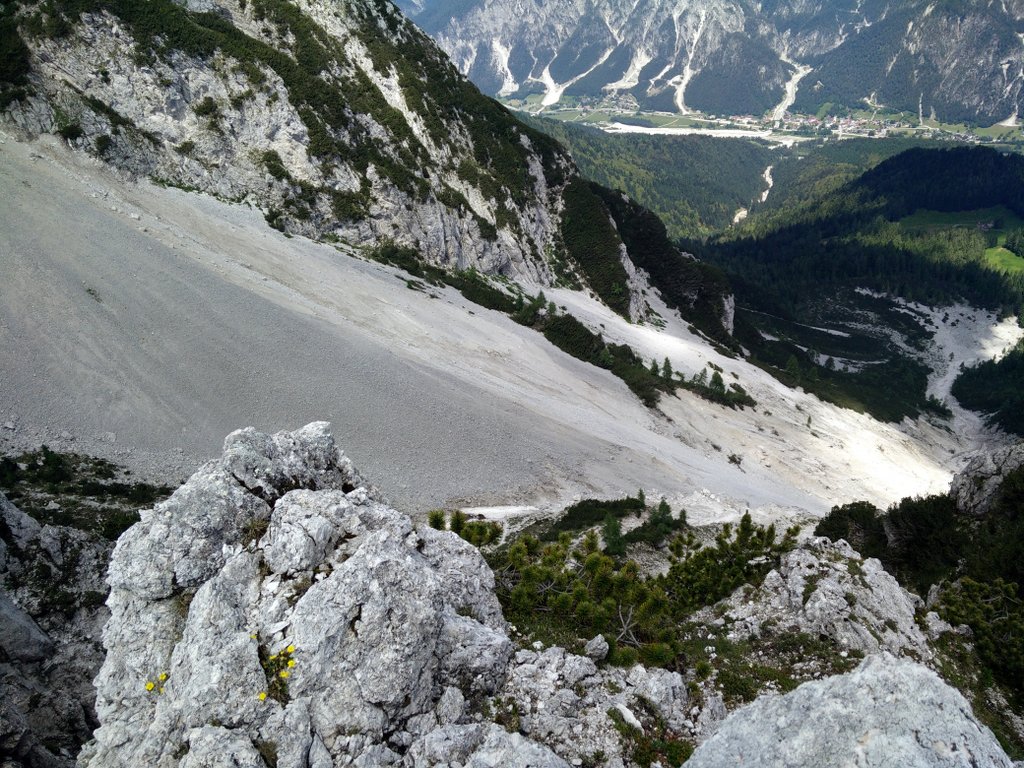
Jof di Miezegnot - Scree
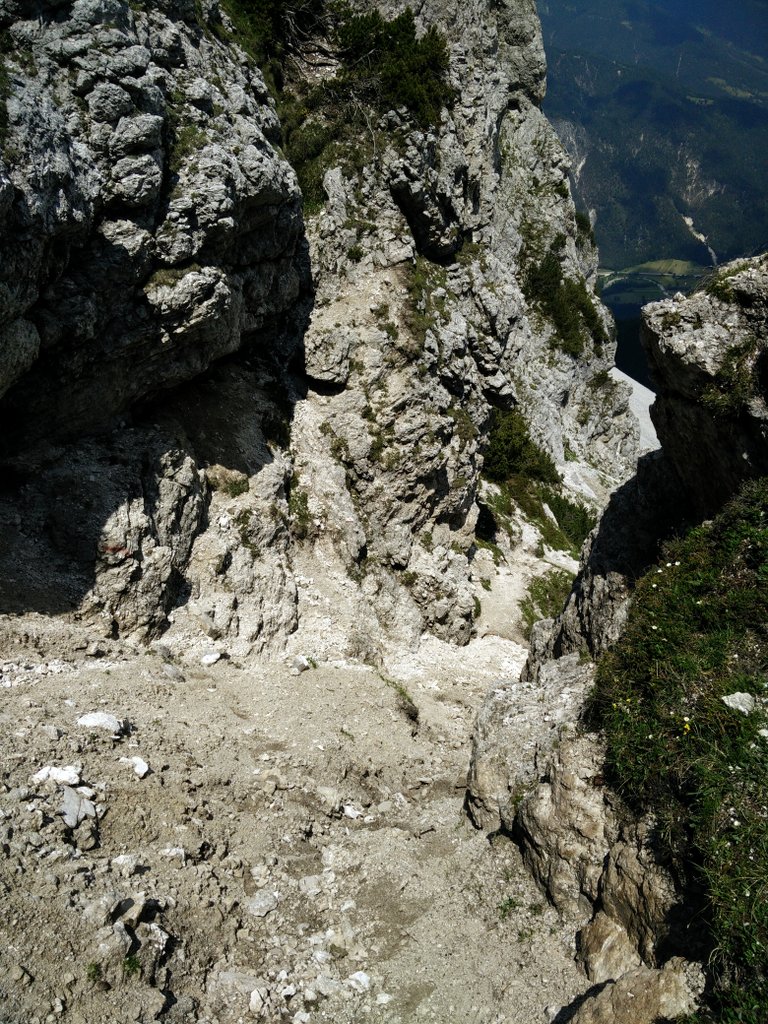
Jof di Miezegnot - Steep groove that has to be climbed
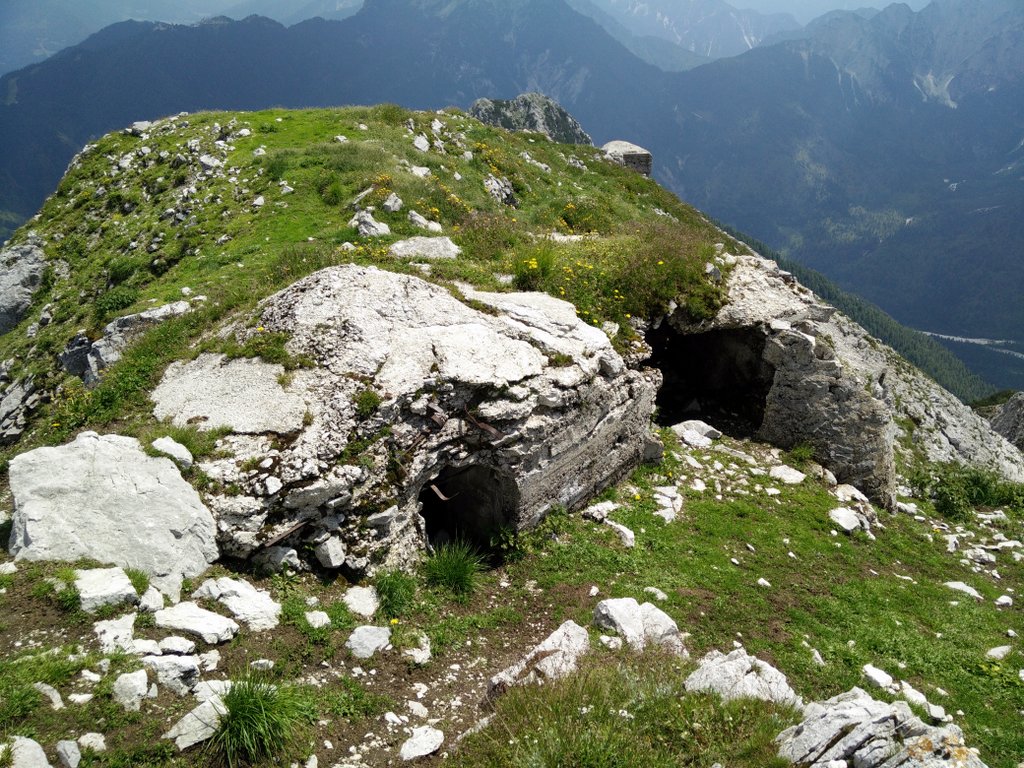
Jof di Miezegnot - Bunkers on the summit
Jof di Miezegnot - More bunkers
If you have any questions about this hike, please drop me a line in the comments below.
Jof di Miezegnot Trail Terrain Video