About Gjuvvatnet Hiking Trail
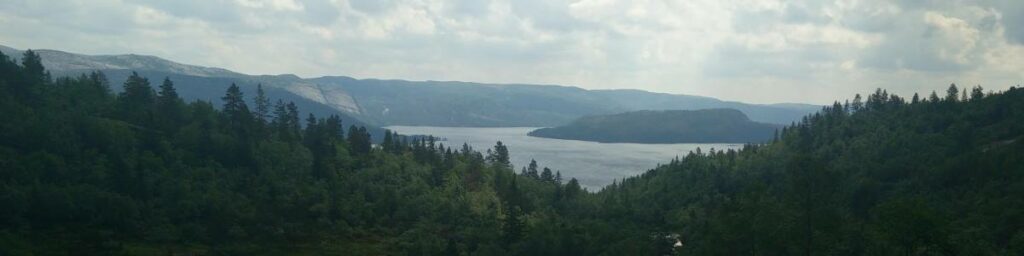
The last hike during our hiking holiday in Bortelid, Norway was the Gjuvvatnet trail. It was the longest trail we did, both in terms of distance and duration but we were aided by the weather, which was less hot and sunny than the other days. There are several lakes called Gjuvvatnet in Norway, but this one is located just one kilometer east of the Bortelid village. The trail, however, only follows the western side of the quite large lake for about two kilometers but also at the highest point of the track you get a beautiful view on Gjuvvatnet and the forested valleys around it. The starting point is the same as the other hikes – at the beginning of the Krolia street, at the southern end of Bortelid, opposite the small parking place where you can park your car free of charge.
You can, nevertheless, also start hiking from the Bortelid ski center where there should be parking opportunities, depending on the season. The trail isn’t marked, but if you follow our description and/or download the free GPX trail below for your hiking watch, GPS device or Smartphone you should be able to navigate without problems.
Gjuvvatnet Hiking Trail Details
Physical Difficulty
Easy
Technical Difficulty
Easy
Duration
3 h 22 min
Distance
9.9 km
(6.15 mi.)
Ascent
220 m
(722 ft.)
Descent
231 m
(758 ft.)
Highest Point
712 m
(2336 ft.)
Lowest Point
523 m
(1716 ft.)
Date of the Hike Date when we did this hike ?
June 2020
Weather On the day when we did this hike ?
Partly cloudy
Temperature On the day when we did this hike ?
24° C
(75° F)
Wind On the day when we did this hike ?
5 km/h
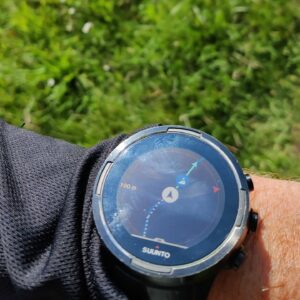
Gjuvvatnet GPS Route and Trail Description
*Click on the chart to see the location on the map
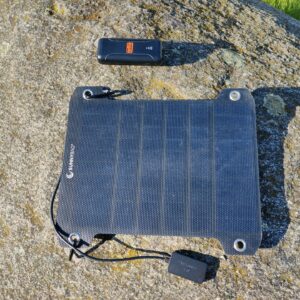
GPX route helps you with the navigation on a hike. It can be used with a smartphone, handheld GPS device or a GPS watch.About GPX Route
Reaching the starting point
You can reach Bortelid by car or bus (use the regional Agder public transport website to plan your trip). If you want driving instructions for reaching the starting point, you can read our Hiking Holiday Guide to Bortelid, where you can also get information about where to stay, what to do besides hiking etc.
Trail
Like with the previous Kvitevatn trail, you start by walking from the southern end of the street called Krolia to the end, where you should take the easternmost narrow paved road called Bortelidgard. This narrow road follows the outline of the village lake Bortelidtjønna for about half a kilometer and ascends gradually till it runs together with the wide paved road called Stedjerotten. This road leads to the ski center which you will come to after walking 1.5 kilometer altogether. At the ski center you continue walking ‘straight ahead’ on the gravel road which curves towards the northeast. A few hundred meters after the ski center the road divides into two, but you should continue on the one to the right. After another couple of hundred meters, there is yet another detour road on your left but you should stick to the same road which, however, shortly after, divides into two (see image). At this point you have walked two kilometers altogether, and here you should chose the left road.
In case you miss it and take the one to the right, you should realize your mistake quite soon as this path takes a quite sharp turn towards south (back towards the ski center) after just a few hundred meters of walking. The left road, on the other hand, curves towards east and takes a quite sharp turn towards north after 600 meters. Just before this turn, the gravel road ends and turns into a rather wide path instead. When we were there, quite a lot of this path was covered in wood chips which might be a method to hinder it from becoming too muddy/swampy as there is a small stream running close to the path. After the turn, the trails also runs close to a very small lake called Reinstjønn (which is NOT the same lake as the one of our first hike in Bortelid). You will also pass by a lovely newbuilt wooden shelter with a fire place and iron pot. For about a kilometer, the path is still more or less flat, but then start to ascend gently.
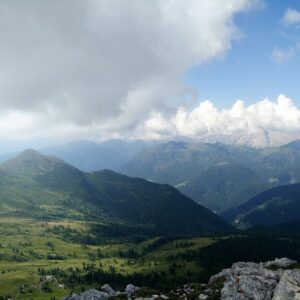
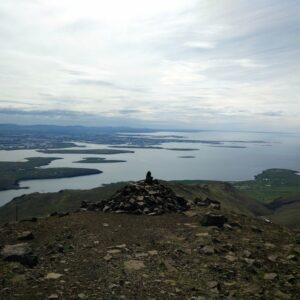
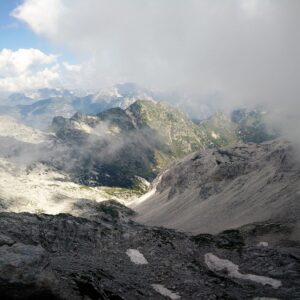
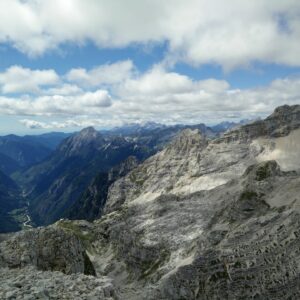
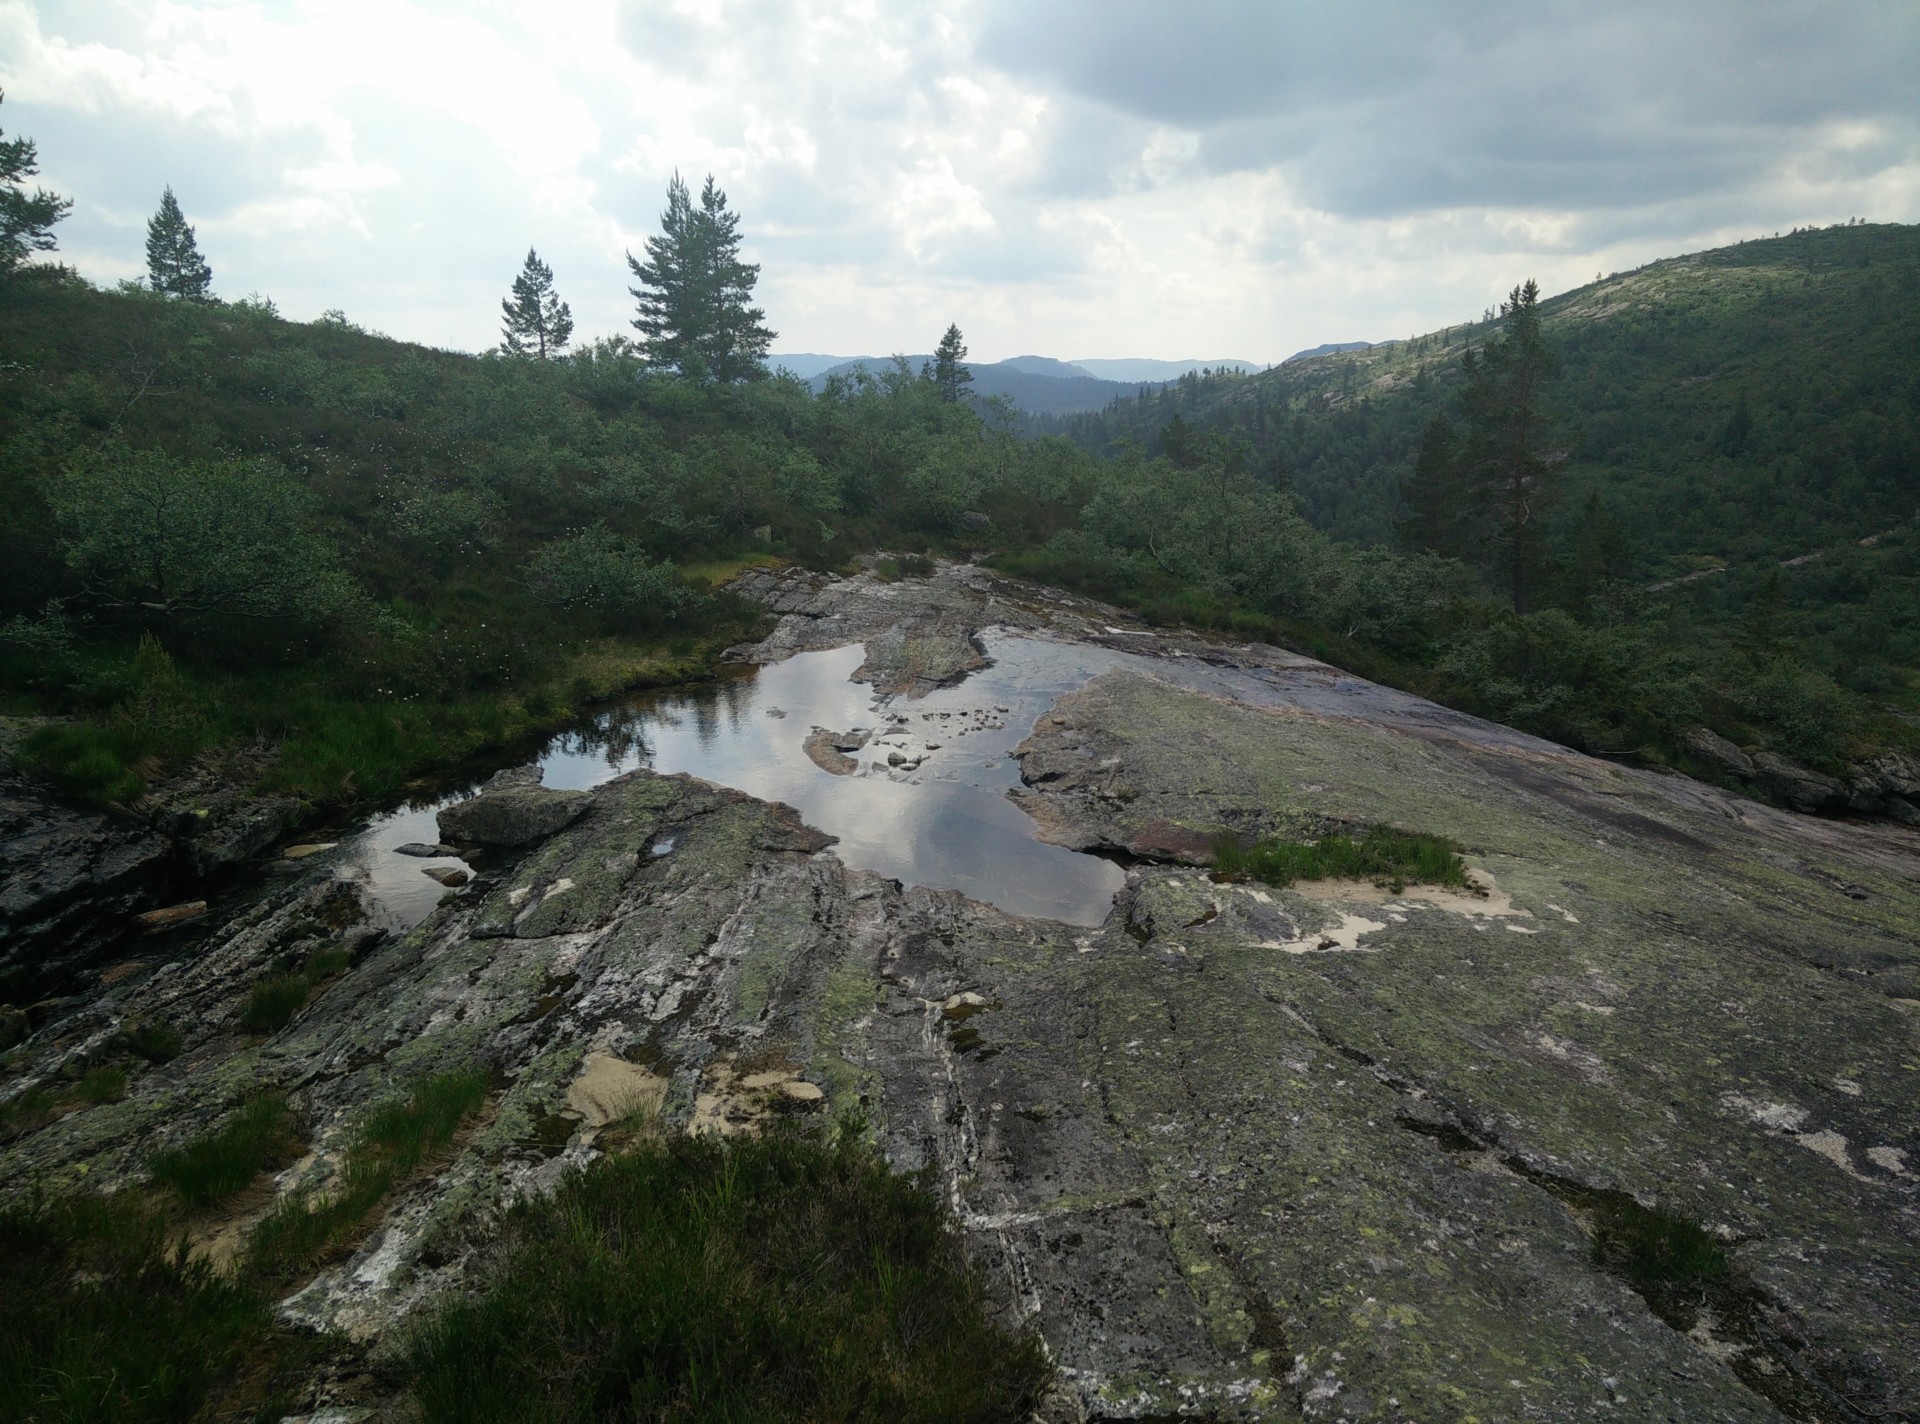
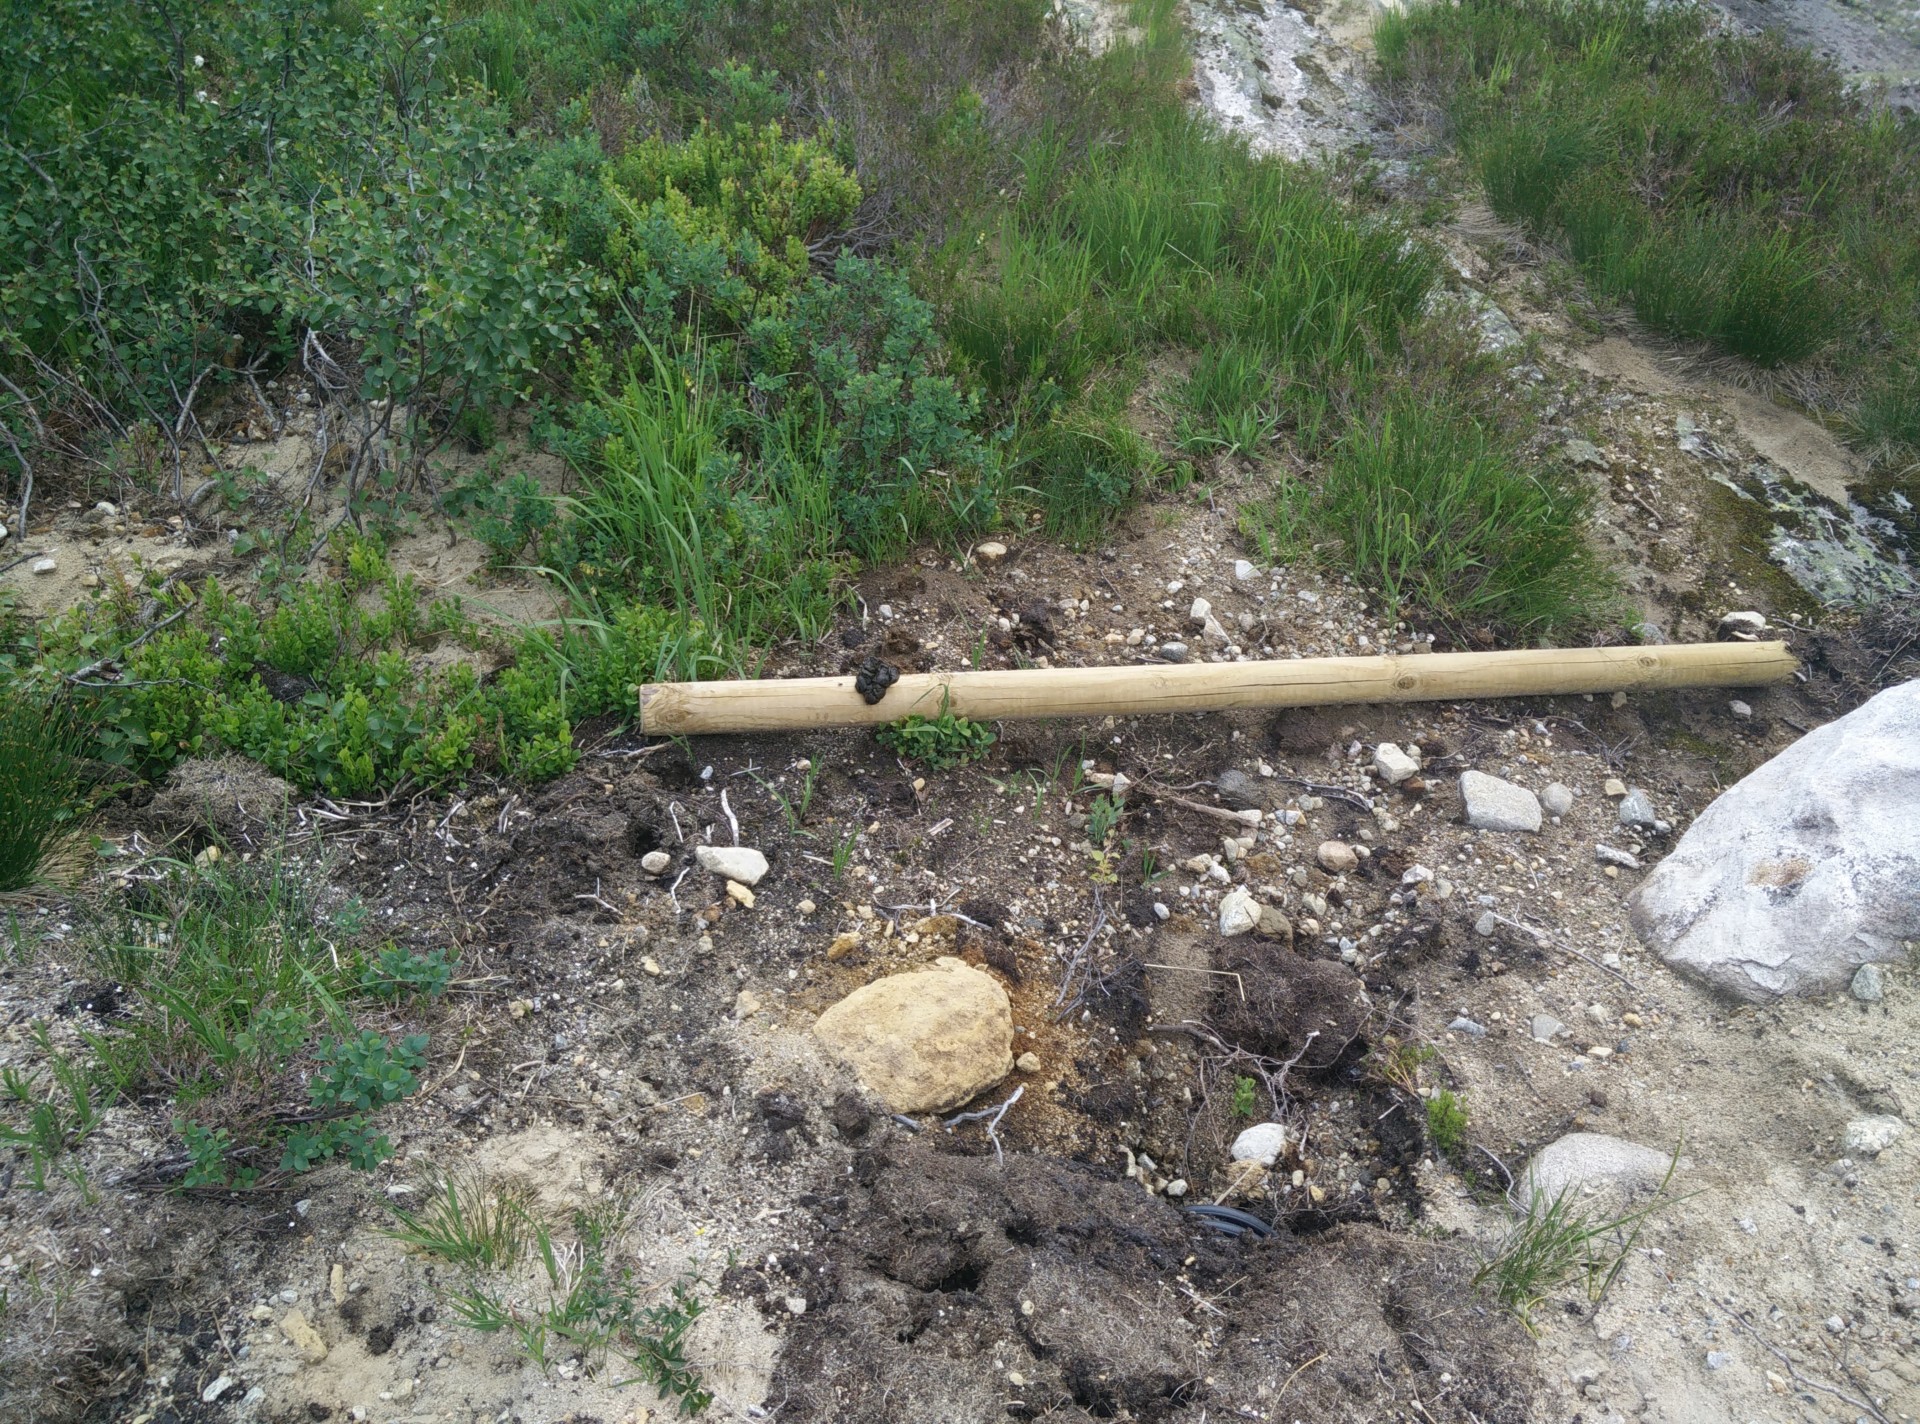
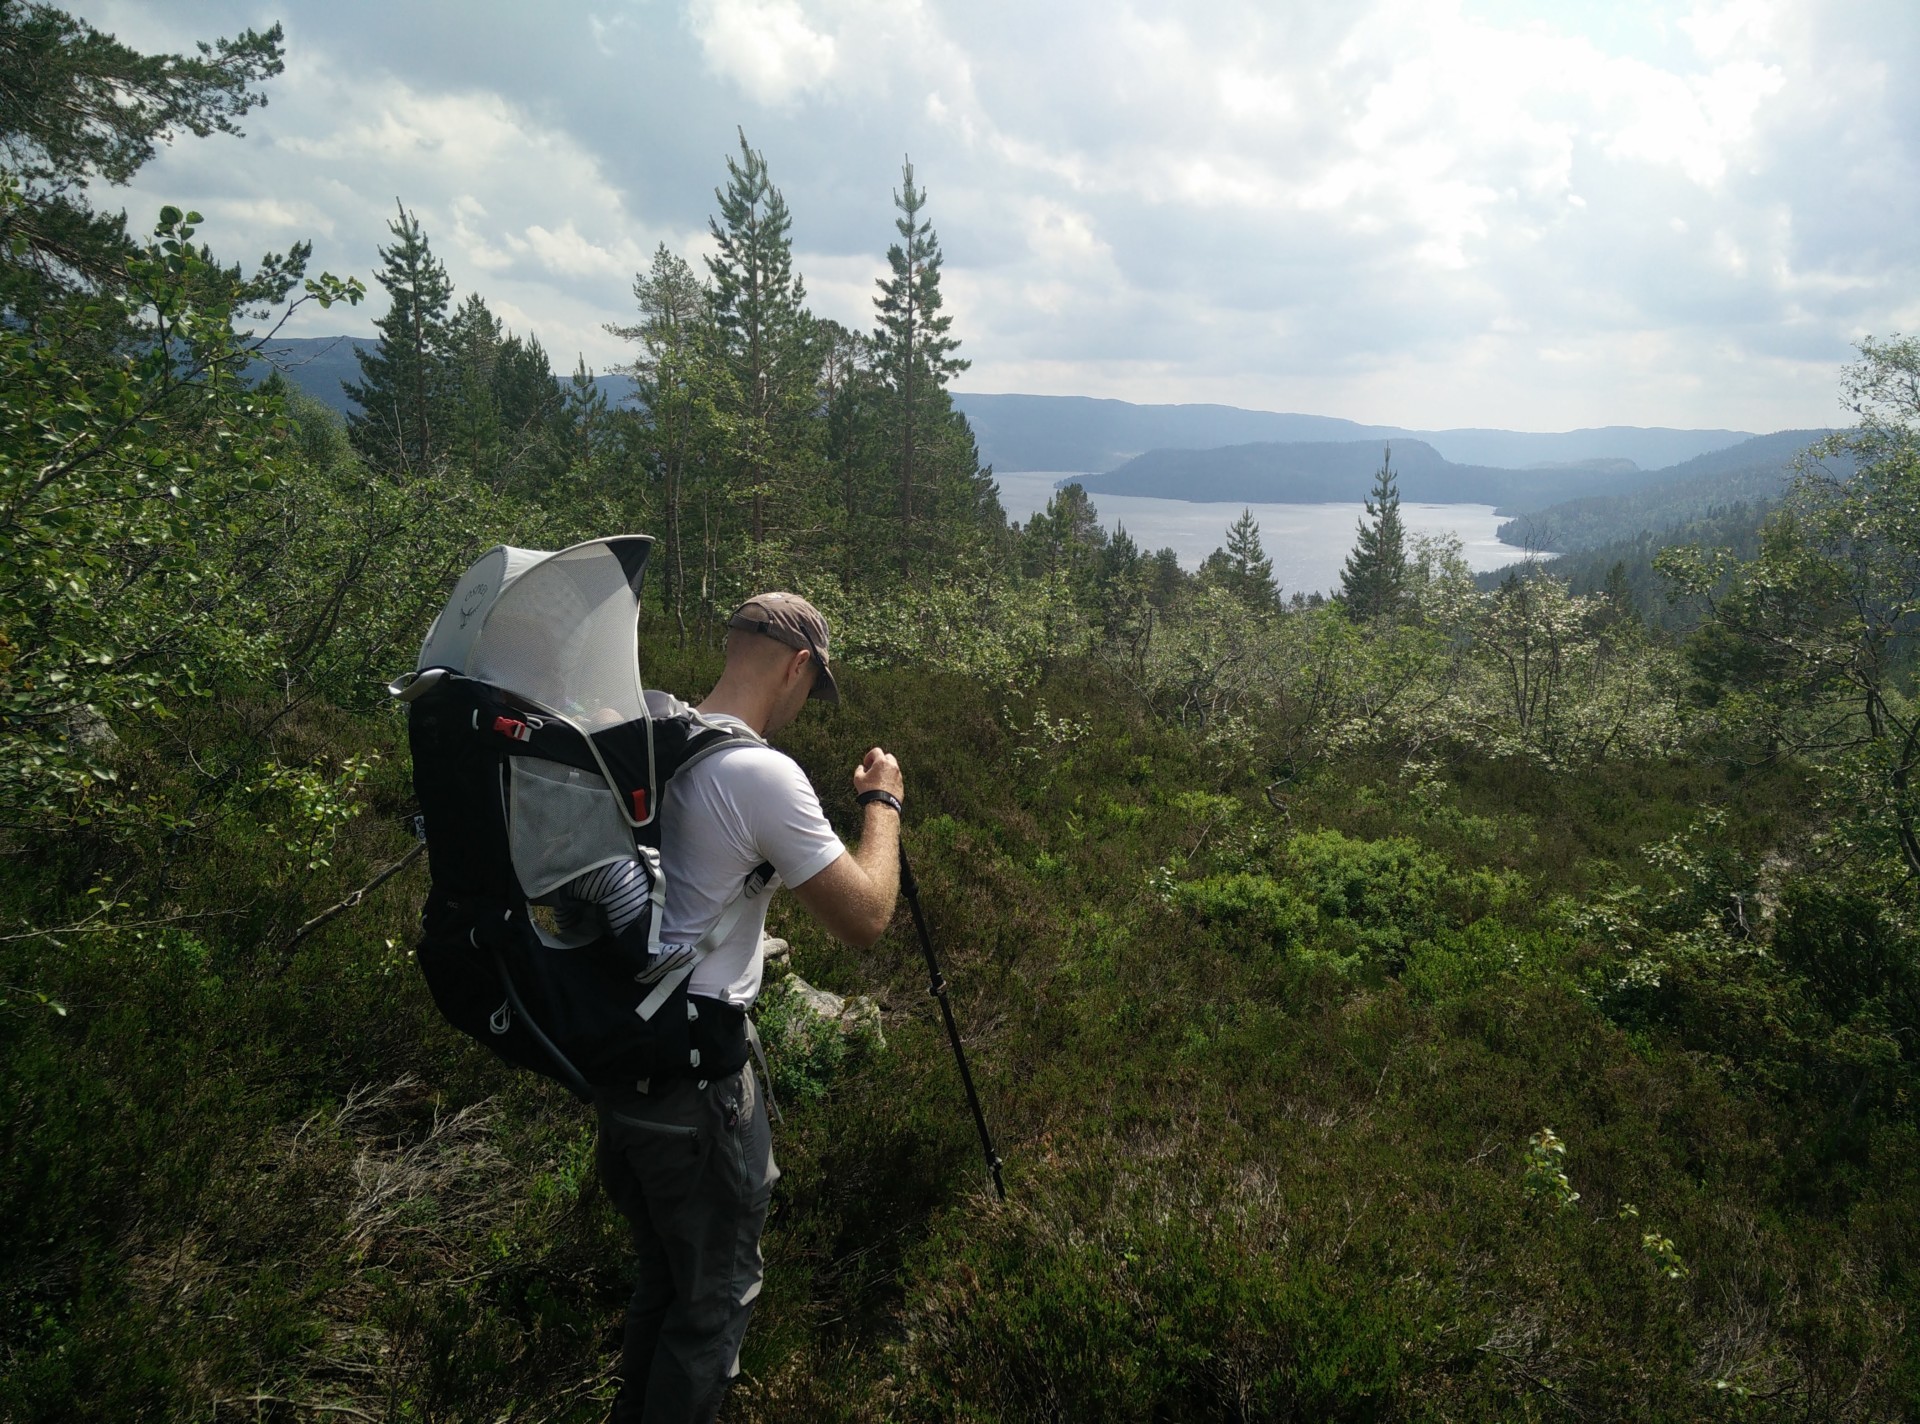
Initially, the forests gets denser around the trail but then gives way to a more rocky terrain. You will also be able to catch some glimpses of the Gjuvvatnet lake at the bottom of the valley. After having walked 4.5 kilometers altogether, you will reach the highest point of this trail which is at 710 meters (2330 ft.) above sea level. On your way up, you will see a small stream running down the mountainside to your right. This stream is important for the next crucial point of navigation, as the dirt path you are on, actually runs further up north and away from the Gjuvvatnet lake. But rather than following the wide dirt path, it is important that you cross over the small stream running down the rocky mountainside. Here you will see a narrow path (see image), which is the right way to go. I think someone tried to mark this navigation with a wooden pole, but it was on the ground when we were there.
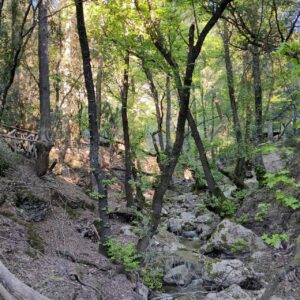
When we did the trail in the height of summer, the small stream was not much more than a wet trickle over the cliff, but if you do the trail at a more rainy time of year or right after a heavy rainfall it might be a bit more difficult to cross. Once on the narrow path, the trail starts to descend more or less gently and the forest again gets dense. At this point the little one started to get cranky about being in the child carrier backpack, and we thus hurried downhill to find a nice spot to take a break. We didn’t want to make a stop in the forest because we were worried about potential insects in the air and on the ground. After descending downhill for a little more than a kilometer, the narrow forest path comes down to the Gjuvvatnet lake and the local road (or Fylkesvei) Fv351 which runs along part of it (as it is a dirt road, cars are few and slow).
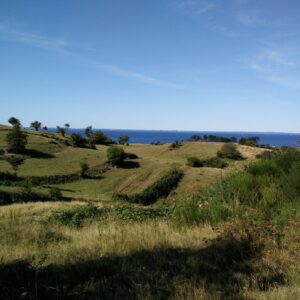
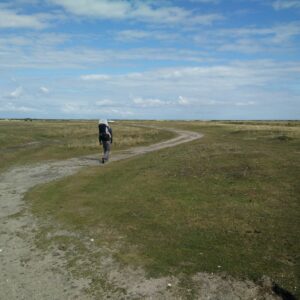
Due to the little one, we were forced to make our stop at the edge of a small parking lot at the edge of the lake, which was perhaps not the nicest place to have a picnic although we were alone and only few cars drove by. But we didn’t find any suitable places close by, and the little lady was getting very impatient to escape her harness. We did, however, try to make the stop as brief as possible as we had agreed to also stop at the Rundatjønnæ lake further ahead for a quick swim as the weather was getting increasingly sunny and warm. From our picnic stop, we started walking along the lake on the dirt road (also called Heddersvegen) and back south towards Bortelid. The road runs just a meter or two above the water surface and thus relatively flat for more than a kilometer, then it ascends gently as it starts to move away from the lake and more towards southeast.
After walking 7.5 kilometers altogether, the road takes a quite sharp turn towards east, and here there are also side roads with small lovely cottages. A few hundred meters after the turn you will be walking between the two lakes Rundatjønnæ and Langatjønnæ. For the best swimming option, we recommend you continue walking to the southern end of Rundatjønna where there is a proper little sandy beach from which you can walk into the refreshing water at your own pace. Around here, the dirt road also turns into a proper asphalt road and thus some people come here by car to take a quick swim. We definitely felt like we needed it after walking just over 8 kilometers altogether. Once we had been refreshed, we walked the last 1.5 kilometer back to the starting point following the paved Fv351. We’re usually not fans of walking along paved roads (especially if they are busy!), but the weather was lovely, the cars were few and the surroundings green and lush.
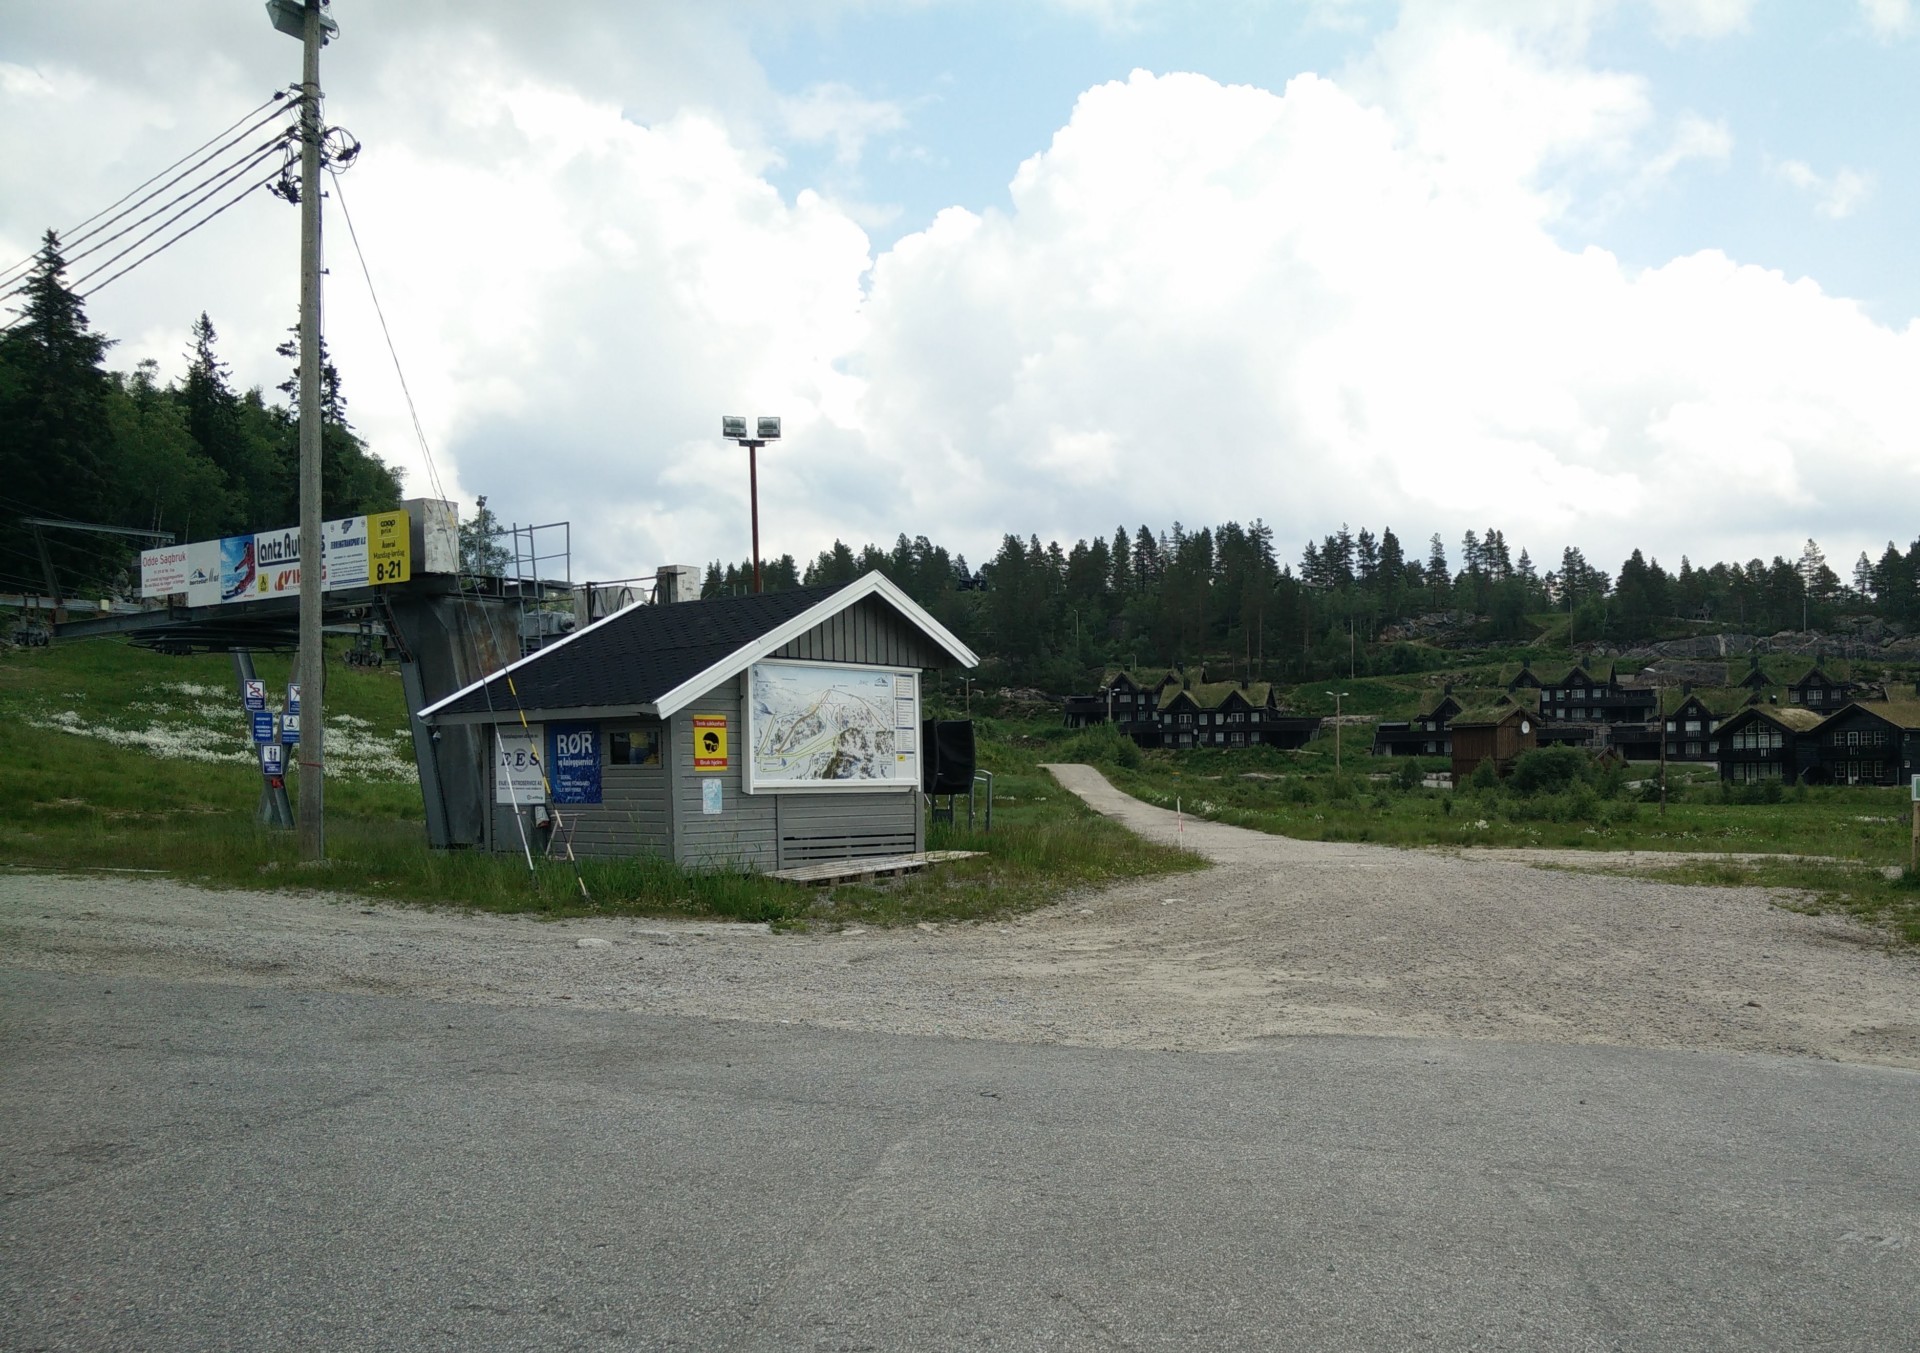
Gjuvvatnet Hiking Trail – continue straight ahead on dirt road from ski center
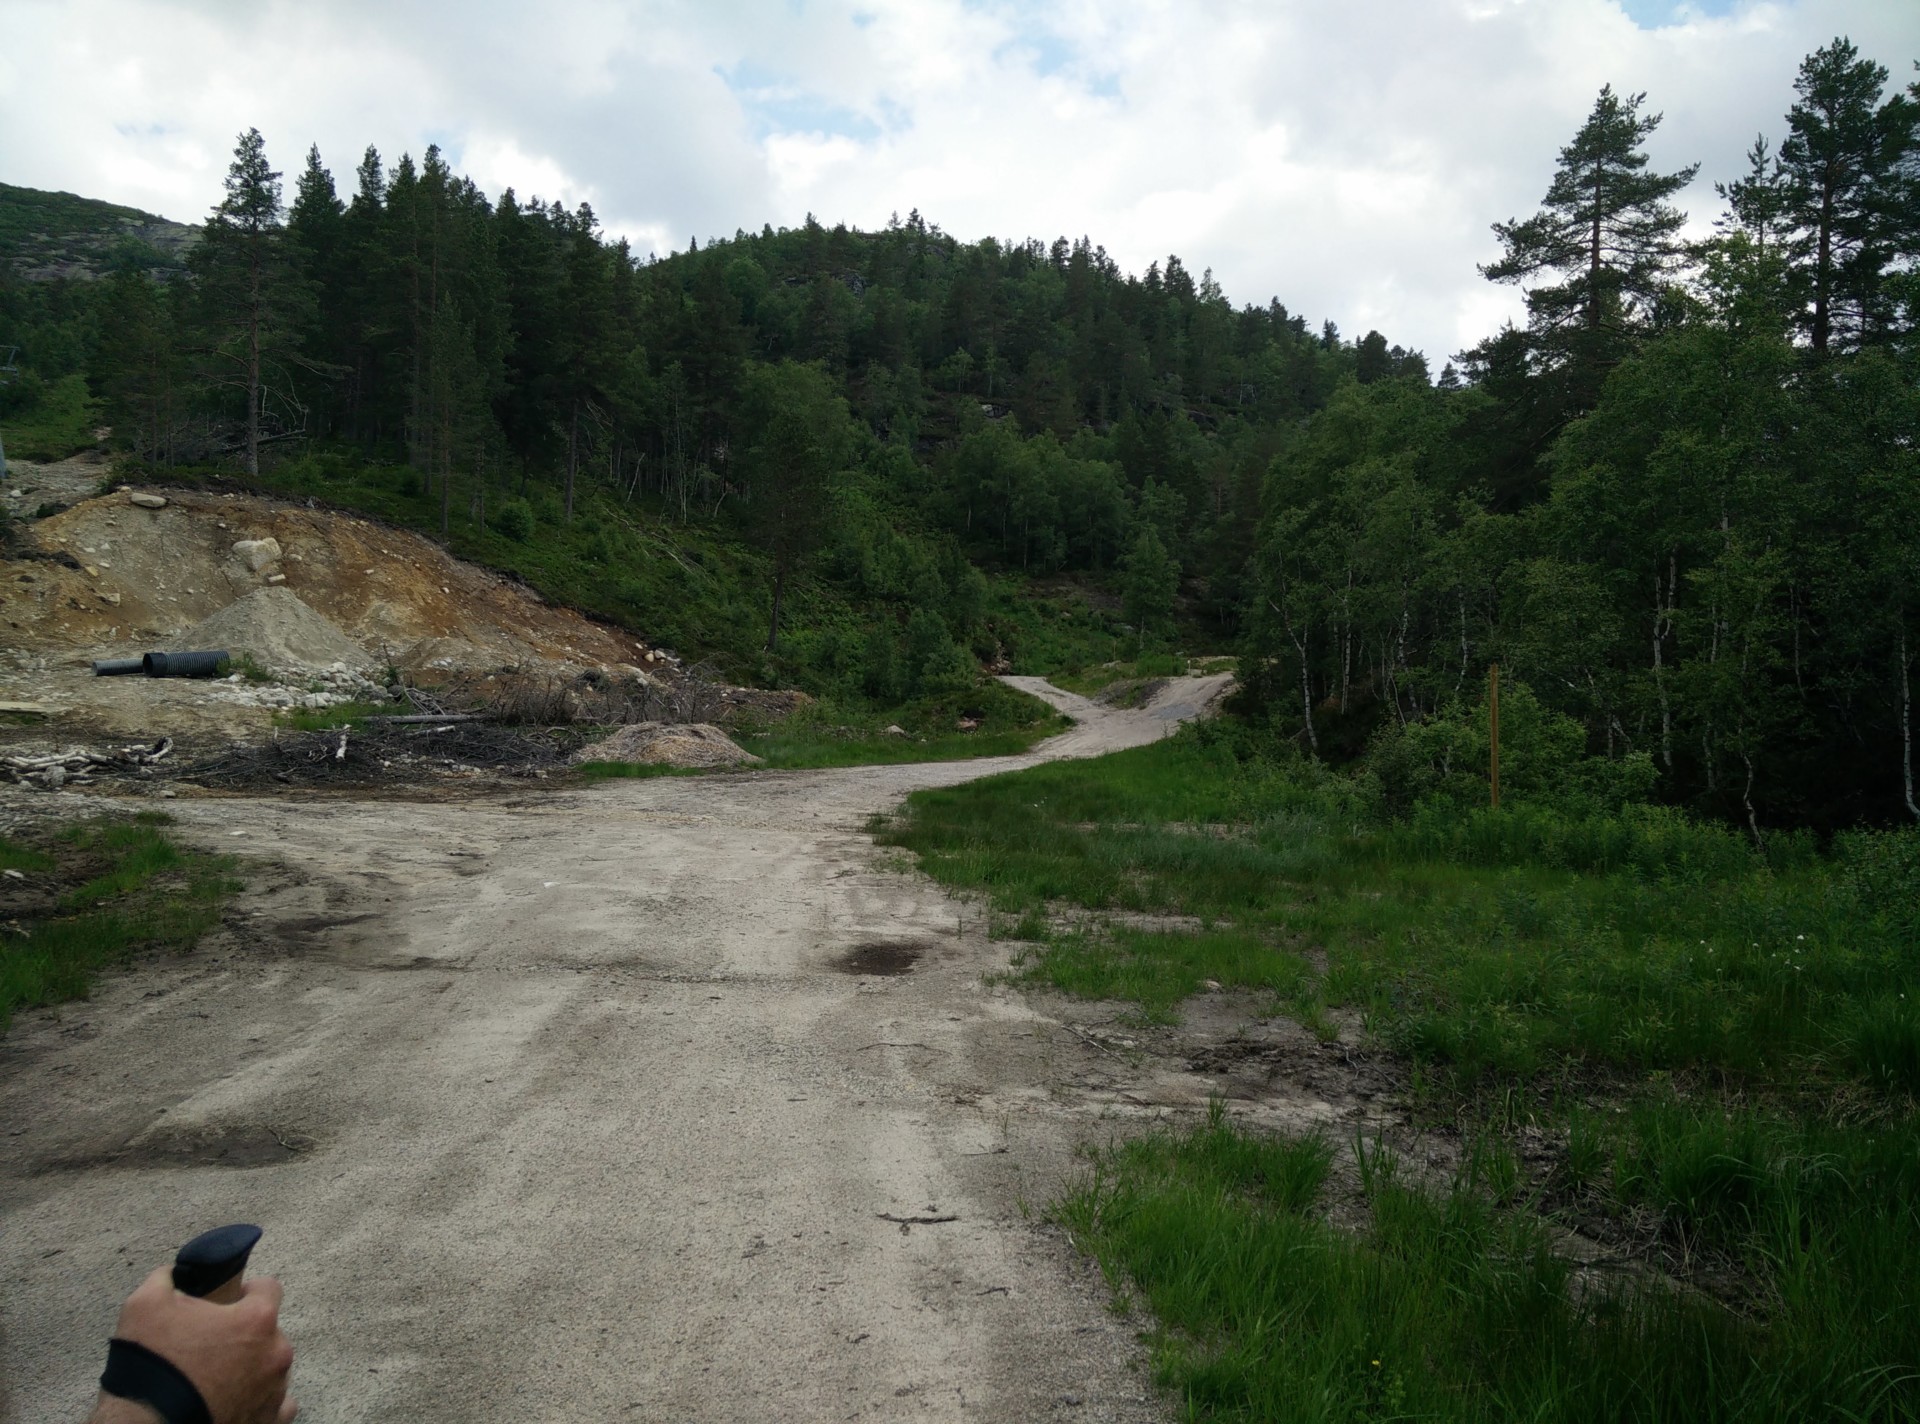
Gjuvvatnet Hiking Trail – at this road fork you should go left

Gjuvvatnet Hiking Trail – wooden chips laid out to keep mud at bay
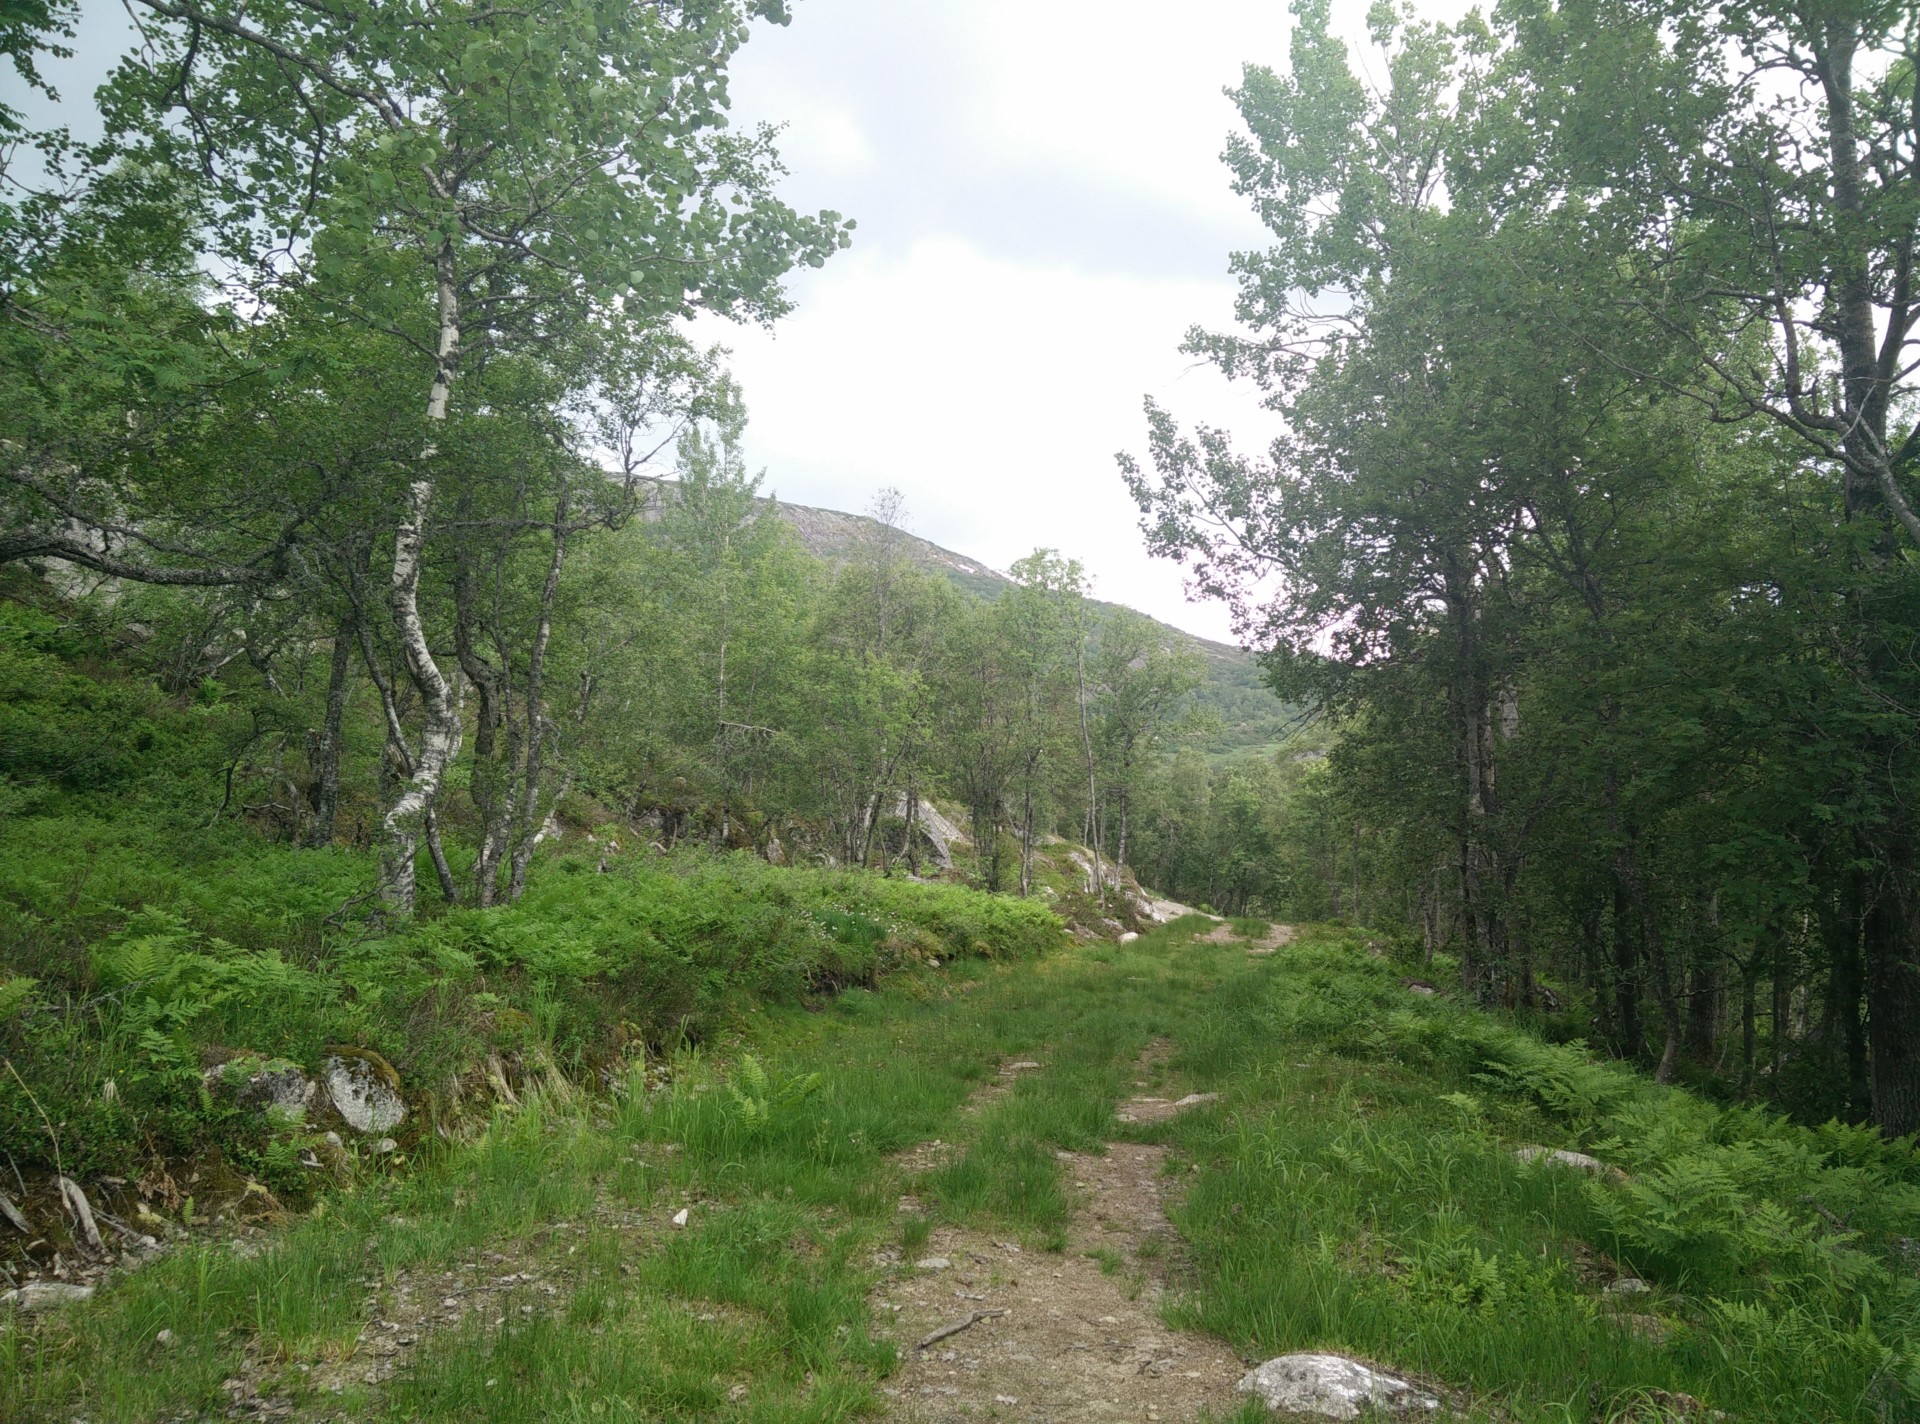
Gjuvvatnet Hiking Trail – path starts ascending
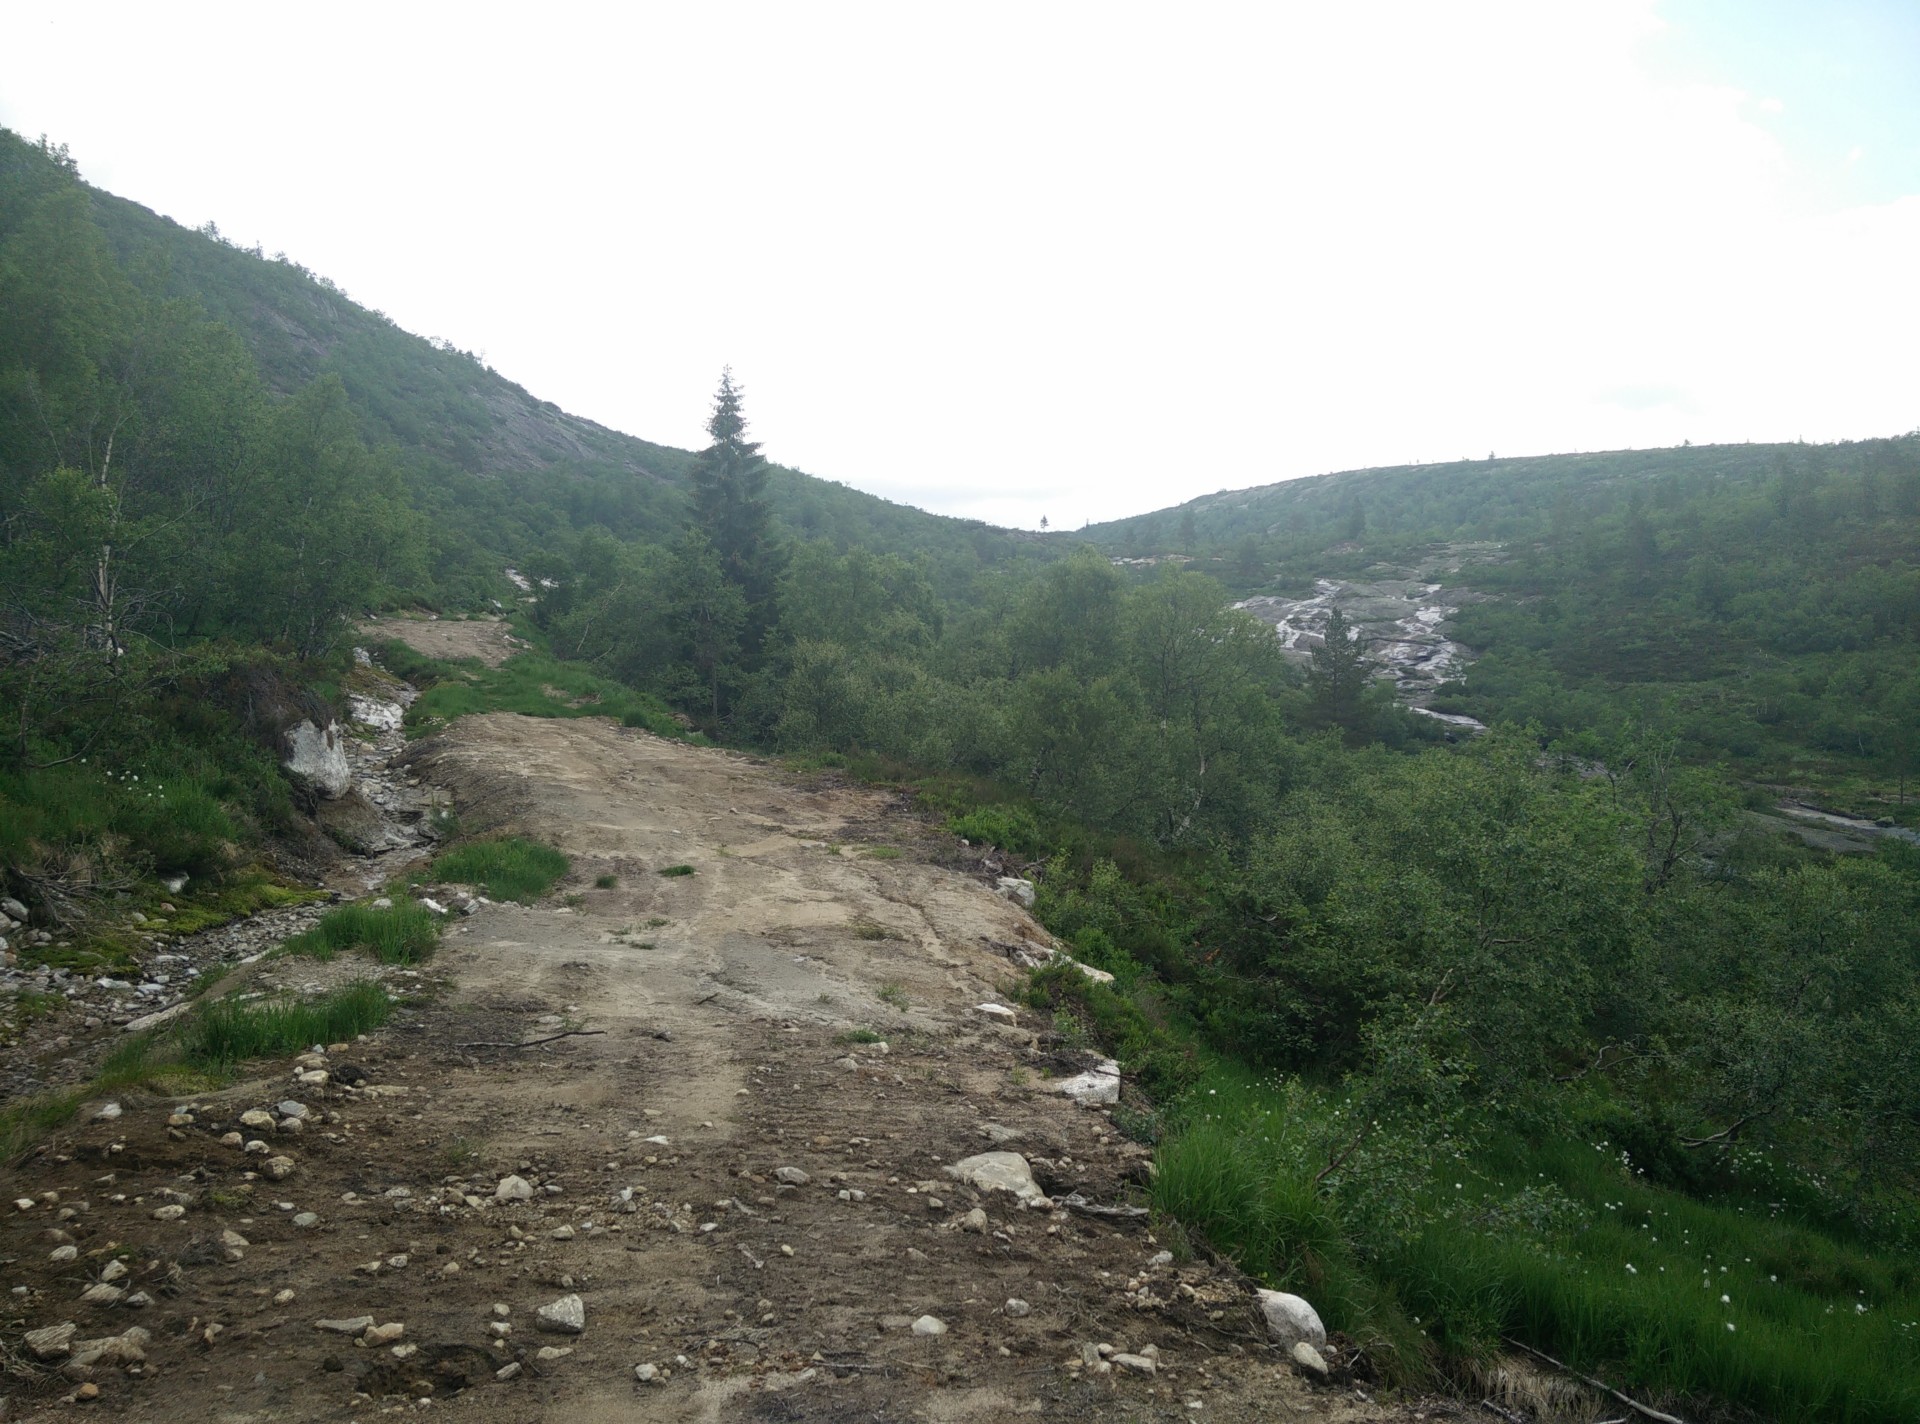
Gjuvvatnet Hiking Trail – making our way towards the highest point. Notice stream to the right
Gjuvvatnet Hiking Trail – here you cross over the hillside stream to find narrow path
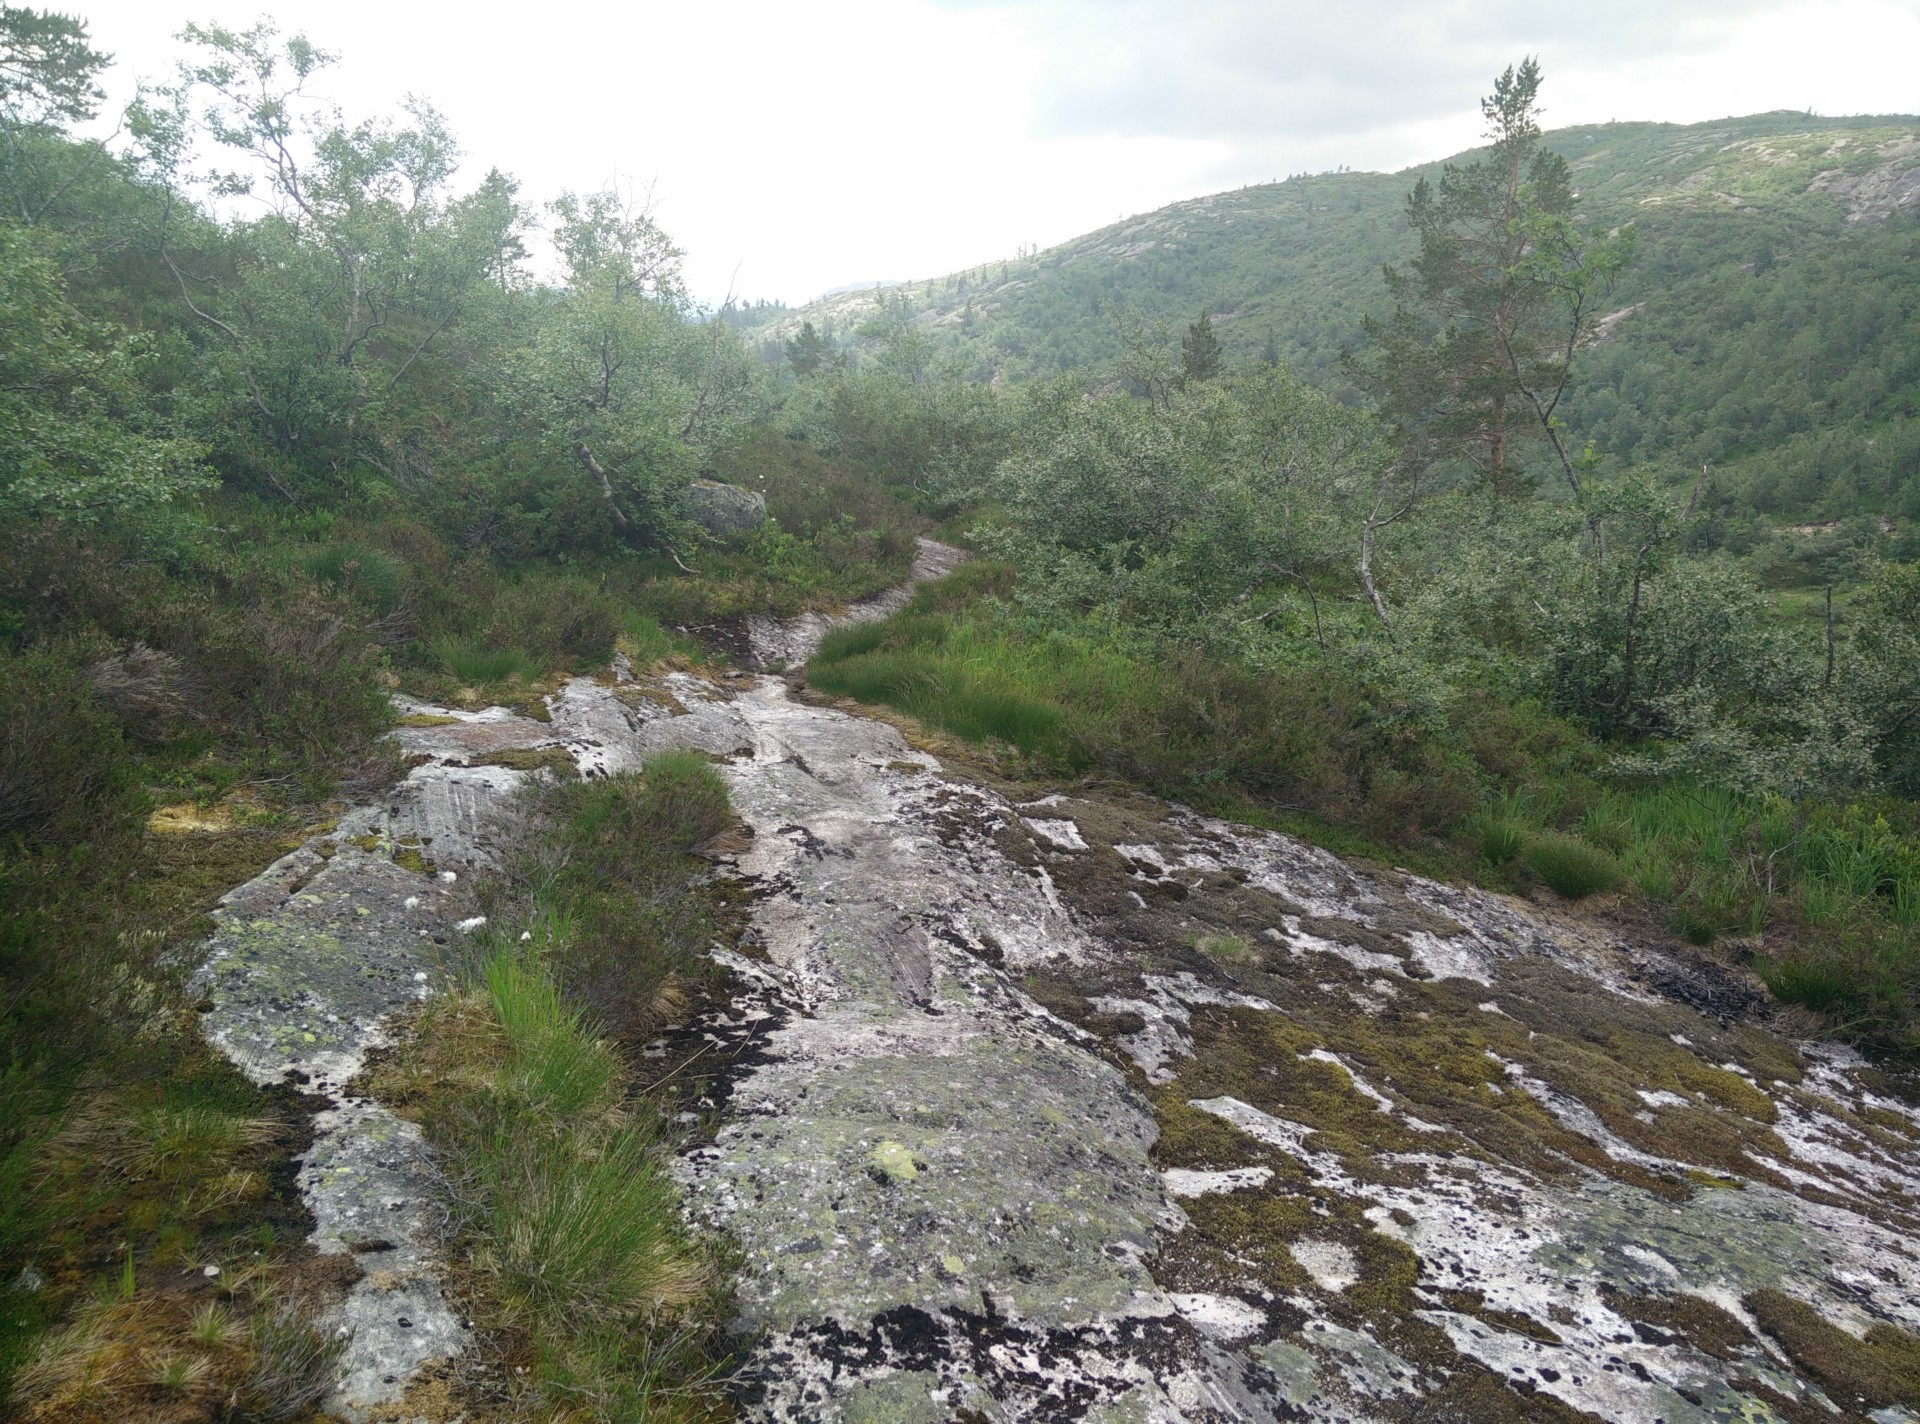
Gjuvvatnet Hiking Trail – finding the narrow path just after crossing the stream
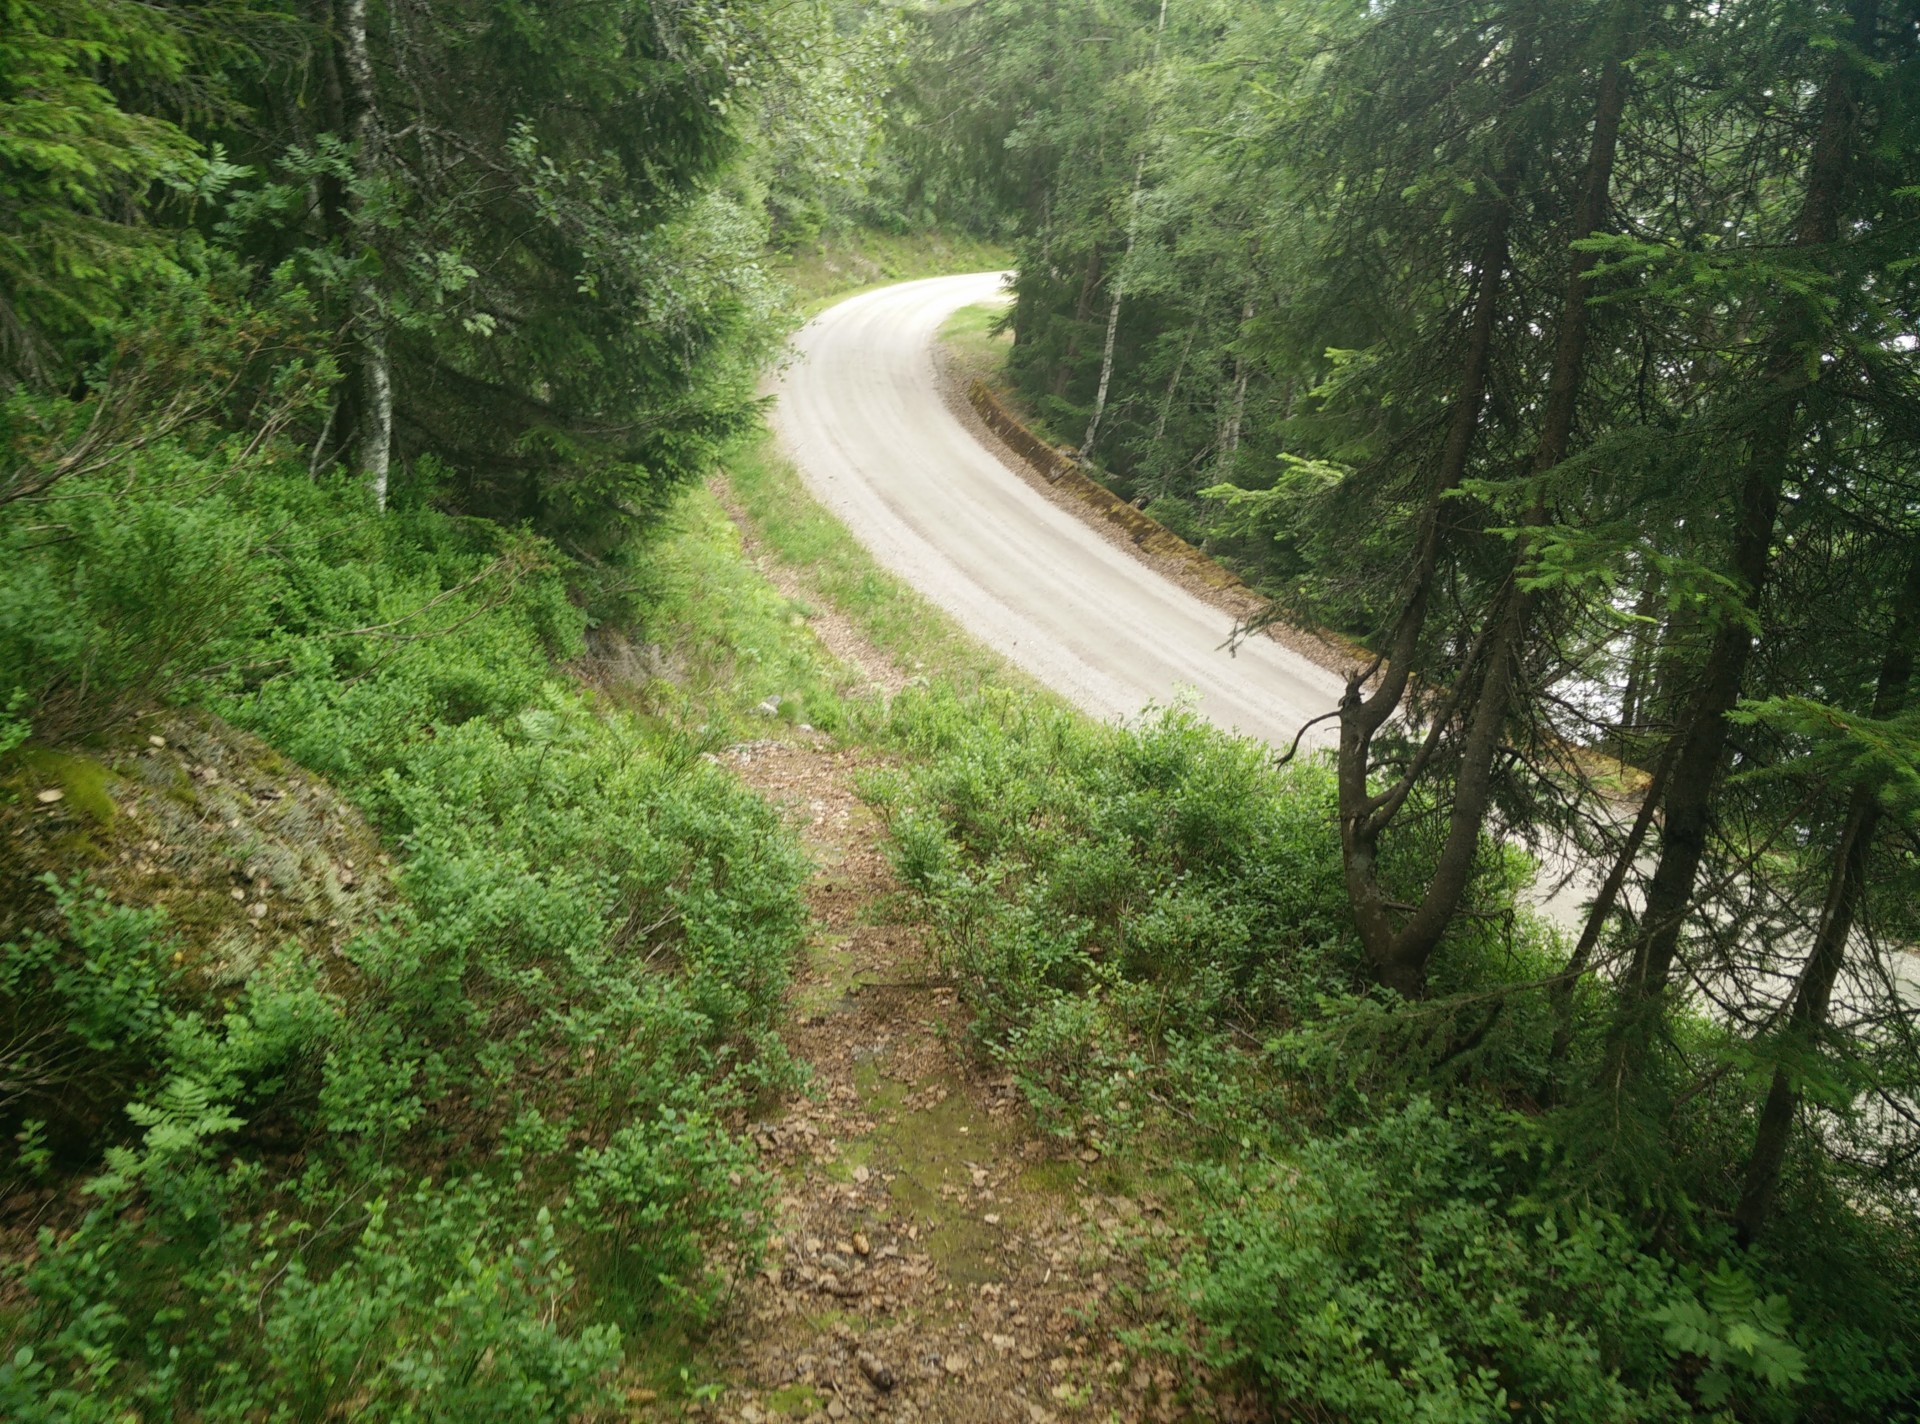
Gjuvvatnet Hiking Trail – reaching the lake and country road
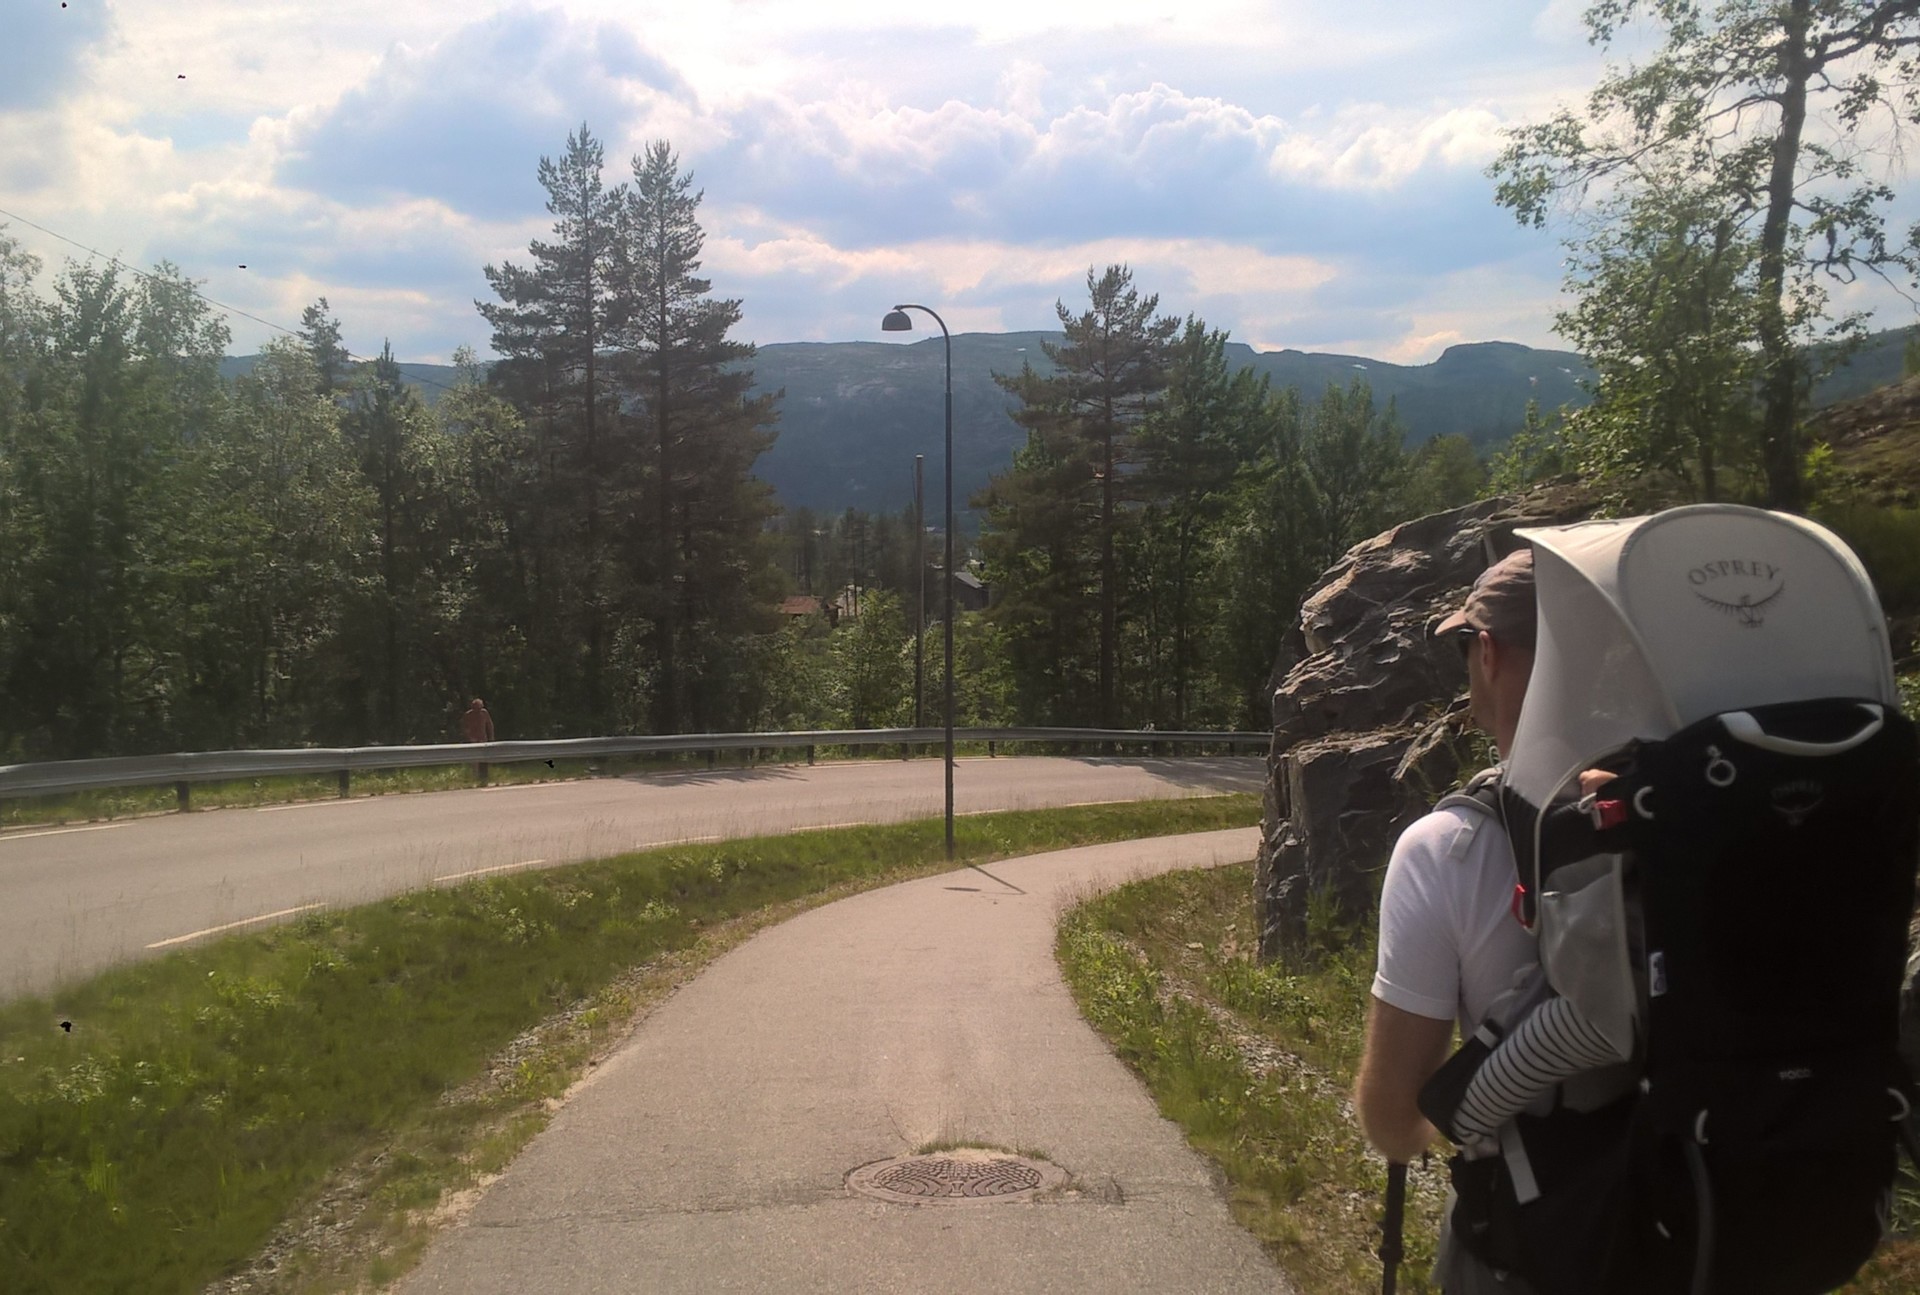
Gjuvvatnet Hiking Trail – heading home down the Fv351
Equipment
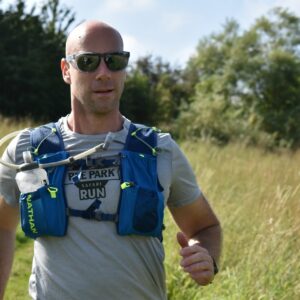
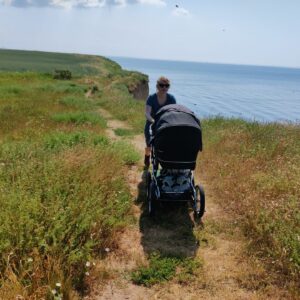
I was wearing my Lasting Merino base layer, Boob Design Merino bra, CimAlp pants and hiking socks and boots, while carrying water, snacks and my CimAlp softshell jacket in the Osprey Talon 44 backpack as Blaz was carrying our daughter in the Osprey Poco child carrier backpack.
Equipment under scrutiny
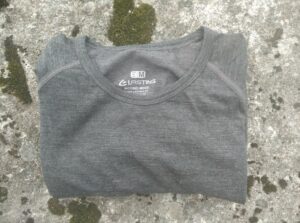
Lasting Merino 160 Atila Base Layer
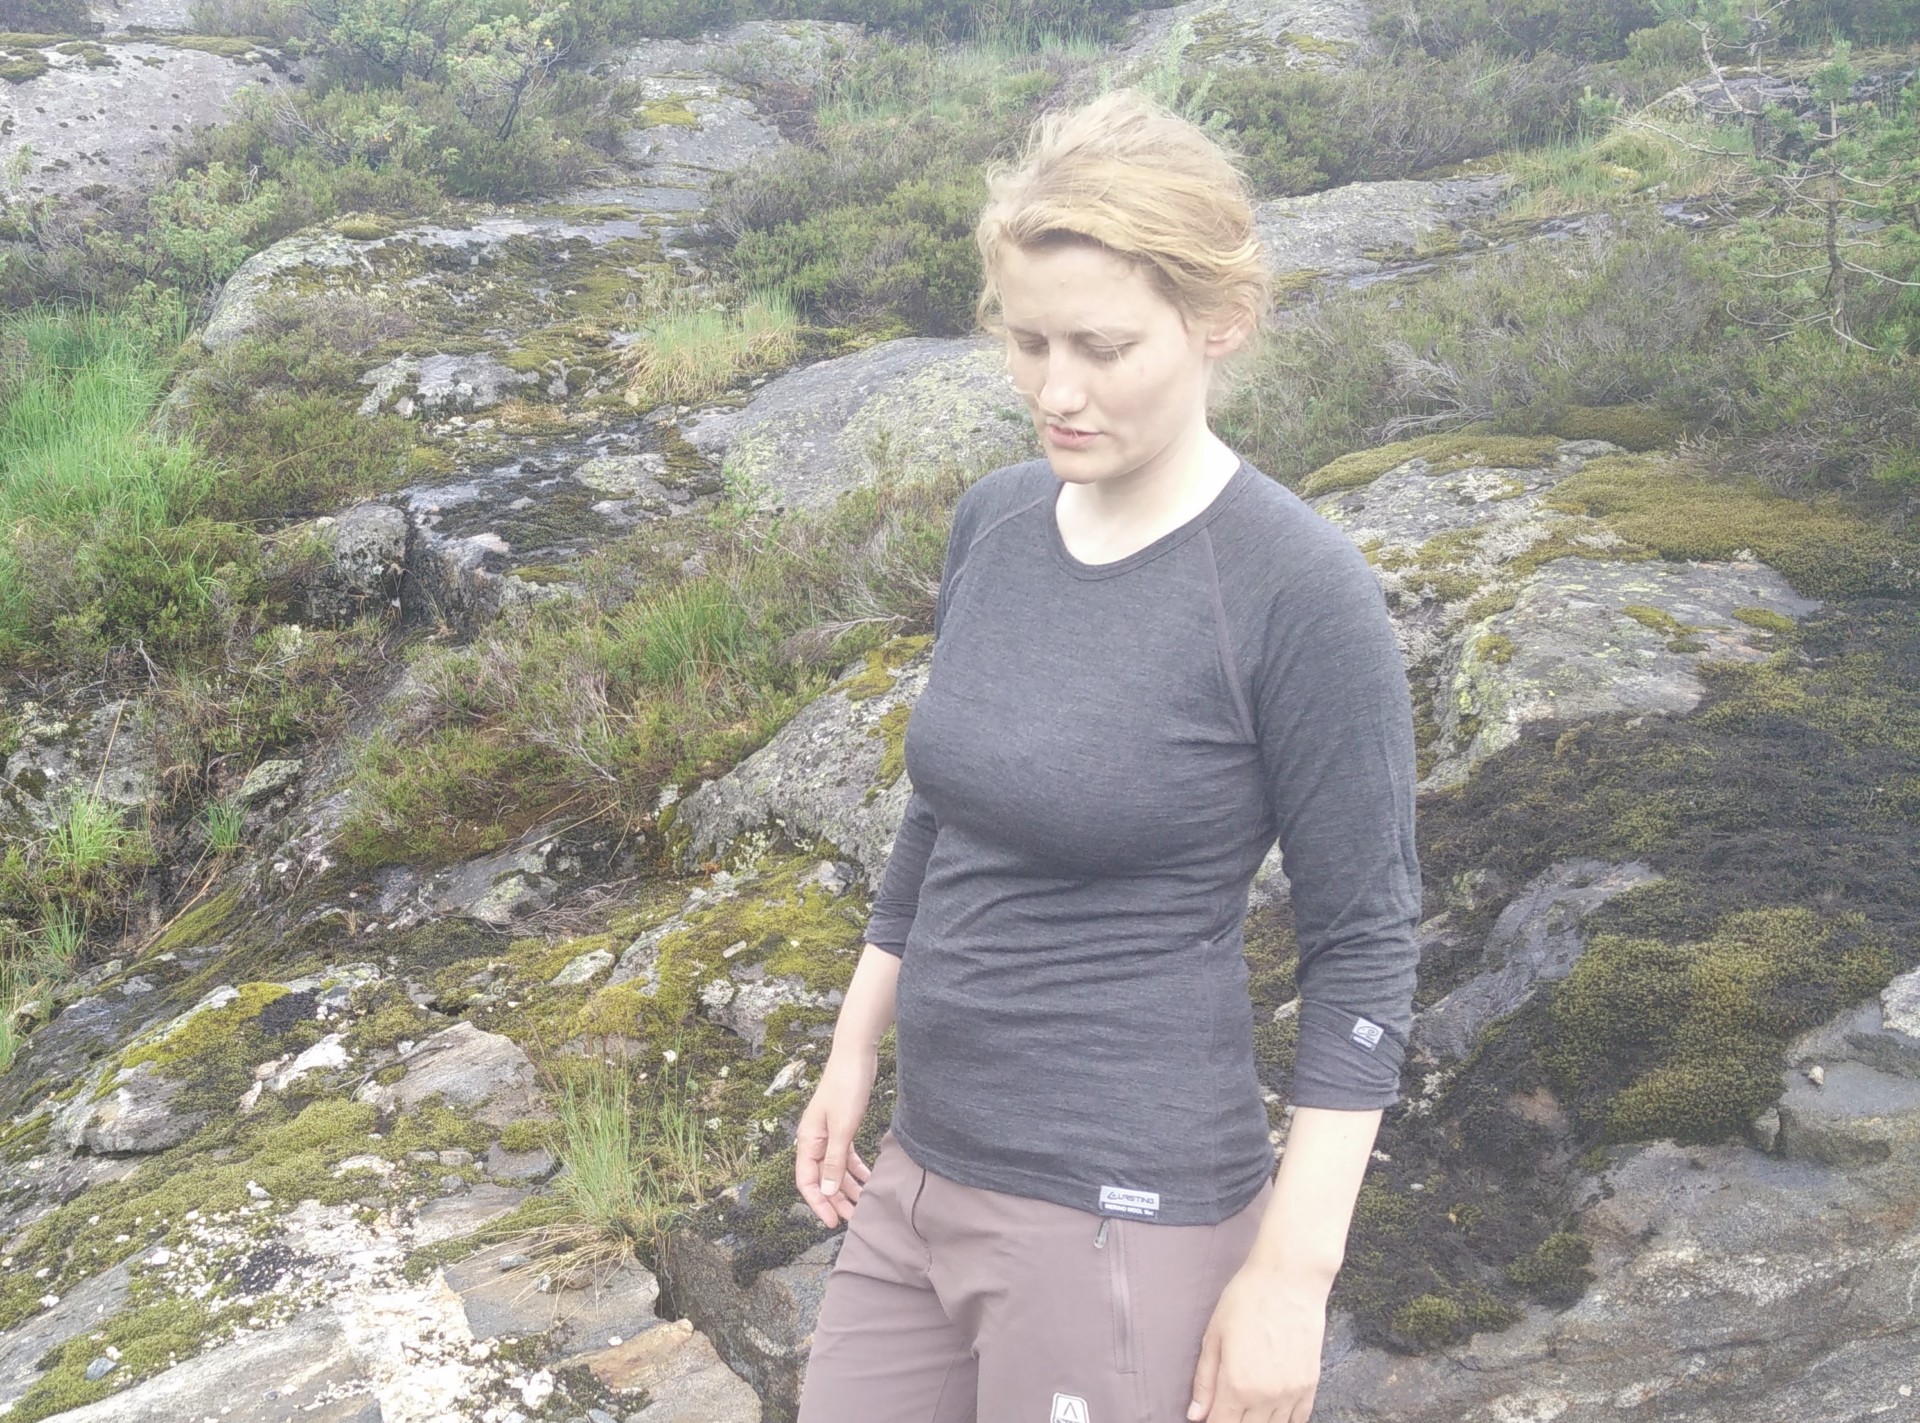
Lasting Merino 160 Atila Base Layer – on trail
As it was a bit chillier on this day, I chose to wear the long-sleeved Atila base layer rather than the short-sleeved Back t-shirt. The Atila shirt ticks all the boxes for a lightweight Merino base layer as it is full of functional details like all-around flatlock seams, raglan sleeves (which means off-set shoulder seams and good freedom of movement) and printed washing instructions to prevent any chafing. It also offers superior softness as it is made of the finest Merino wool we have tried so far – only 16 microns thick fibers woven into a 160 g/m2 100% wool fabric. Read the full review of the Lasting Merino 160 Atila base layer here.
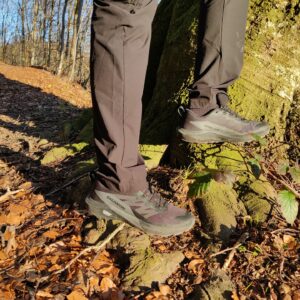
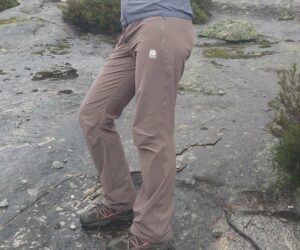
CimAlp Interstice Light Pants
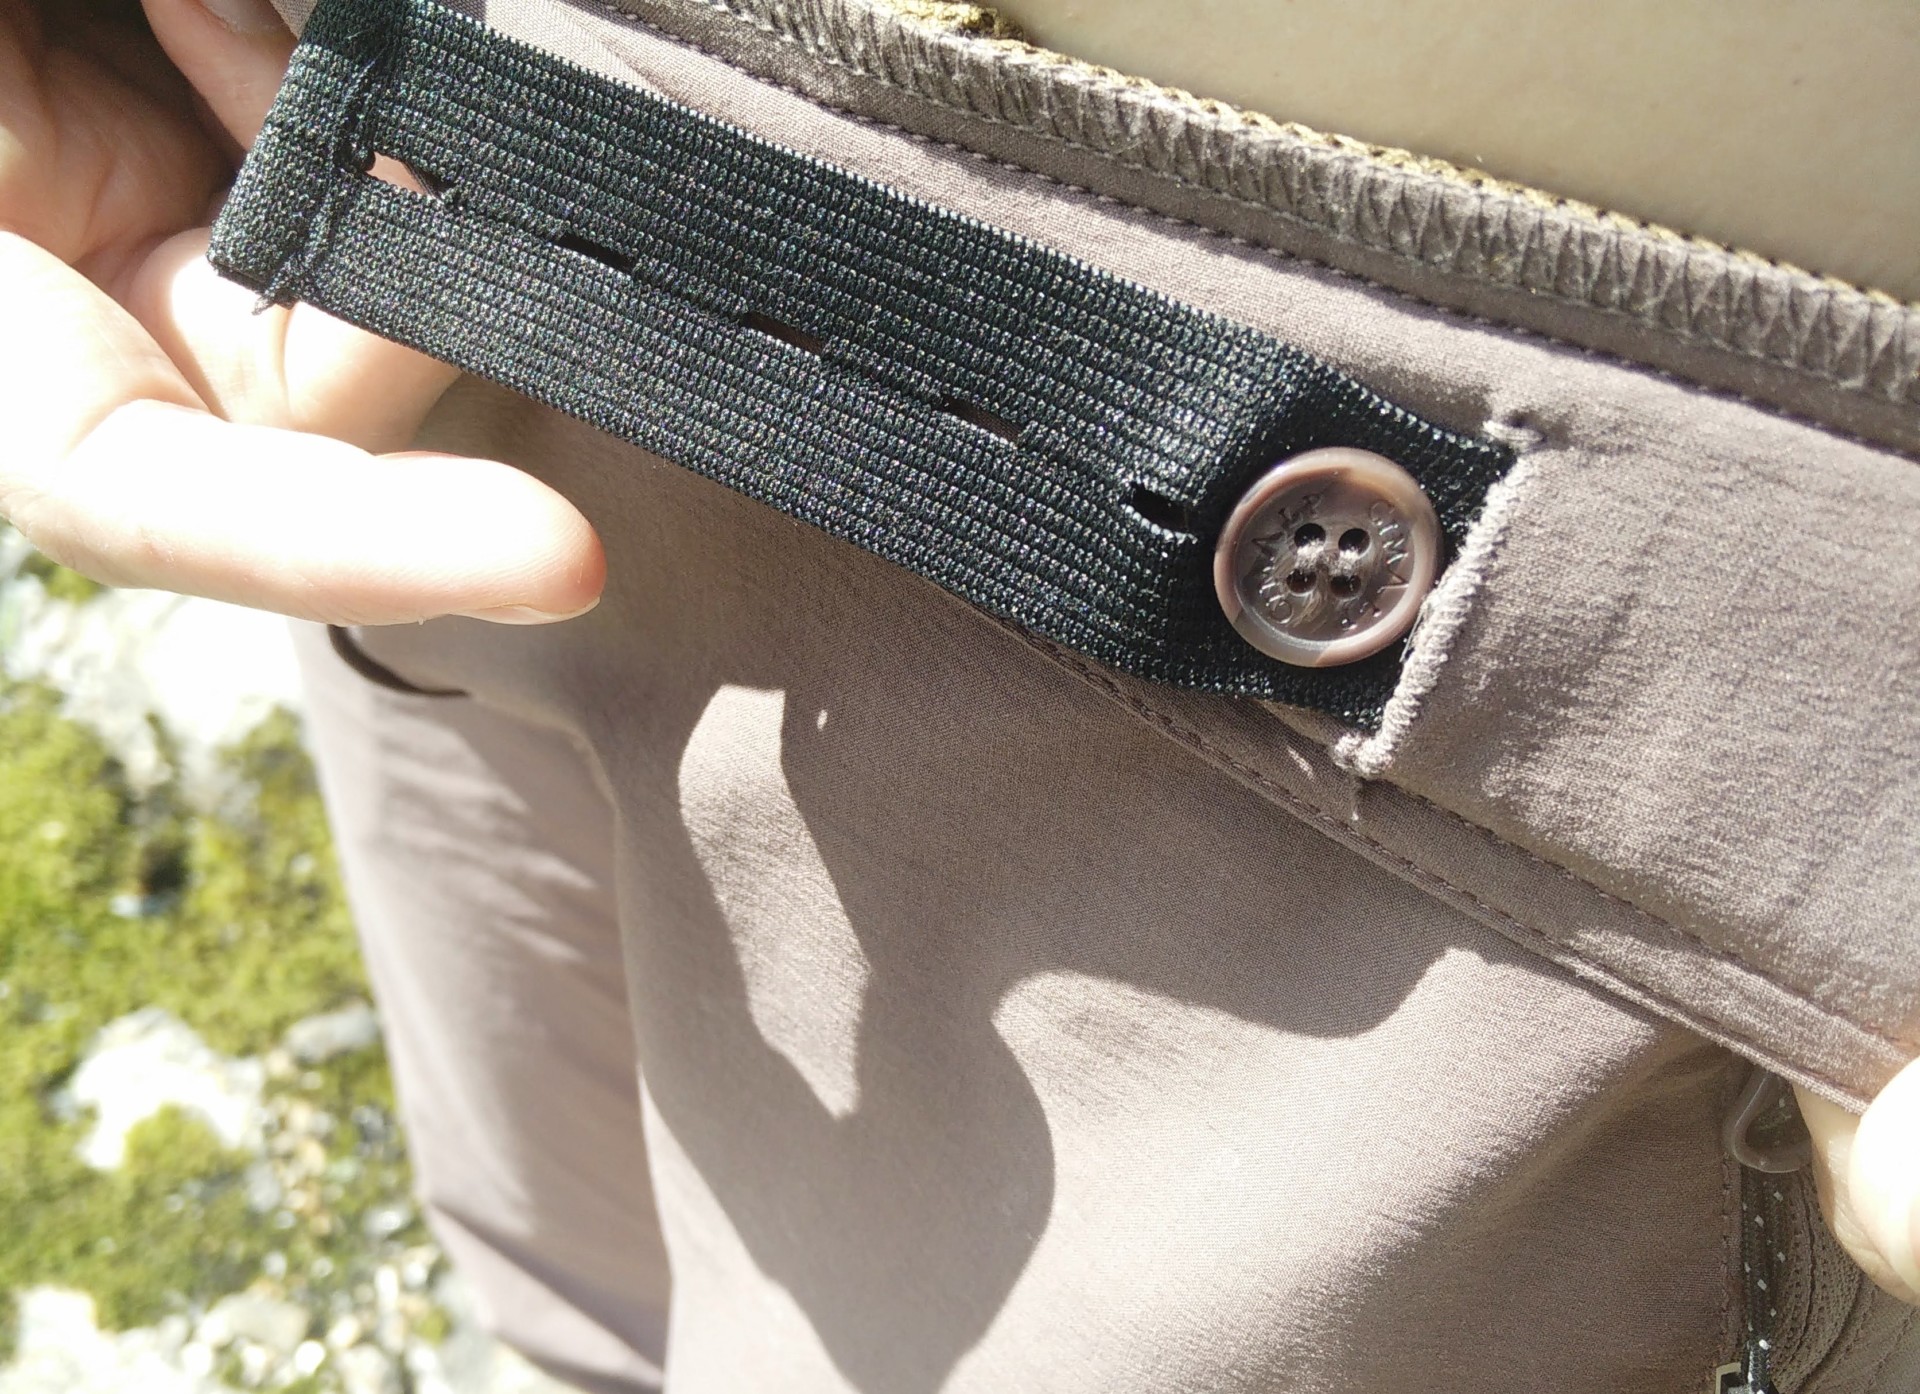
CimAlp Interstice Light Pants – you can adjust the width of the waist with the internal elastic belt
The hiking pants from CimAlp proved to be just right for this hike where it was both chilly and windy during the first part of the hike, and then quite warm and sunny as we reached the Gjuvvatnet lake. It was here I noticed how well it works to use the zippered mesh pockets as extra air vents, although the CimaFlex fabric used is quite light and breathable on its own as well. A particular great feature of the CimAlp pants is the internal elastic belt which makes it possible to adjust the waist circumference perfectly – especially useful if you, like me, are going through a period of light weight loss/gain. You can read the full review of the CimAlp Interstice Light pants here.
Conclusion and photo gallery
The Gjuvvatnet trail is a great way for the whole family to experience the various landscapes of the Bortelid area – from the green forests to the more windswept and rocky higher altitudes as well as the lakeside. There are only a few steep ascends/descends but you should, nevertheless, wear proper hiking boots with good grip and ankle support (sneakers or trainers will quickly get beaten up on the more rocky terrain). That also means that you should probably wear crampons if you want to do the trail in snow. The best spots for having a picnic are at the wooden shelter about three kilometers into the hike, or at a wooden pavilion close to the road at the Rundatjønna lake (see images below) or at the small beach a hundred meters ahead, which is also the best place to take a swim. Be aware that the water is quite chilly, even in the height of summer, and be sure to keep yourself safe at all times.
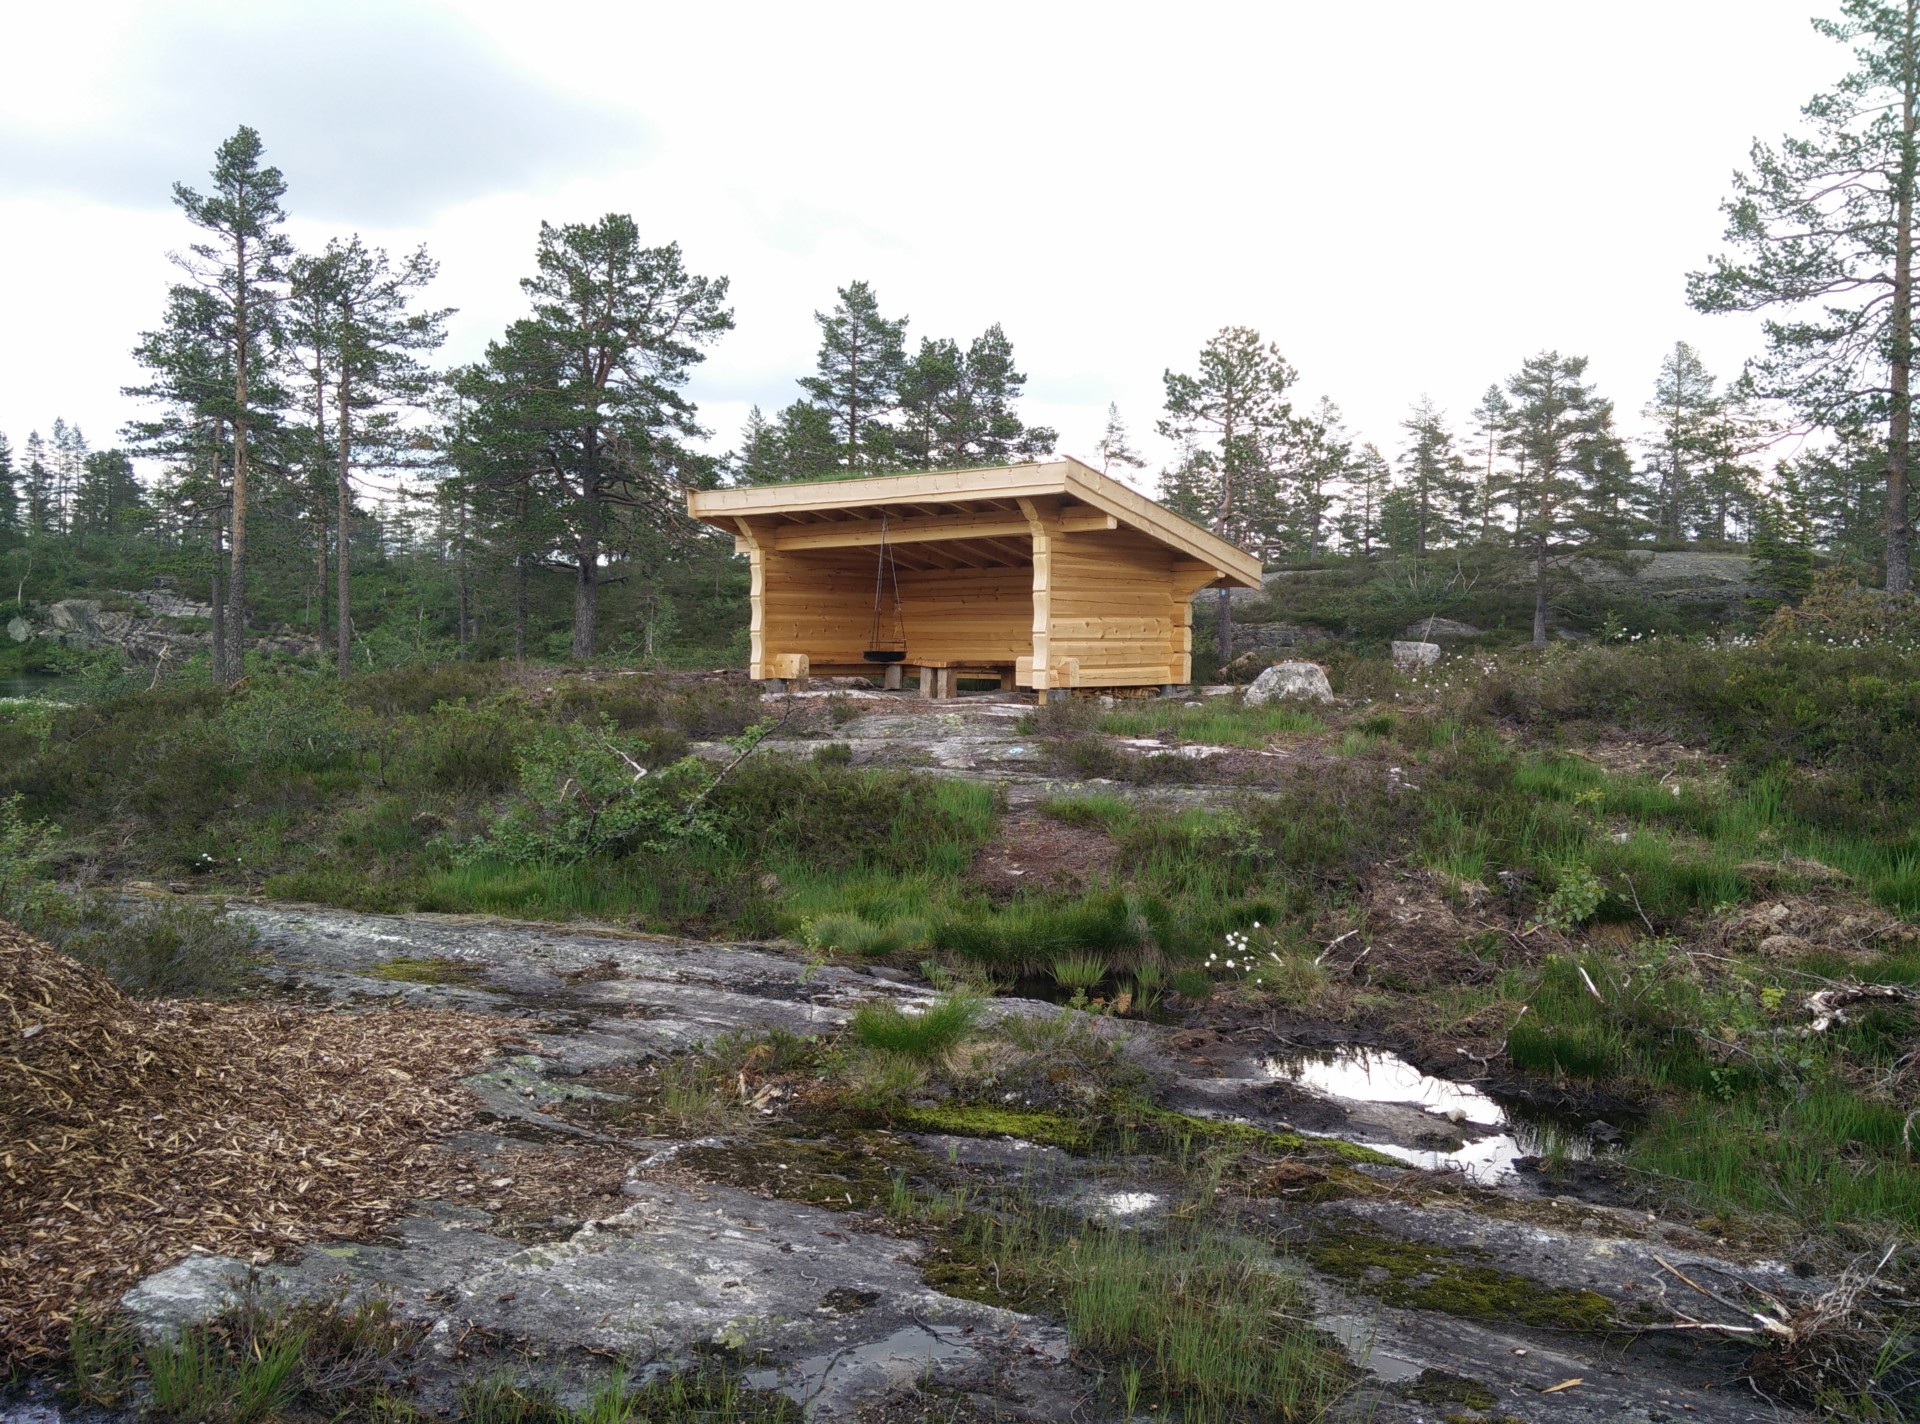
Gjuvvatnet Hiking Trail - wooden shelter is perfect for a break
Gjuvvatnet Hiking Trail - weather got better before descending down to the lake
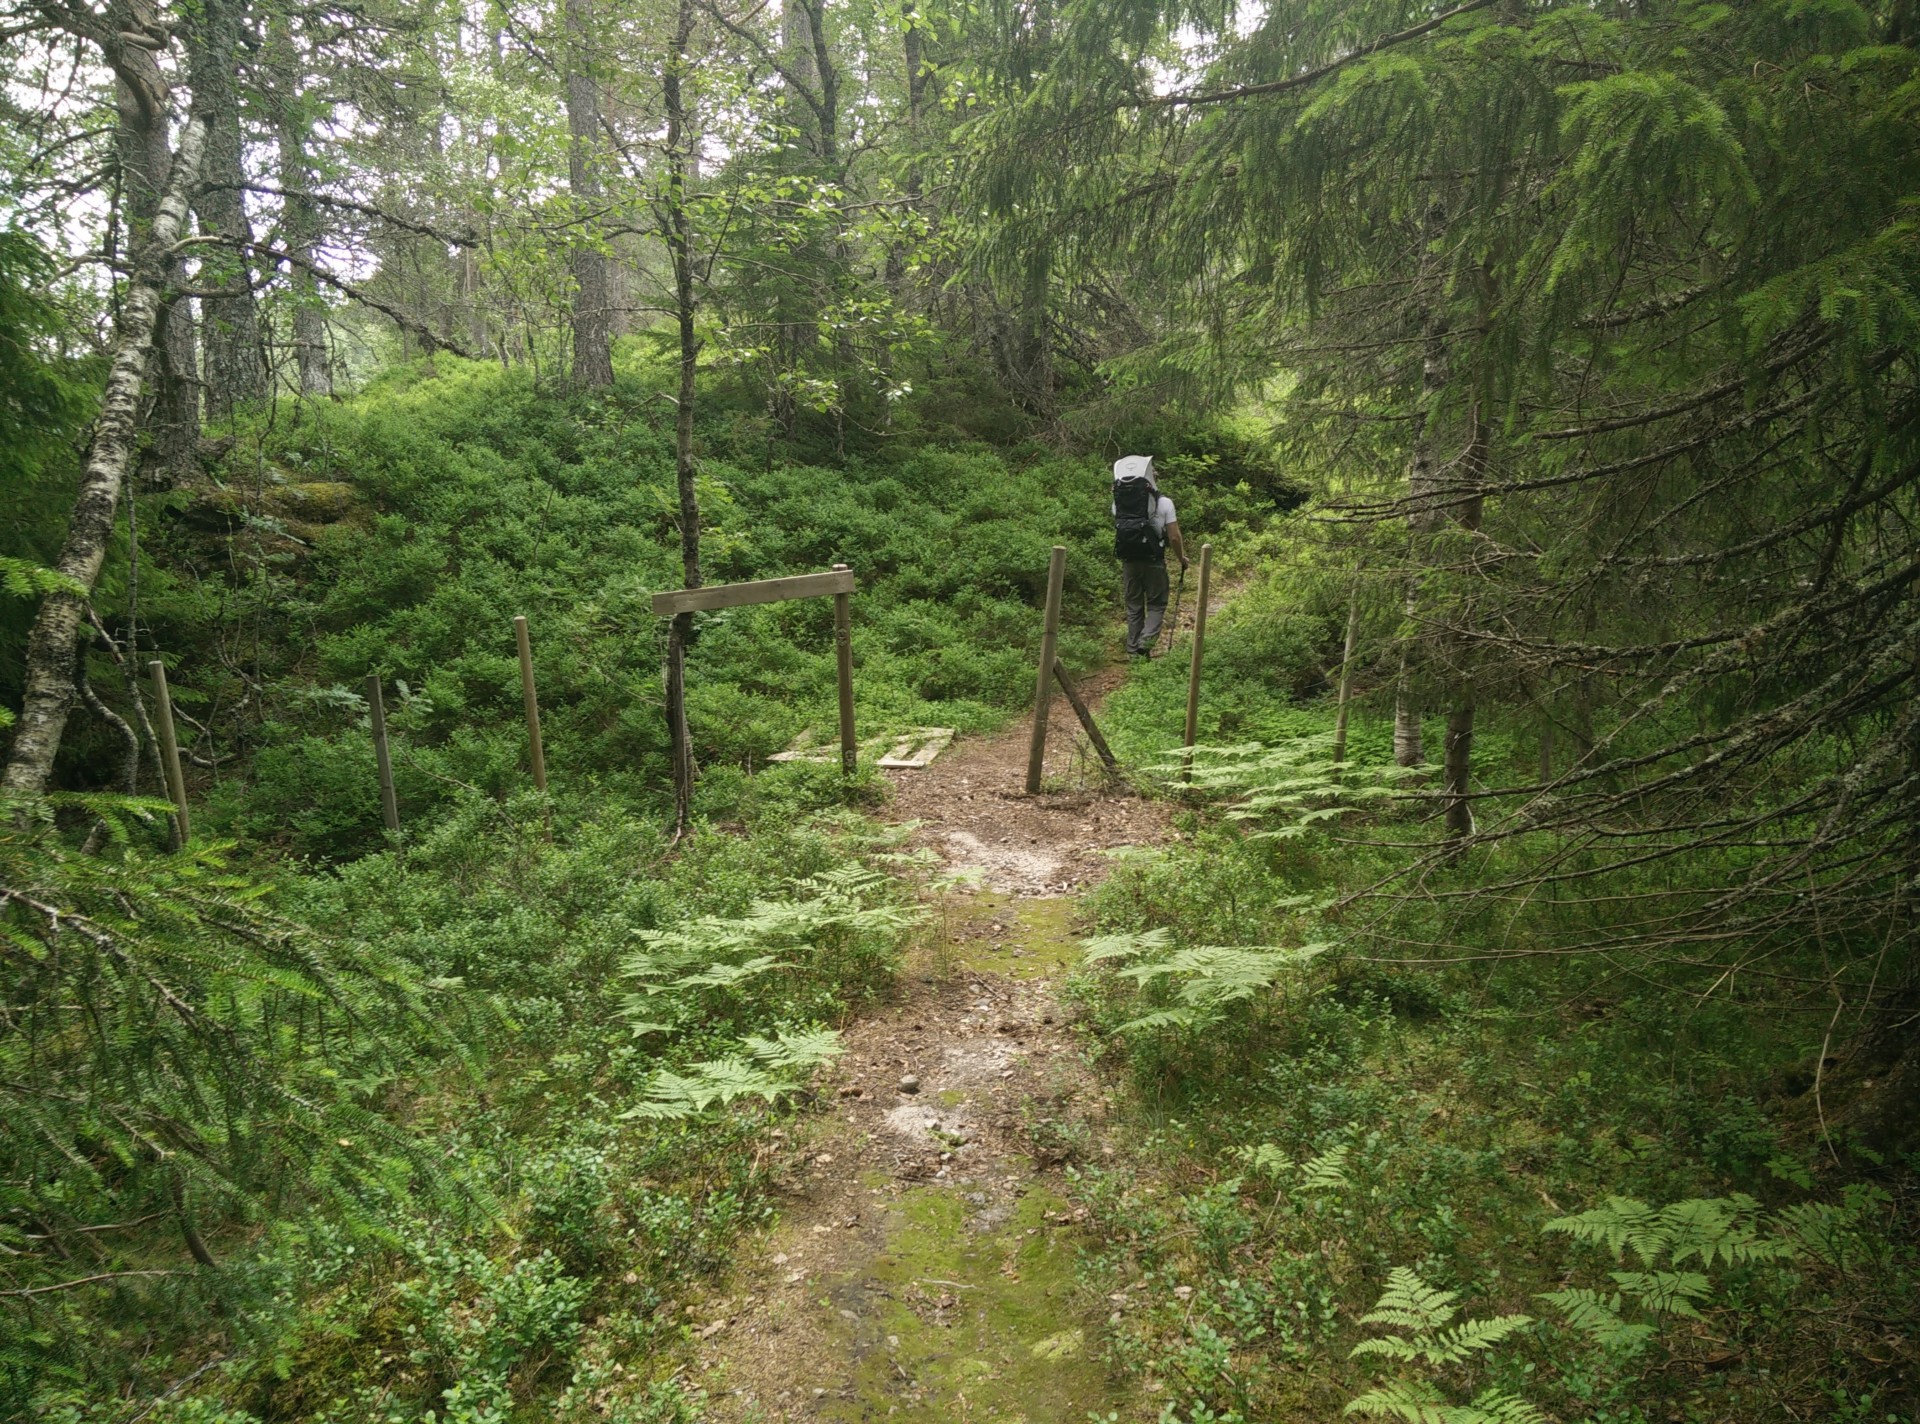
Gjuvvatnet Hiking Trail - lush forest on the way down to the lake
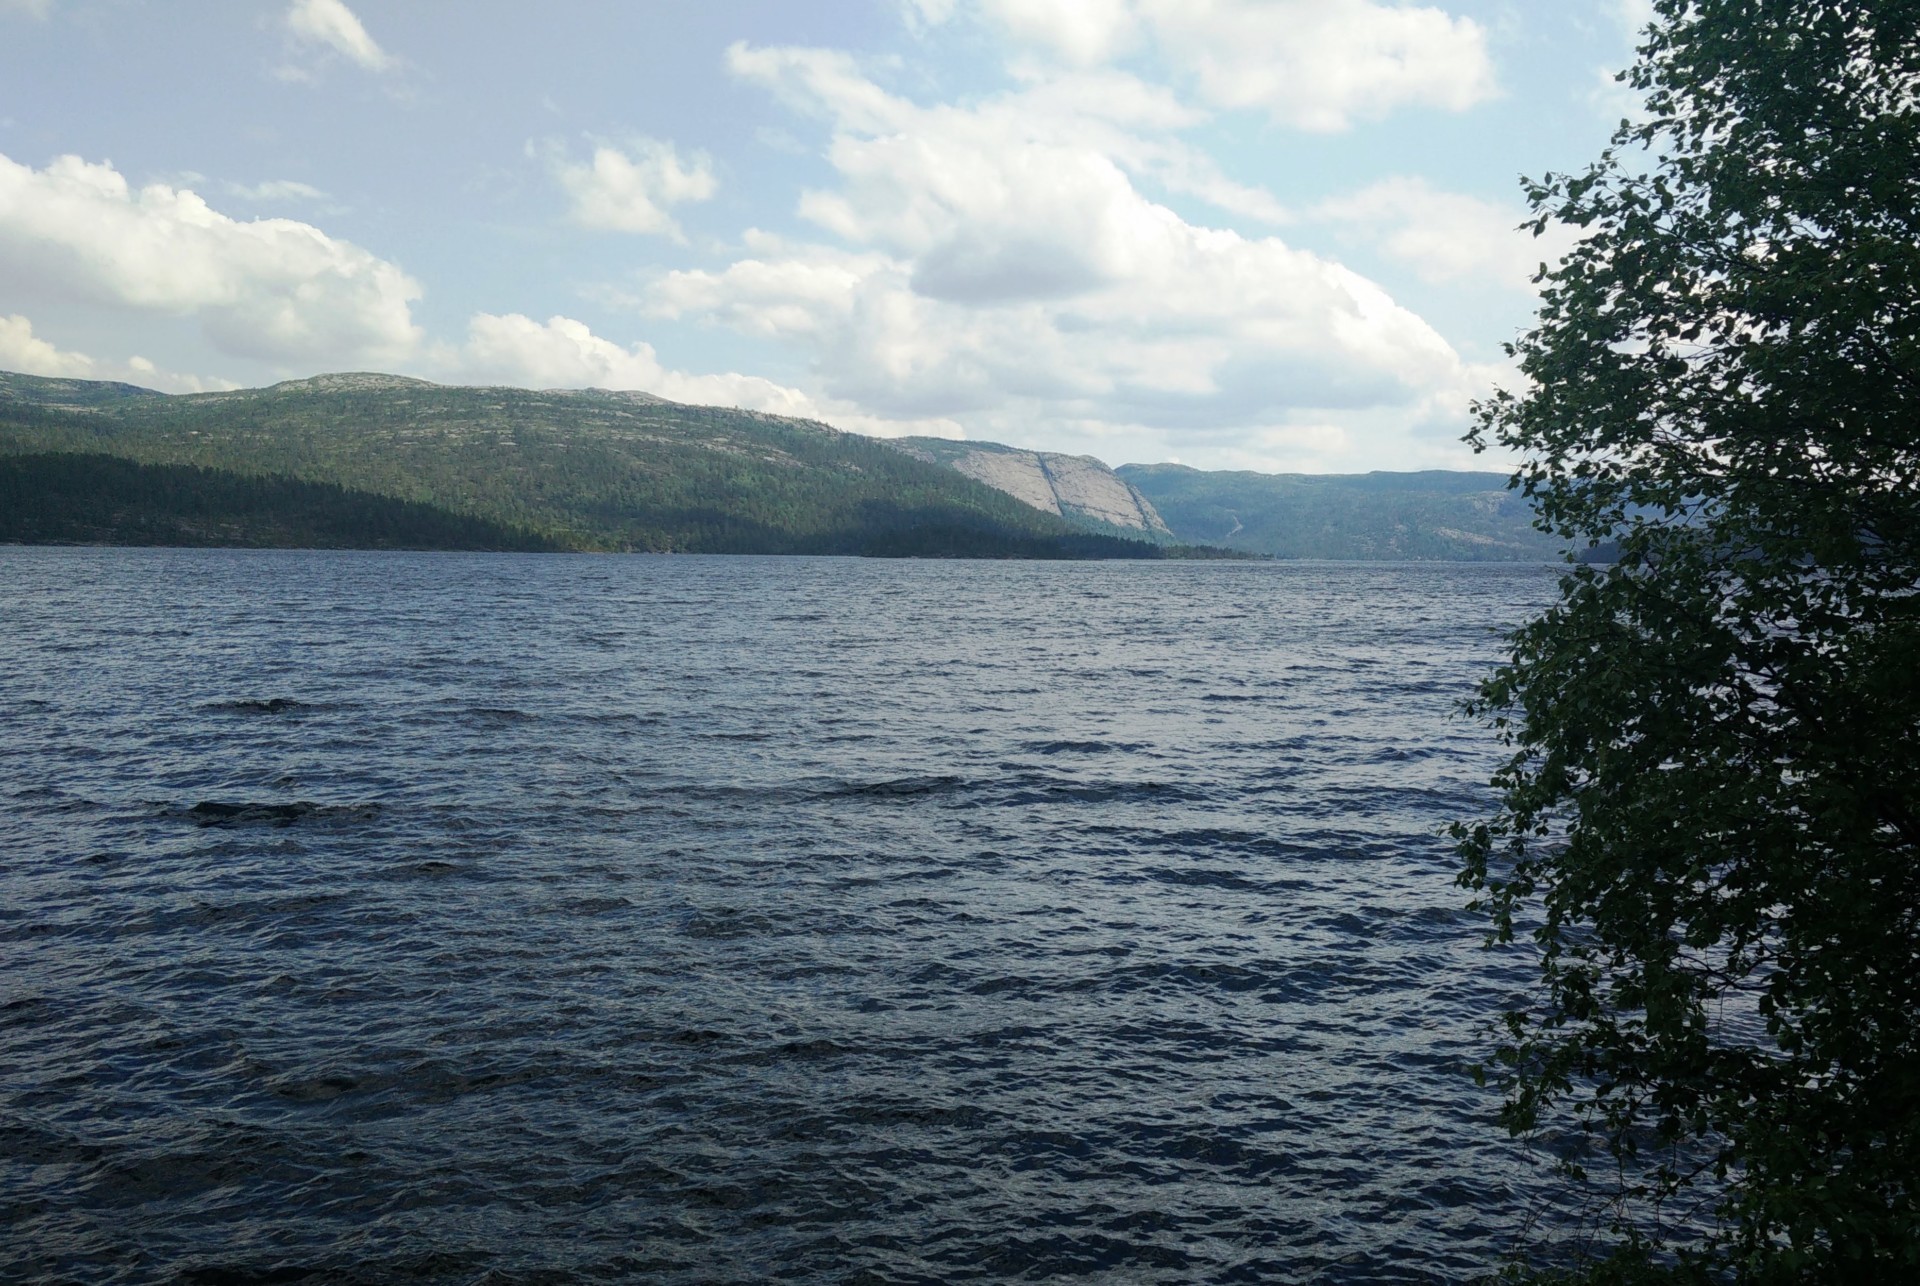
Gjuvvatnet Hiking Trail - a closer view at the lake
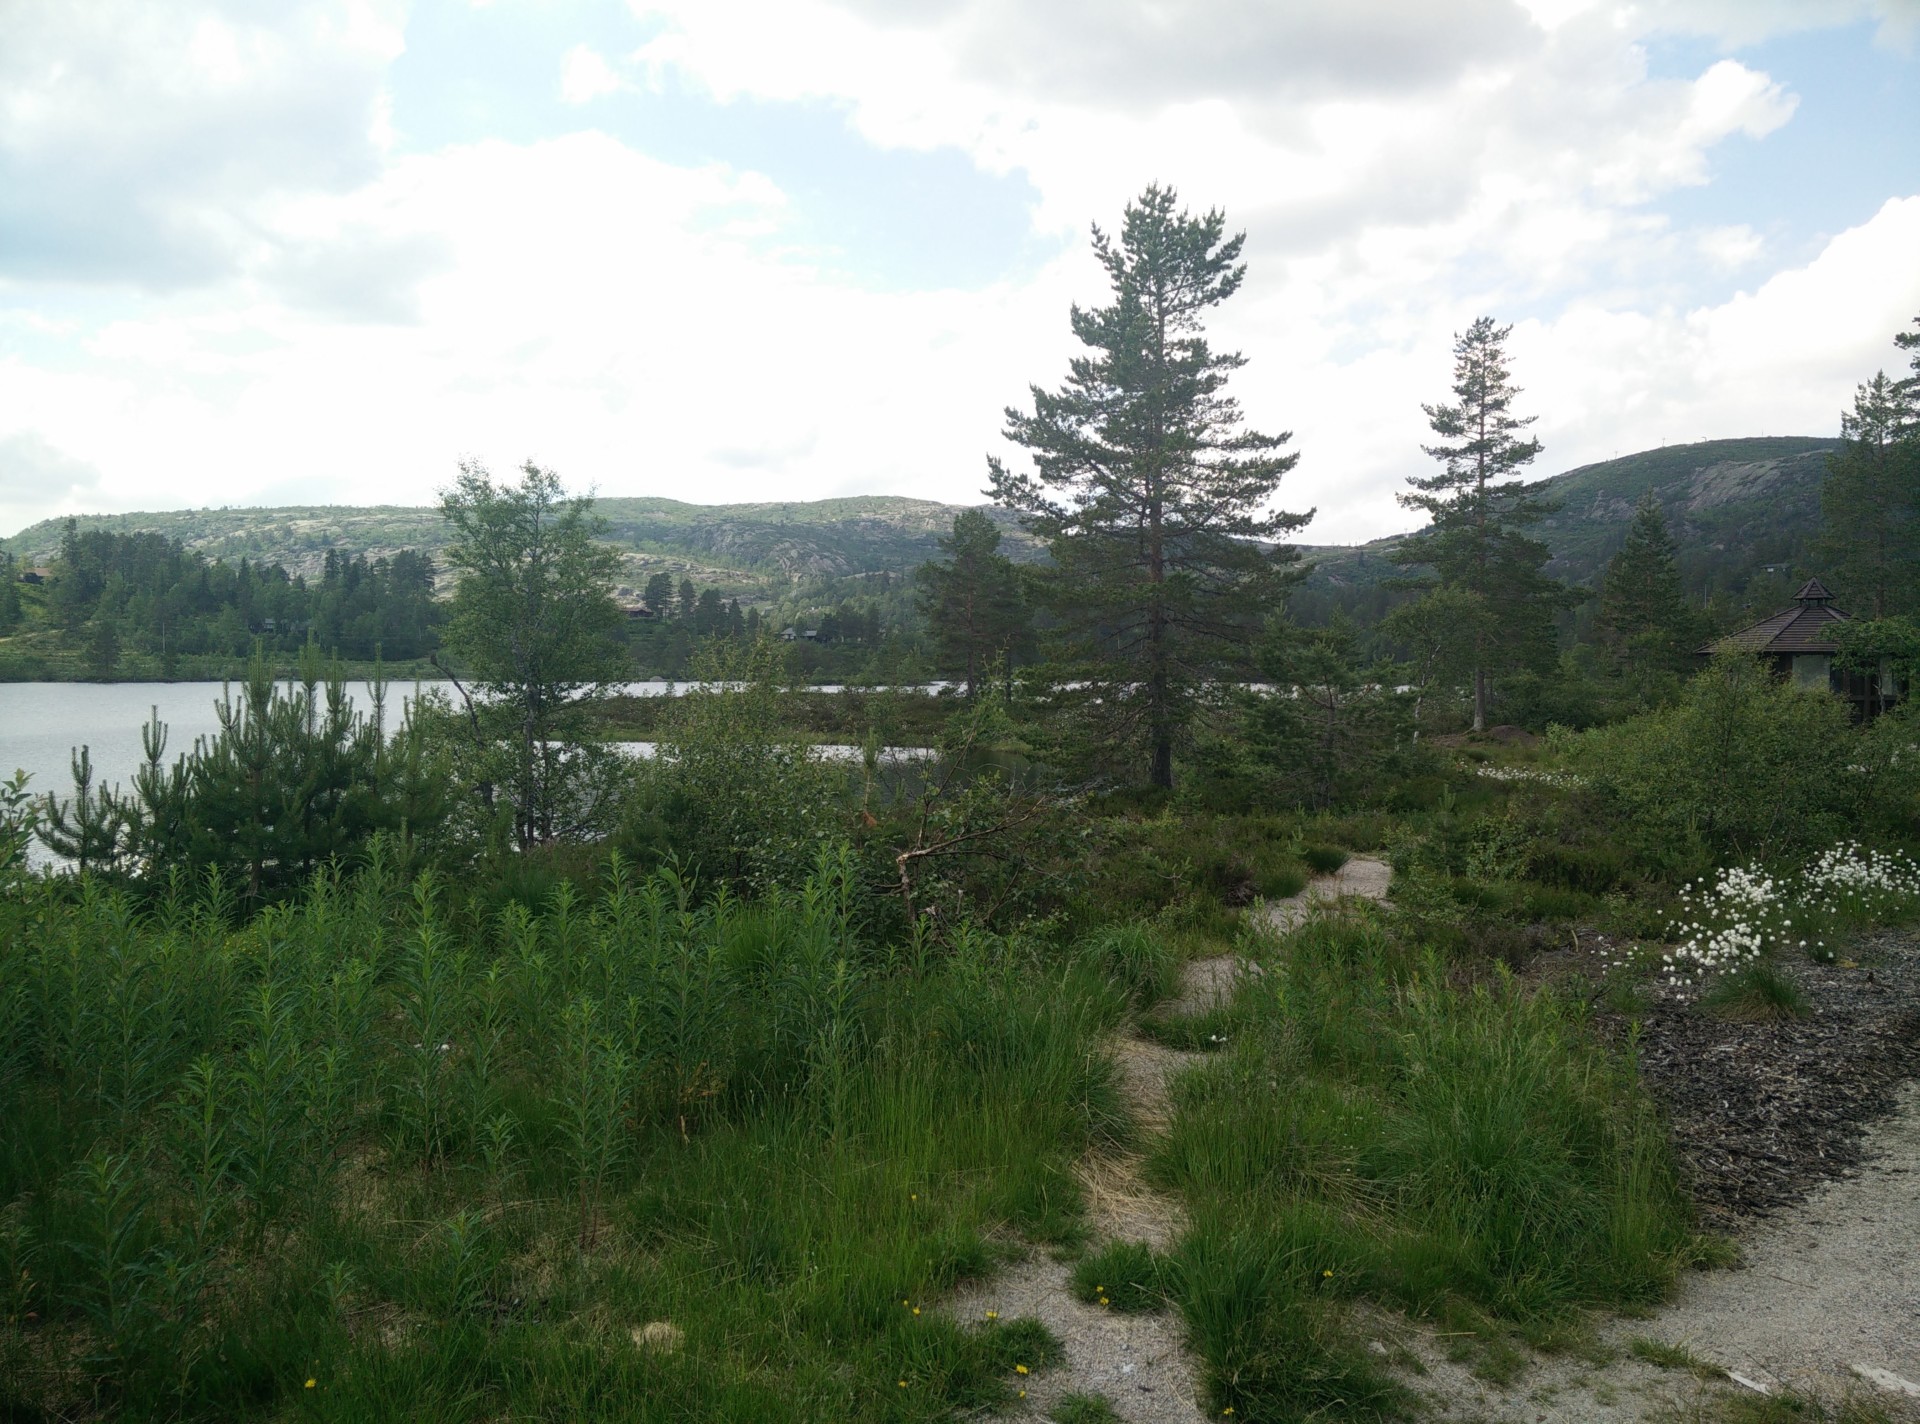
Gjuvvatnet Hiking Trail - the wooden pavilion could be a nice picnic spot at Rundatjønnæ
If you have any questions about this hike, please drop me a line in the comments below.