About Kjolur Trail
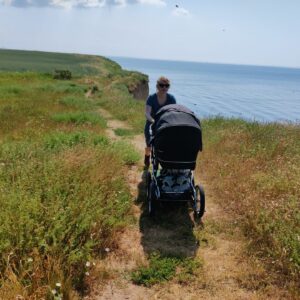
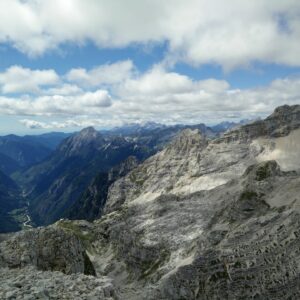
In late July me and my girlfriend decided to go on a longer and more difficult hiking trip in Iceland. We checked the options and ended up choosing the Kjolur Trail. The Kjolur trail is less famous than the notorious Laugavegur trail which is every summer filled with hikers coming from all around the world to execute this demanding hike. You will have the landscape more to yourself on the Kjolur trail, but it is also harder to get information about it online. After checking the public transportation options we decided to hike the Kjolur trail from Hvitarnes to Hveravellir. We assessed that the distance of the hike should be around 48 kilometers and therefore three days seemed more than enough to reach the end point at Hveravellir. As we later figured out many hikers decide to start in Hveravellir and finish in Hvitarnes to reduce the total ascent. The trail runs between two glaciers – Langjokull (to the west) and Hofsjokull (to the east) and offers a great experience of the “Icelandic Highlands”. Altogether four mountain huts, offering accommodation, are in the proximity of the trail – Hut Hvitarnes, Hut Thverbrekknamuli, Hut Thjofadalir and Hut Hveravellir. The first three are small, but also not too busy while there were many people at the Hveravellir hut. If you are planning to sleep in a tent, it is crucial to bring a warm sleeping bag as the nights do get very cold, July or not.
Kjolur Hiking Trail Details
Physical Difficulty
Demanding
Technical Difficulty
Medium
Duration
3 x 5 h
Distance
47.5 km
(29.52 mi.)
Ascent
705 m
(2313 ft.)
Descent
512 m
(1680 ft.)
Highest Point
766 m
(2513 ft.)
Lowest Point
438 m
(1437 ft.)
Date of the Hike Date when we did this hike ?
July 2015 (3 days)
Weather On the day when we did this hike ?
Cloudy
Temperature On the day when we did this hike ?
10° C
(50° F)
Wind On the day when we did this hike ?
18 km/h
Warning!
This trail has a few steep sections and requires good footwear, steady footing and no fear of heights.
Kjolur GPS Route and Trail Description
*Click on the chart to see the location on the map
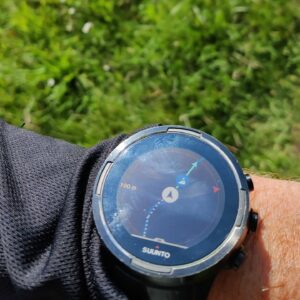
GPX route helps you with the navigation on a hike. It can be used with a smartphone, handheld GPS device or a GPS watch.About GPX Route
Reaching the starting point
The starting point of the Kjolur Trail (Hvitarnes) can be reached by public transport, but keep in mind that tickets aren’t cheap because only so called truck buses drive in this area with notorious bad roads. There are several companies offering transportation from Reykjavik BSI station to Hvitarnes and Hveravellir. We decided to take a ride with SBA Nordurleid since their tickets were the cheapest at the time and thus booked a Reykjavik BSI –Hvitarnes and a Hveravellir-Reykjavik BSI ticket on their website. The total price for the tickets was around 10.000 ISK (68 €, 74 $) per person.
Please note that the bus does not stop at the Hvitarnes mountain hut but at Hvitarnes crossroads. An 8 km hike is required to reach the Hvitarnes mountain hut from there.
We would not recommend you to drive there on your own. The road to Hvitarnes and Hveravellir is in a very bad condition and you need a 4X4 vehicle to drive on it.
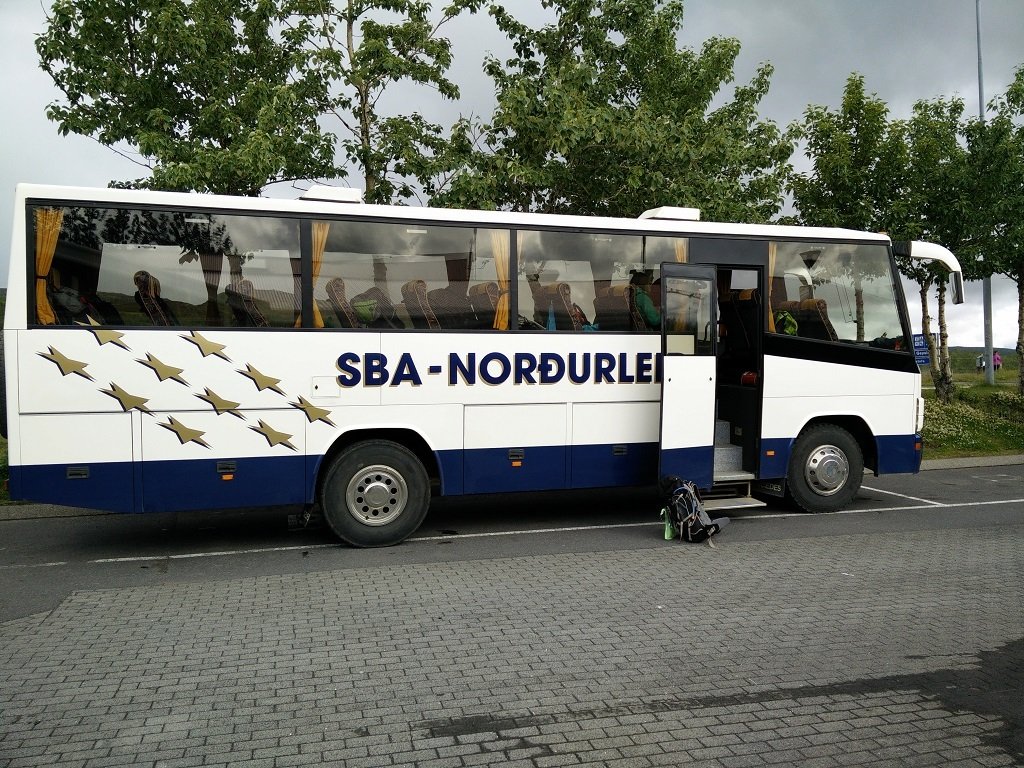
Reykjavik BSI –Hvitarnes Bus
Trail
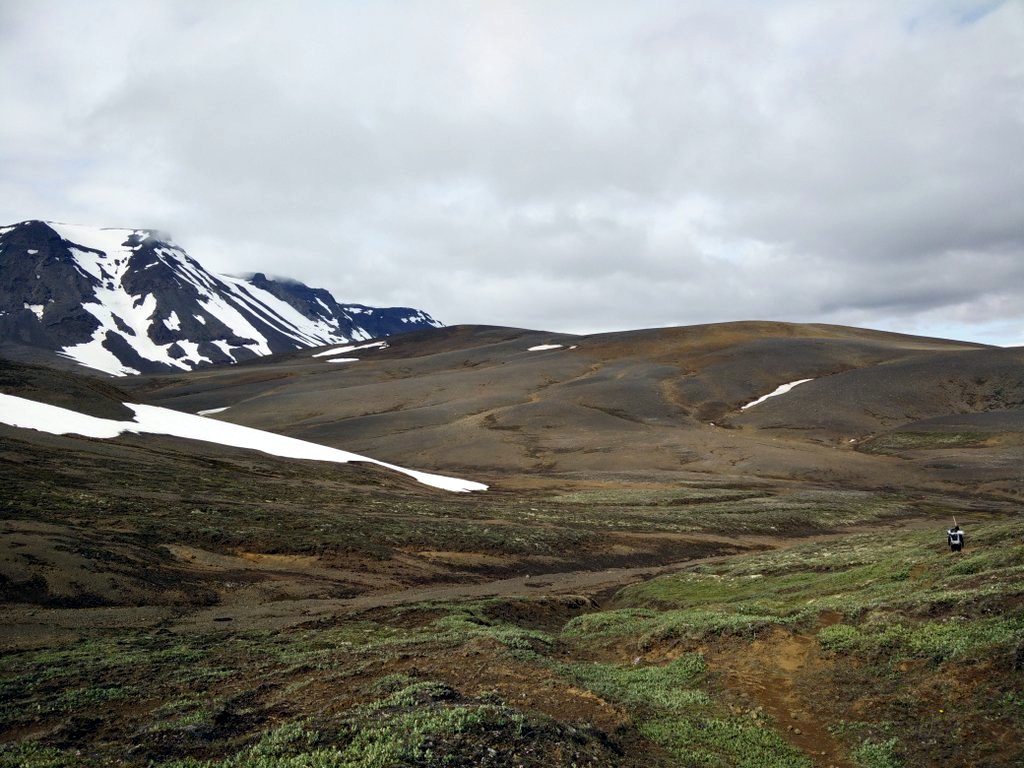
Trail – 1st Day
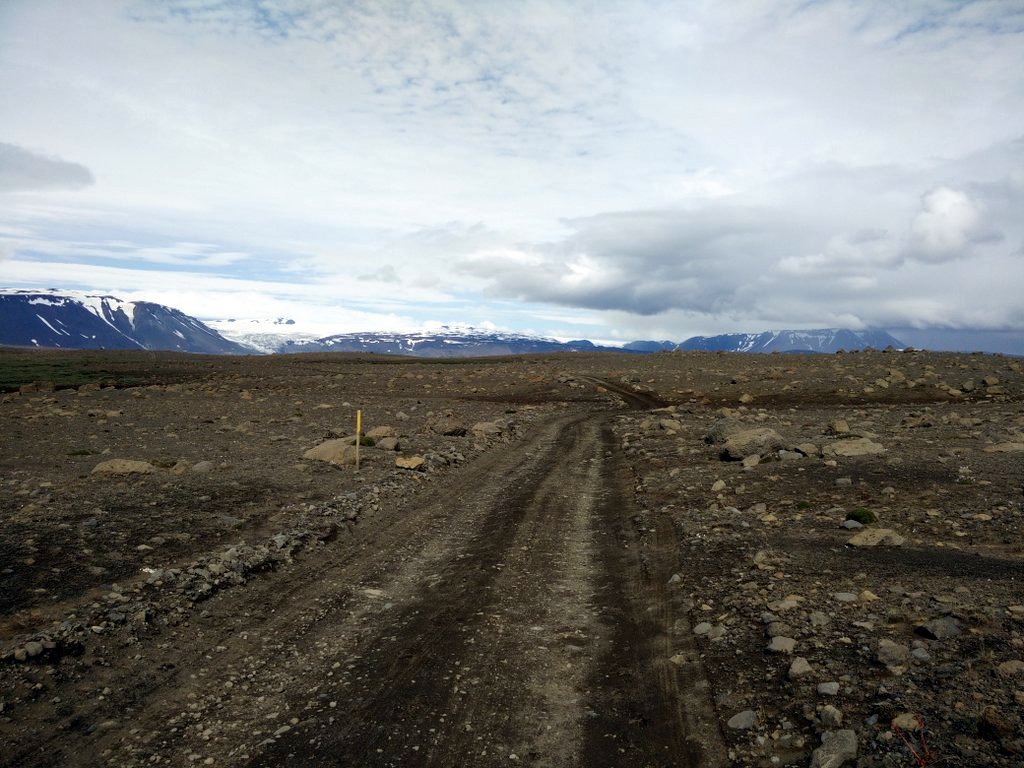
The bus arrived a little late to Hvitarness crossroads and therefore we started the hike at 12:37. We decided to bypass the Hvitarness mountain hut to save time. First we walked on a wide dirt track in a barren landscape, which after approximately 7 kilometers started to run too much east. There were several signs towards the Hvitarnes hut (which is slightly off the trail), but none mentioning Hveravellir which might be due to the fact that most people go towards Hvitarnes from Hveravellir, rather than the opposite. When the path started turning too much towards east, we walked off the path for around 4 kilometers to finally reach the official Kjolur trail.
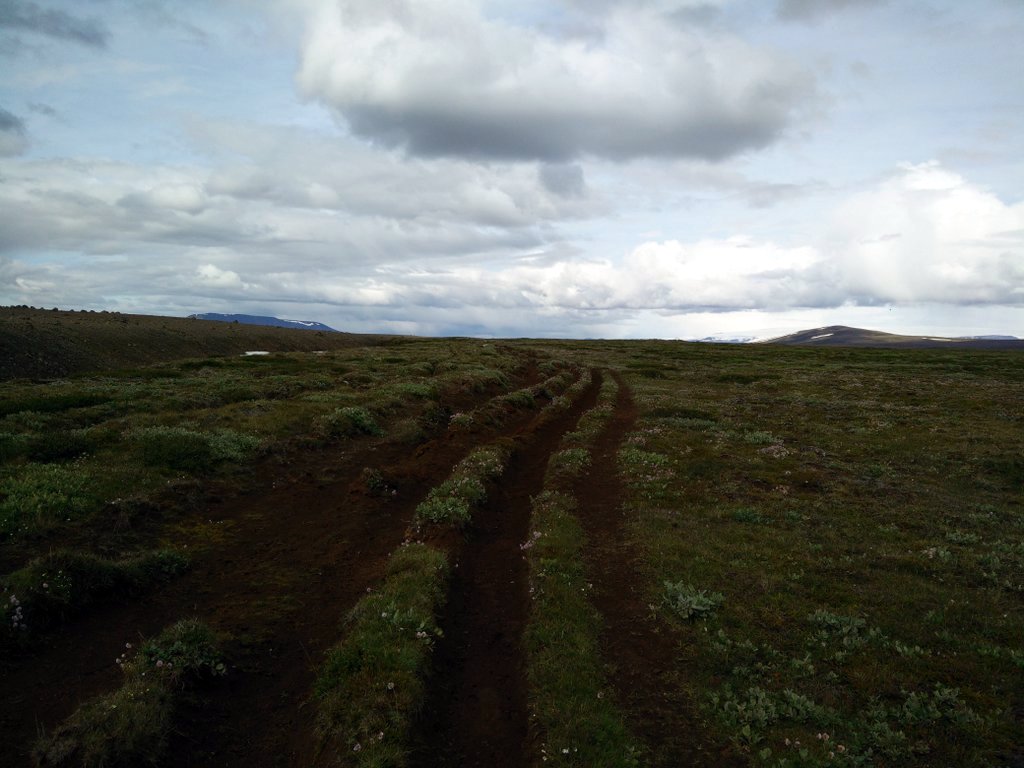
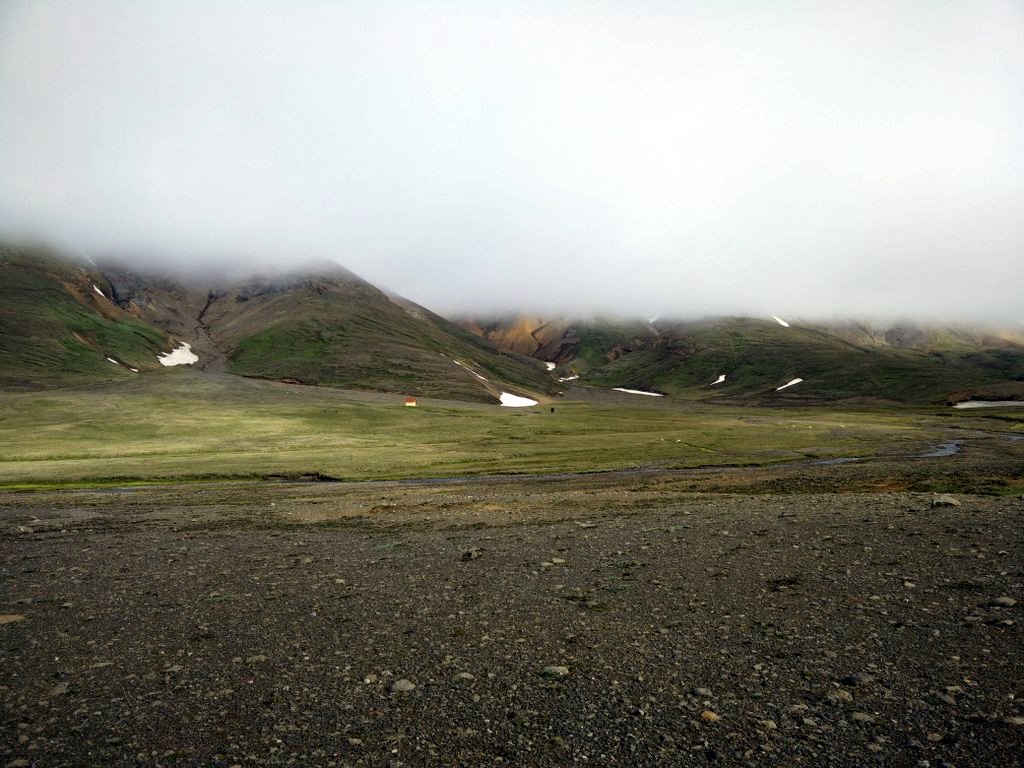
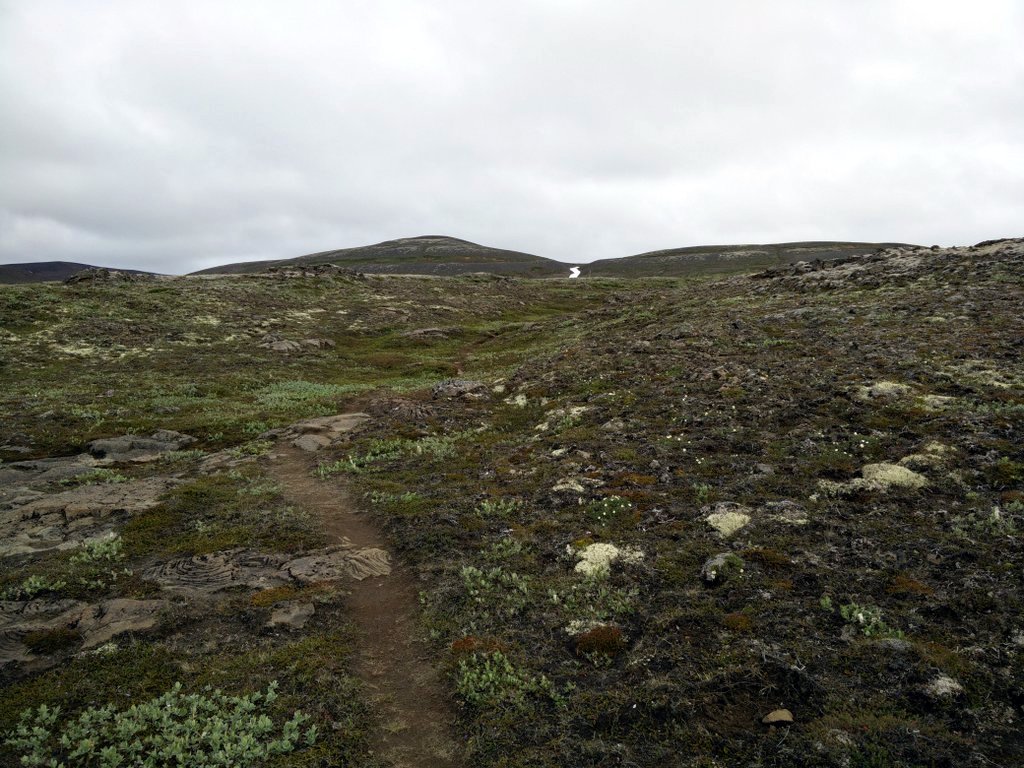
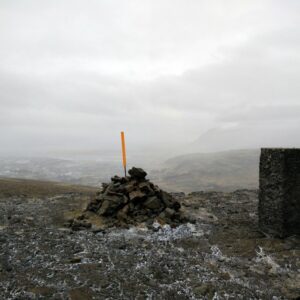
At this point the landscape is also more fertile, which is partly due to the glacial river which the trail runs parallel to for some kilometers. On the western side of the river, there are great views on the Langjokull glacier. The path here is not difficult to walk and wide in the sense of it being multiple parallel narrow tracks worn deep into the soil and vegetation. The path is marked several places with small pyramids of piled stones (1-1,5 metres high), but this is not a constant feature of the Kjolur trail. After walking approximately 17 kilometers we decided to find a place for the night in order to be close to the river for drinking water etc. Since we had met nothing else than sheep on the trail throughout the day we decided to set up the tent relatively close to the path. The night was cold and the wind got quite strong in the evening in spite of it being the end of July.
Kjolur Day 1 – Start
Kjolur Day 1 Trail
Trail – 2nd Day
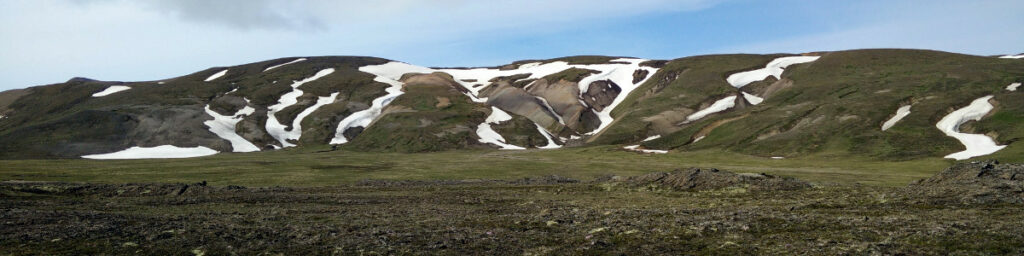
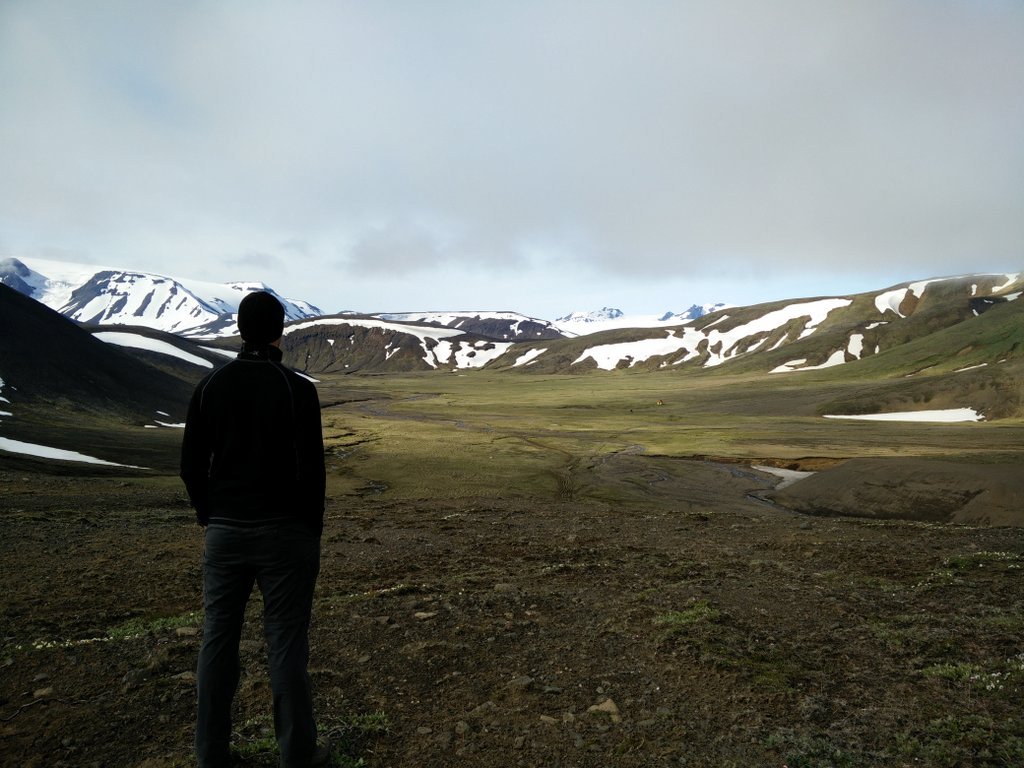
The next morning was foggy and cold. We quickly packed up the tent and continued walking. The path was more or less the same as the first day. After walking approximately 5 kilometers, the path splits into two; one wide which is nicely marked with the small stone pyramids and turns slightly eastward, thus keeping on relatively flat land and a narrower, more anonymous path going past the Thverbreknamuli mountain hut and offering increasing elevation afterwards. Guess which one we walked. However, we decided not to go directly past the hut but instead climb a small mountain behind the hut. From there you can get a great view on the mountain Hrutfellsjokull and Langjokull glacier. We descended the mountain over its northern side. There is no path but the terrain was not very difficult as the landscape had again become more arid. This little detour brought us off trail for another 600 meters.
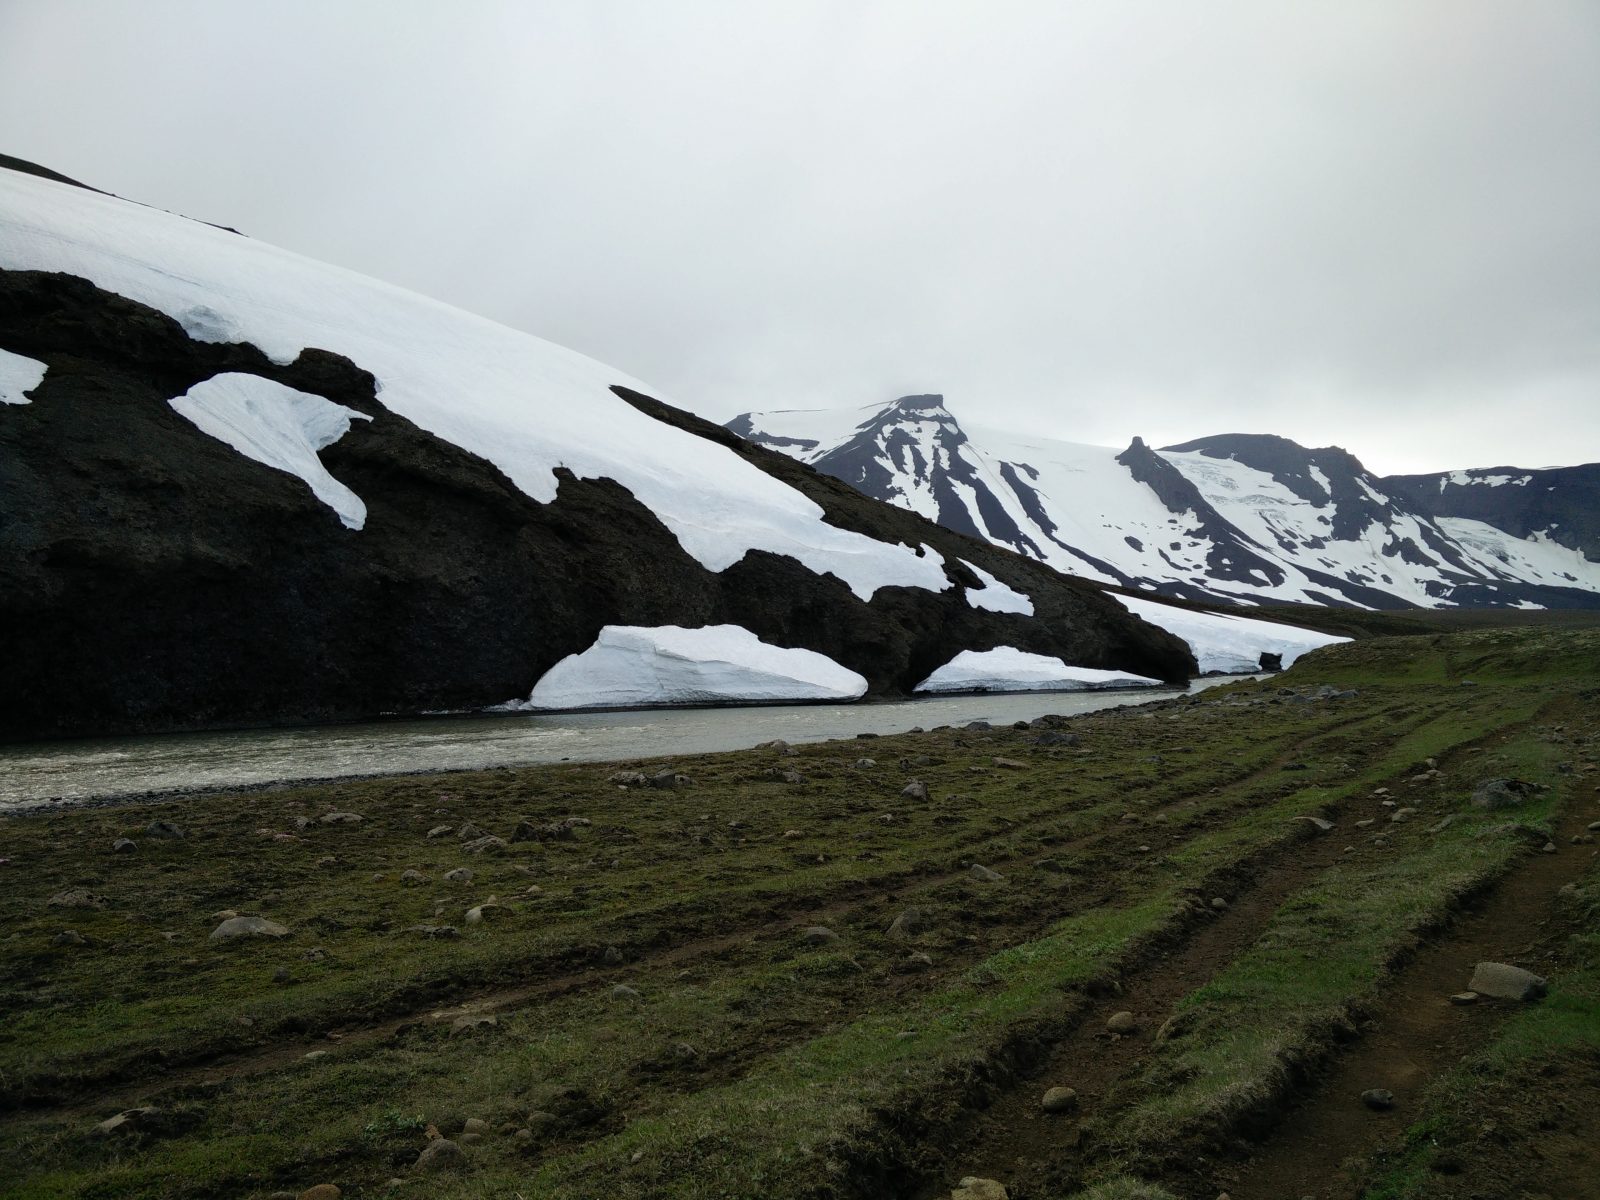
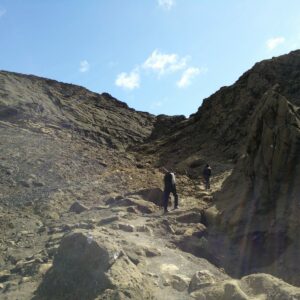
Once back on the path, it gets increasingly narrow and steeper, going over two small mountains and then descending into the Thjofadalir valley over a very steep slope. For the majority, it is marked by yellow-painted sticks every 200 meters or so. On the way we met a group of French hikers who warned us that the aforementioned slope was still covered by frozen snow (which is usually gone in the summer) and that it could be dangerous to make a descend there; they had chosen not to. We were, however, not in the mood to backtrack and take the longer, but safer trail marked with small pyramids. In order to check the situation for ourselves, we climbed to the top of the second mountain.
The French group was right; the slope was covered with more than half a meter of icy snow, making it even more steep and slippery than in its natural state. At the foot of the slope there is only a narrow strip of flat land before a very deep 5 meters wide gorge cut into the cliff by a roiling glacial river. Thus, slithering down the slope a little too fast could potentially entail a fall into the icy river in the several meters deep gorge. We decided to go a bit further north (from the official trail) where the slope was less steep and even free from snow here and there, and then descend towards the gorge by going in a zigzag pattern. This worked, but we still had to cross over some steep areas covered with frozen snow and the strip of flat land below us was even narrower before the abrupt drop of the gorge. We kicked steps in the frozen snow to ensure a more secure descend. Once safely down on the flat strip of land, we walked to the foot of the steep slope where the path usually runs, in order to cross the canyon with the glacial river by an improvised bridge. On the other side of the bridge, the landscape again became green and lush and we continued for a while towards the Thjofadalir Hut, but then set camp for the night near the path after having walked approximately 15 kilometers all in all.
Kjolur Day 2 Bridge
Kjolur Day 2 – After Hut 2
Kjolur Day 2 Steep Slope
Kjolur Trail – Snow covered ridge
Trail – 3th Day
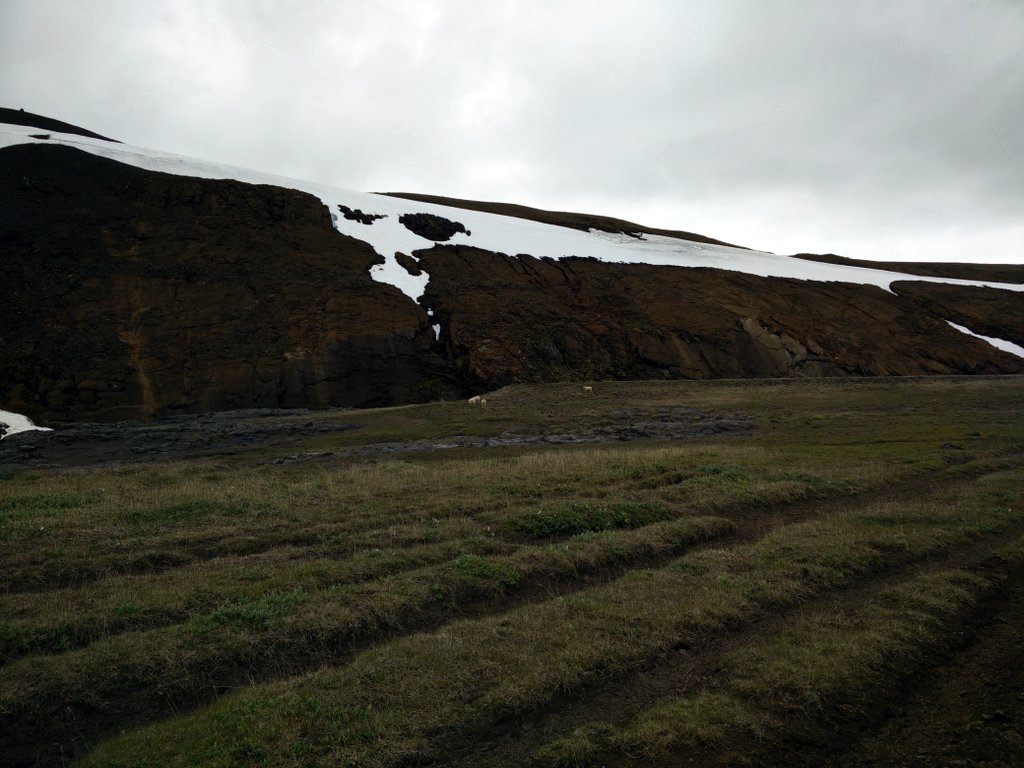
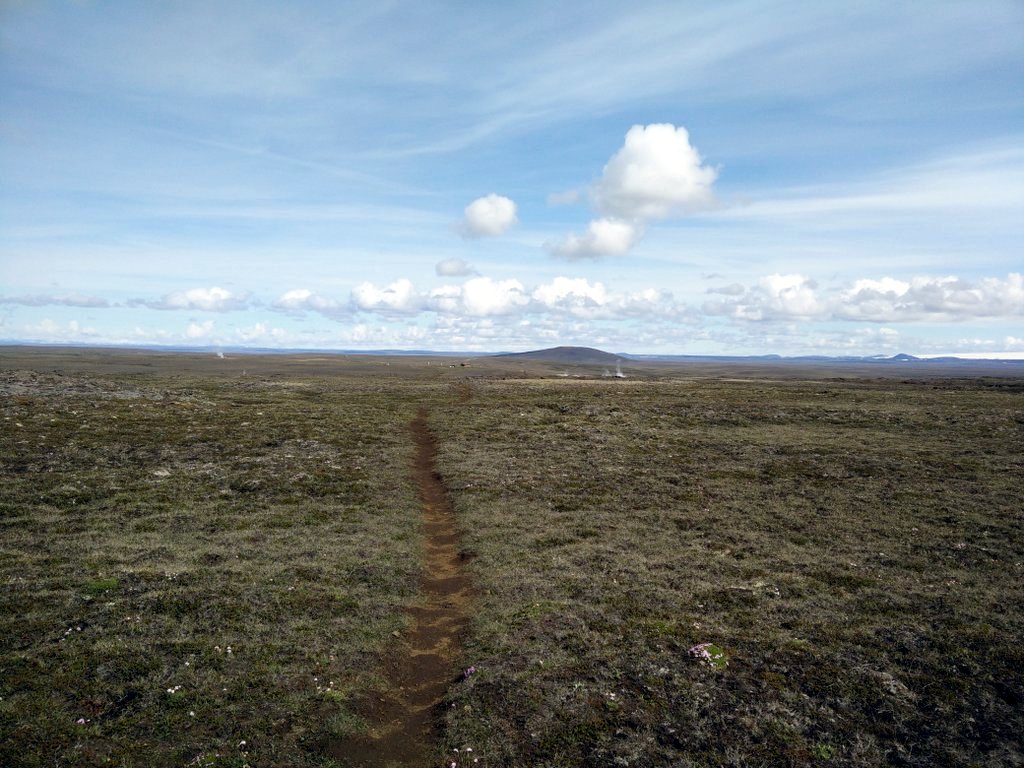
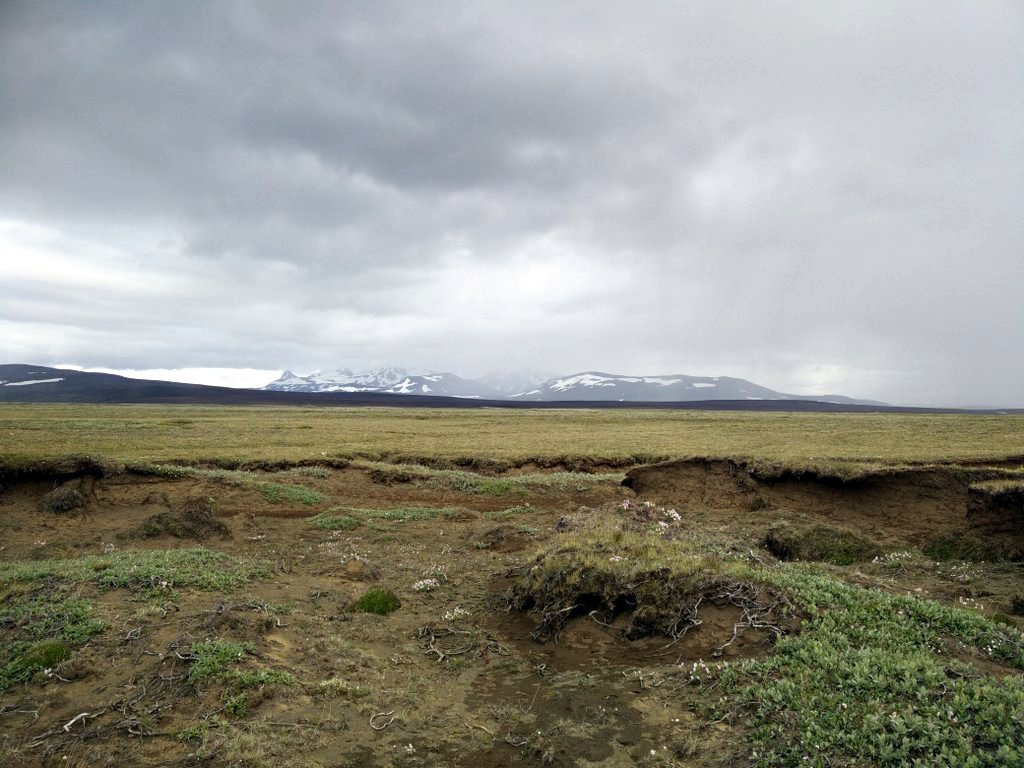
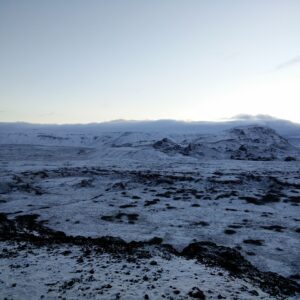
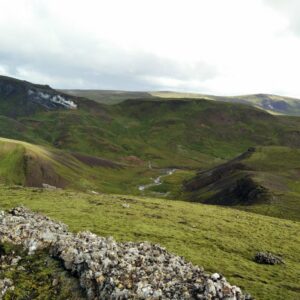
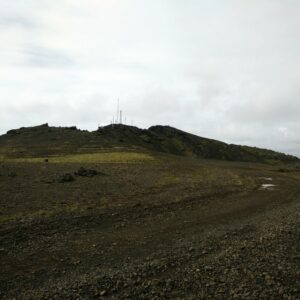
The next cold and foggy morning we continued towards the Thjofadalir Hut in the corner of the valley and reached it after walking approximately 5.5 kilometers on a relatively flat terrain, again with multiple parallel narrow tracks worn deep into the soil and vegetation. It should be mentioned that there is a small creek between the path and the hut, but it is not deep and can be easily crossed (at least it was at that time of year). After the hut, the trail runs over a small stony mountain and then along the foot of a range of little green hilltops northwards. You will, however, not follow these lush hillsides forever as the path splits into two; a broad path consisting of multiple parallel narrow tracks continuing towards north along the hillside and a narrow track, curving to the east, which gets increasingly stony. The latter is the one going to the hut and camp site at Hveravellir. It is quite well marked with yellow sticks and runs over an astonishing lava field. It did not take long before we could see the steam from the hot springs at Hveravellir in the horizon and we reached ourdestination after 7 kilometers.
Hveravellir is a tourist attraction with its boiling hot springs and there you will find a well-maintained campsite with a small restaurant and a hot pot in addition to a few huts. It’s definitely a good place to relax after a 48 kilometers long hike and therefore I’m not sorry that I started the hike in Hvitarnes, opposite the majority of hikers. The bus leaves from the parking place of the camping site and drives on a route very different from the hiking trail so on the bus you will mainly see rocky plains with a few rivers and creeks here and there.
Kjolur Day 3 – Thjofadalir Hut
Kjolur Day 3 Reaching Hveravellir
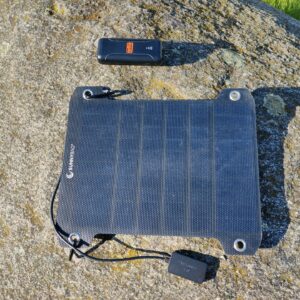
Equipment
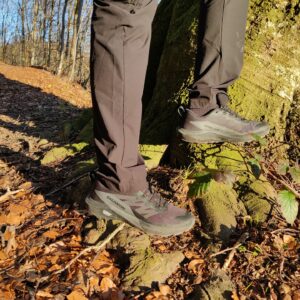
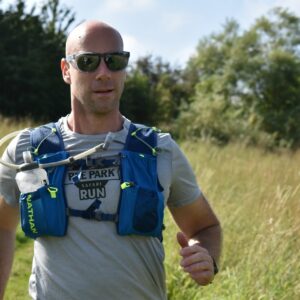
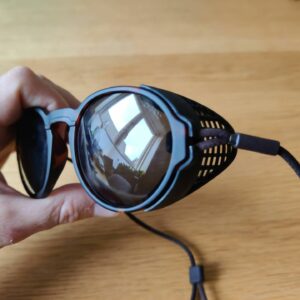
The weather can change very quickly in Iceland and therefore I selected the equipment with great caution. I was wearing a t-shirt made of polyester, Woolx Blizzard Top, windproof Schoeller AB400 pants, Woolx Merino Hat, socks made of Merino wool and mid-length hiking boots from Salewa. Whenever the wind got stronger or the temperature decreased due to altitude, I put on my windstopper jacket.
In the backpack I was carrying additional t-shirts, boxers, socks, thermal underwear, sleeping bag, tent, water and food. On this trail you basically can’t run out of water because there are many sources nearby – you can even drink from rivers because they are clean enough. Therefore I would advise you not to take too much water with you in order to eliminate excess weight. It’s different with the food. Pack all the food you are planning to eat because you will first be able to buy food at the end point of hike – Hveravellir.
Equipment under scrutiny
Woolx Blizzard Merino Wool Top
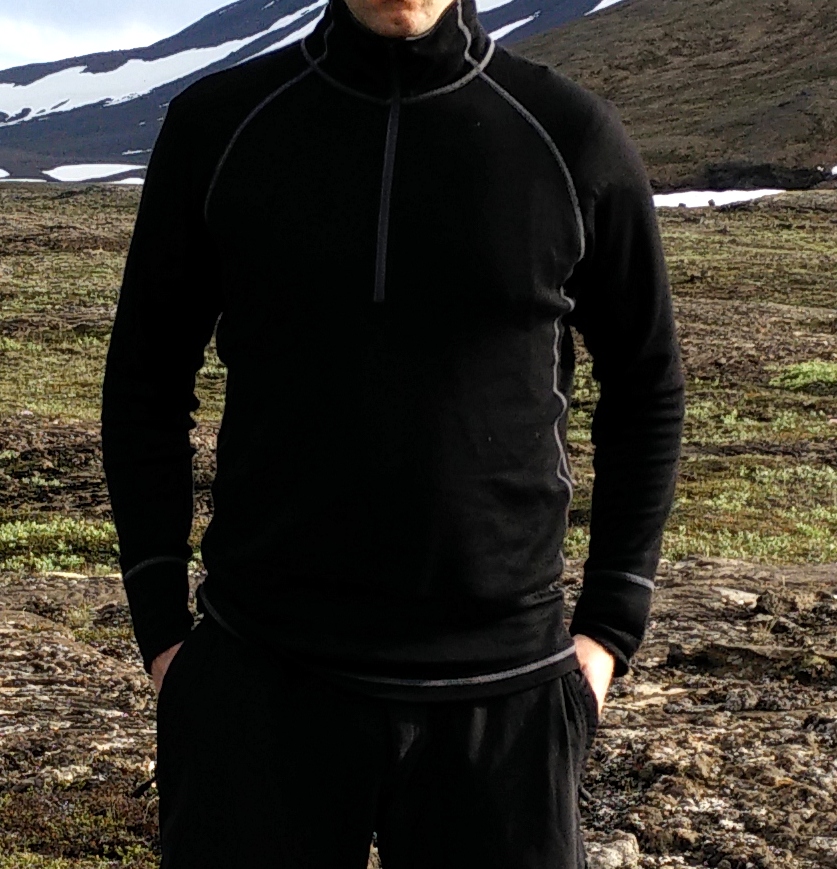
Woolx Blizzard Top
The Woolx Blizzard Top was ideal for this hike. Made out of 100% superfine merino wool, it provided great warmth. I was wearing it for 3 days, day and night. My sleeping bag was a bit too thin and therefore I had to sleep in warm clothes. After the hike I didn’t notice any odor in this piece of clothing which I find quite amazing. The only downside of it is its weight – a bit heavy in comparison to similar clothing made of synthetics. You can read the full review of the Woolx Blizzard top here.

Conclusion and photo gallery
We would recommend this hike to experienced hikers who are fit and have decent navigation skills. Those who like to hike in solitude will especially enjoy this trail as you will mainly meet sheep frowning at you for disturbing their peace. The path takes you through very alternating landscapes, from lava fields partially covered with moss and flowers to lush green valleys, reminiscent of the Alps or Scotland, and from dusty moon-like plains to glaciers surrounded by deep-blue lakes and rivers. Prepare well before going – pack your gear according to the season, plan the route, have a GPS device for backup and don’t forget to take all the food you need with you. It is also a good idea to let somebody know where and when you are going on a hike like this, so that people will know where to search for you if any accidents should happen.
Kjolur Day 1 Tent Place
Kjolur Day 2 After Hut
Kjolur Day 3 Thjofadalir Valley
If you have any questions about this hike, please drop us a line in the comments below.


Is this trail possible end of March? Or no acces in wintertime? Can you reach this area anyway during winter?
Hi Kitty,
you can reach the trail by bus from mid-June to mid-September, depending on the road/snow conditions. Note that if the bus doesn’t drive there, you almost certainly won’t be able to reach the trail with your own vehicle. I do not recommend doing this trail before mid-June or after mid-September because of the conditions (snow, ice, snow storms etc.).